
Crochet Vest Pattern – Fuzzy Textures
The Free Crochet Vest Pattern – Fuzzy Textures is copyrighted by I Need It Crochet. You may not copy, share, change, or sell the pattern itself. Also, you may not claim this pattern as your own. All pictures contained in this pattern fall under the copyright and may not be used.
Finished items made from the Crochet Vest Pattern – Fuzzy Textures belong to you, and you may do what you wish with them. If you choose to sell them on Etsy, I would very much appreciate it if you credited me as the pattern designer.
Where Can I Buy The Pdf?
The entire pattern is available to view for free on this page (you just have to scroll down to see it). But if you would prefer to have a printable pdf copy of the pattern, you can purchase it for a small fee from my Ravelry and Etsy stores. Just click the graphics below.
This pattern is 9 pages long and contains 9 pictures and detailed instructions of how to complete your crochet sweater vest. A printable pdf will be easier to follow, and you can make notes on it as you go. I find it to be the easier option. But if you like to use the online version, it is here 24/7 for you to view. Enjoy!
Free Crochet Vest Pattern – Fuzzy Textures
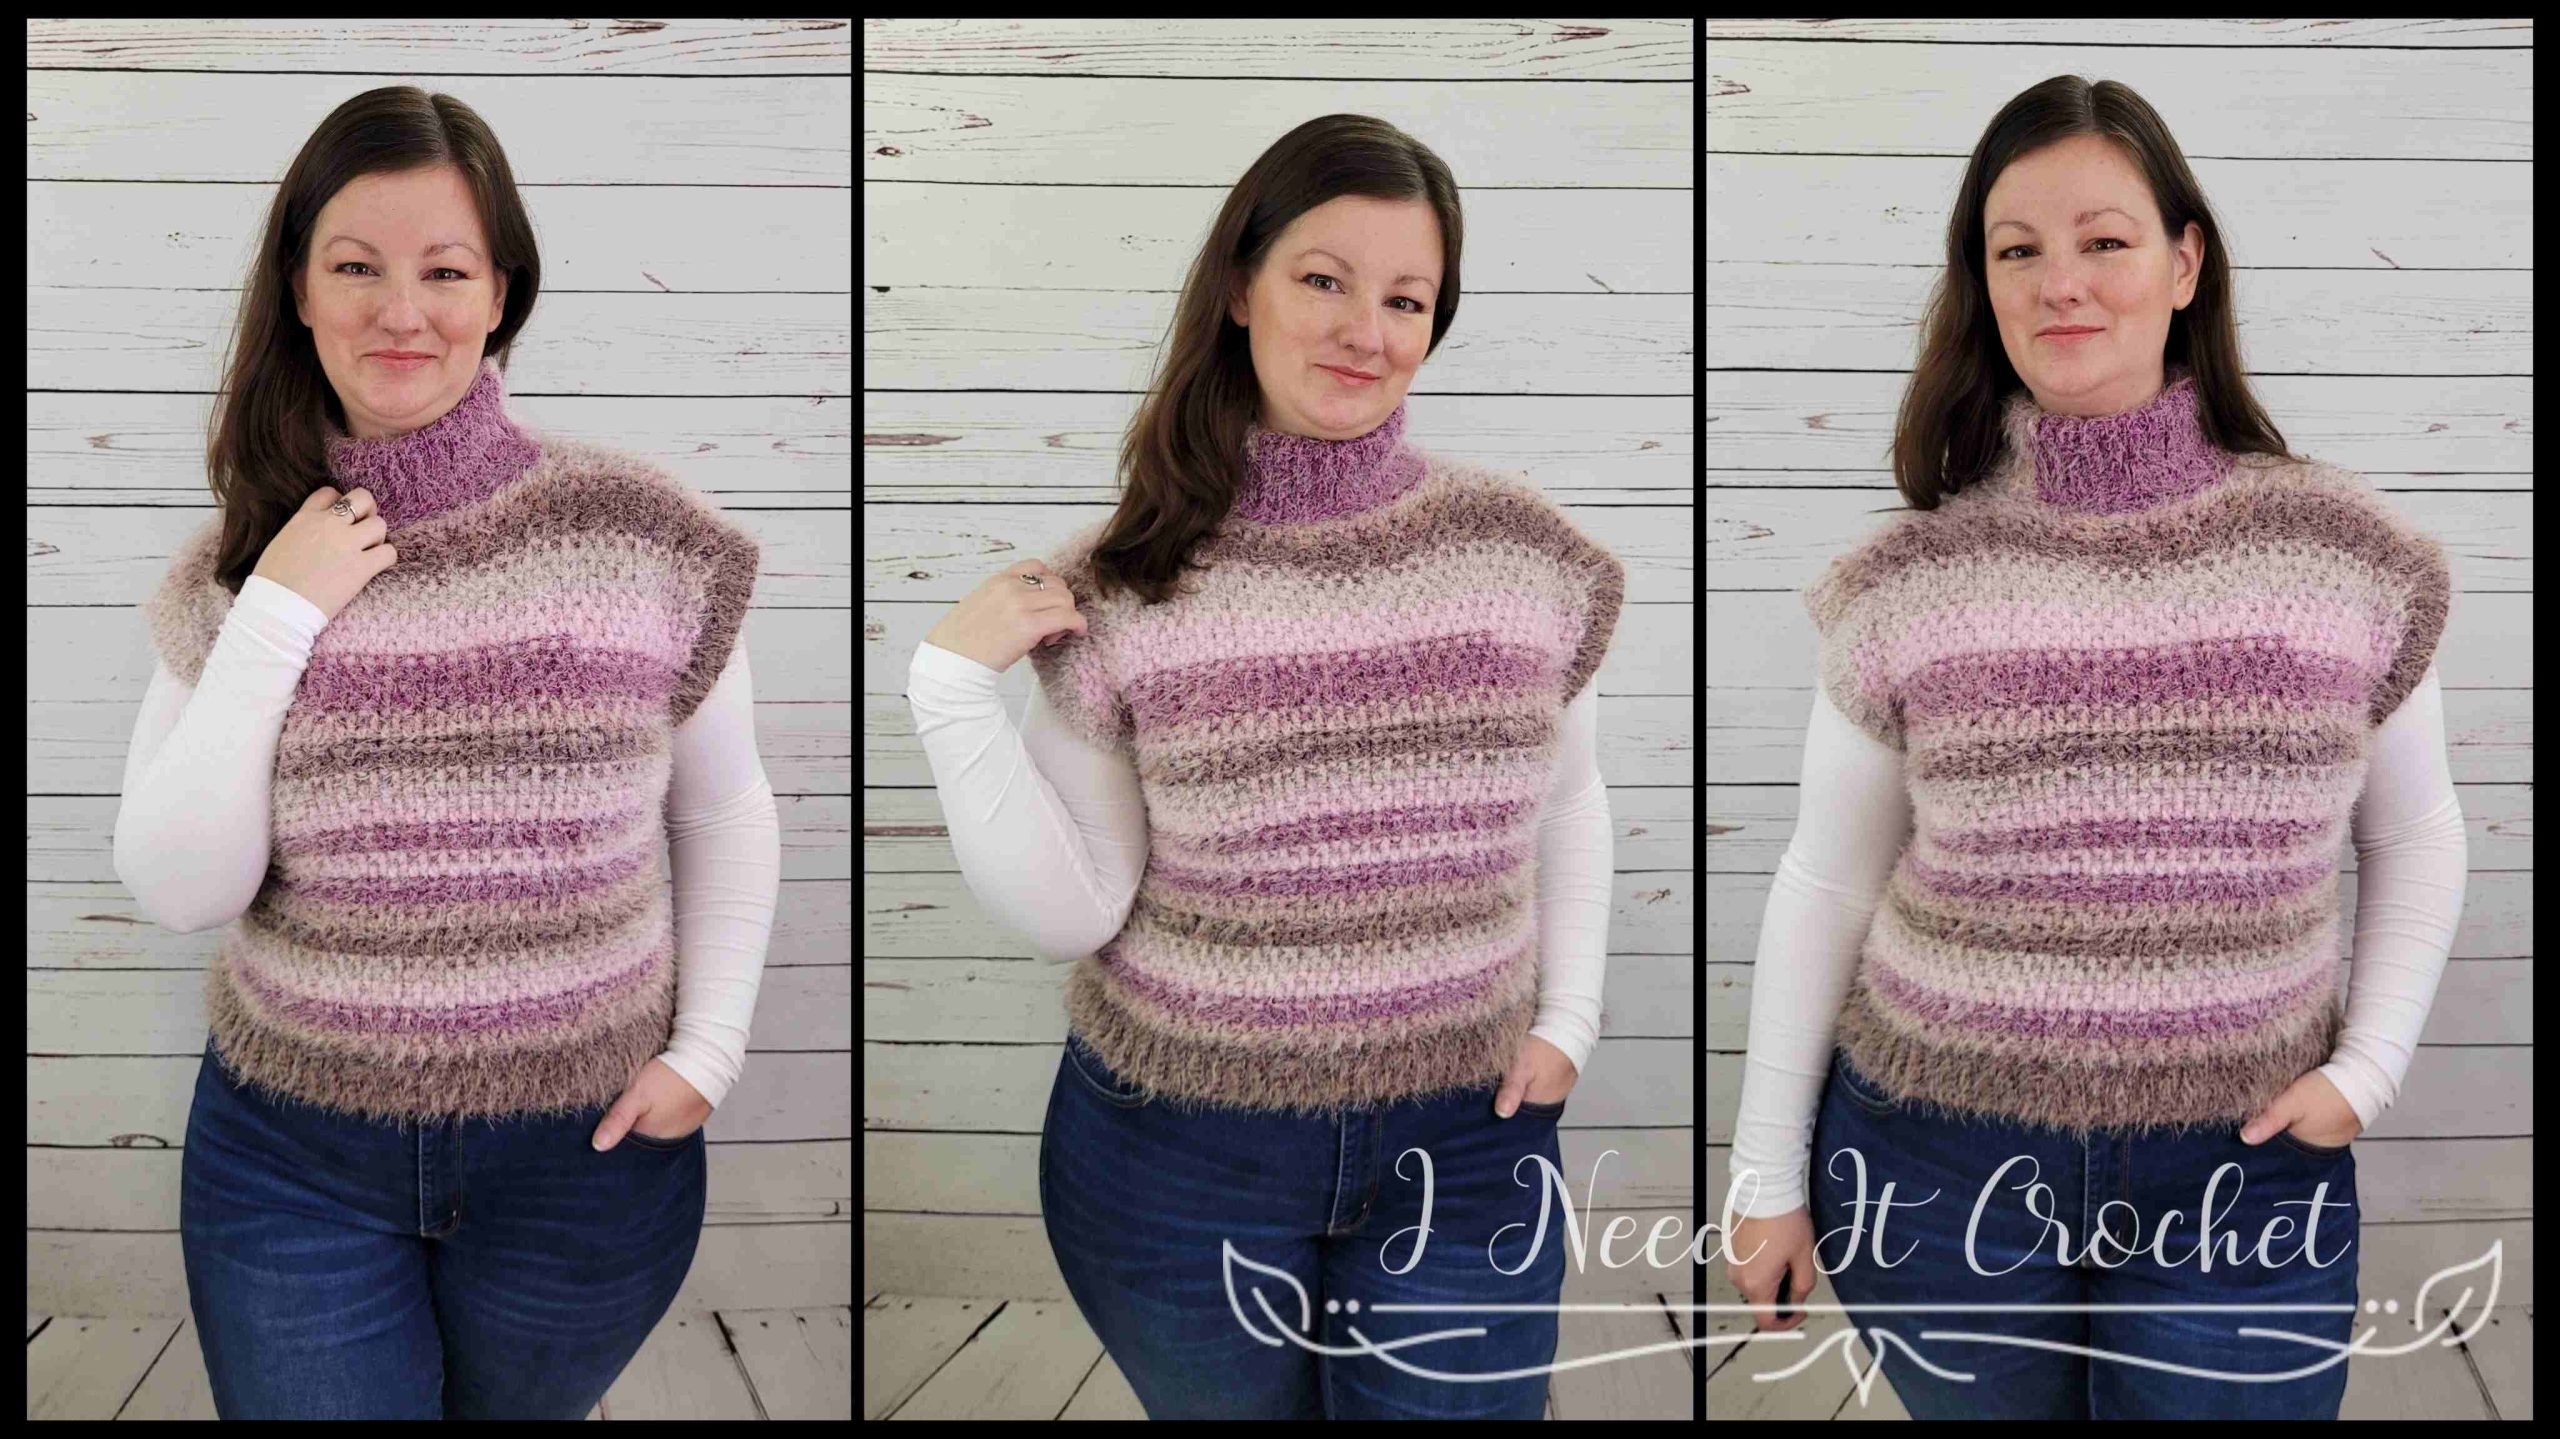
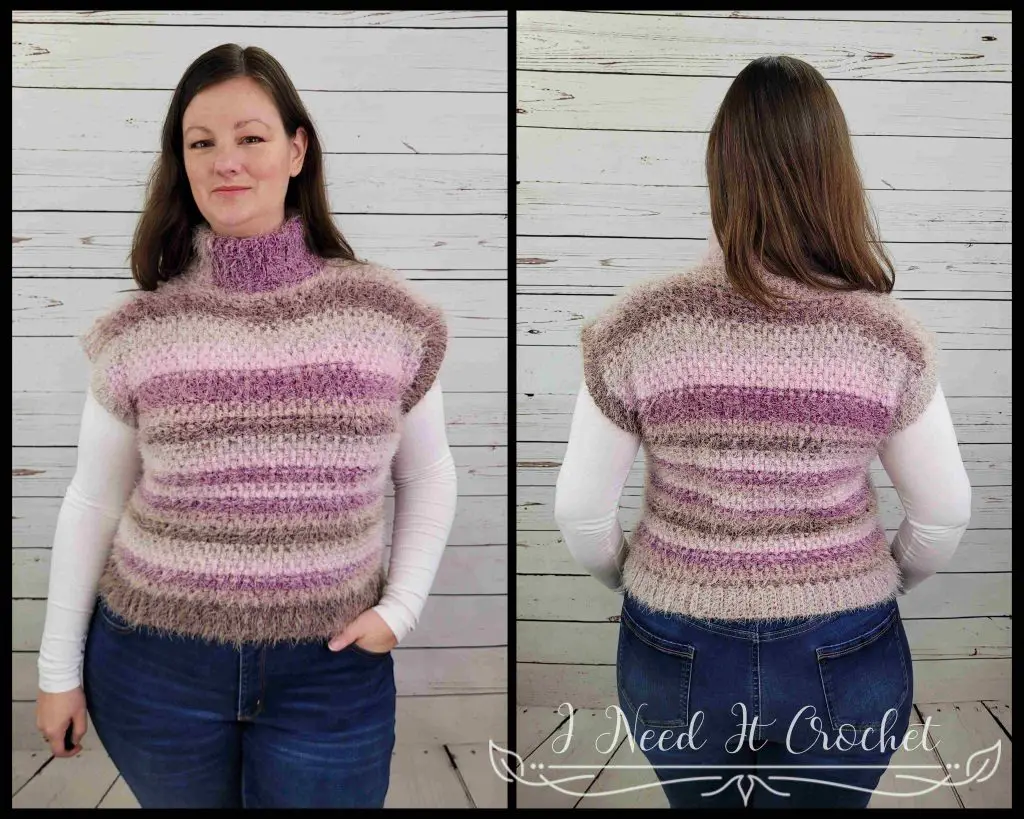
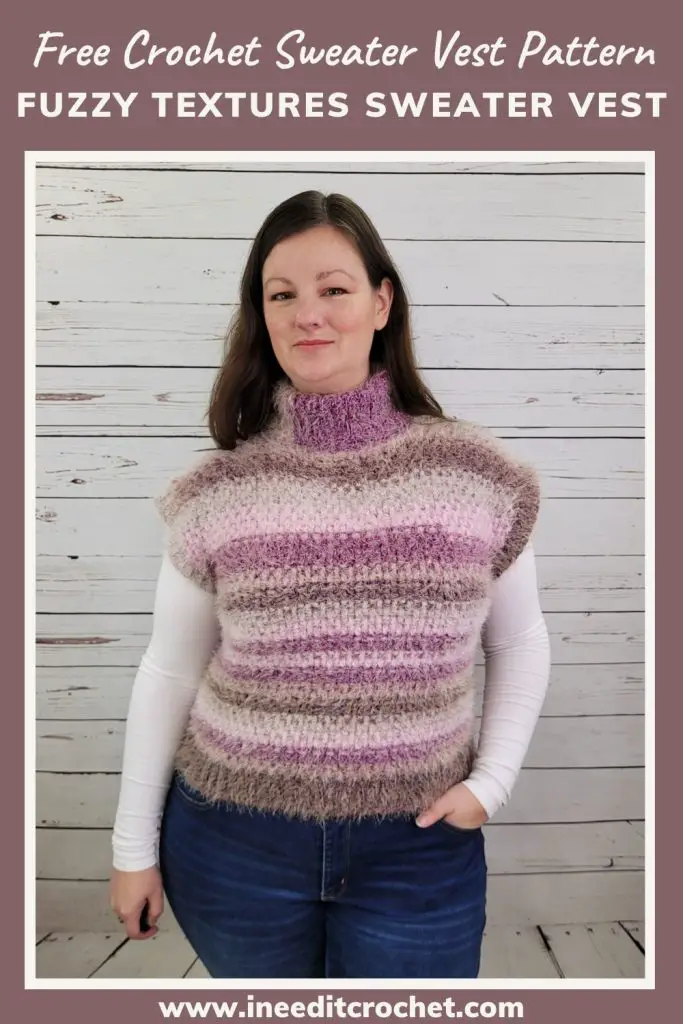
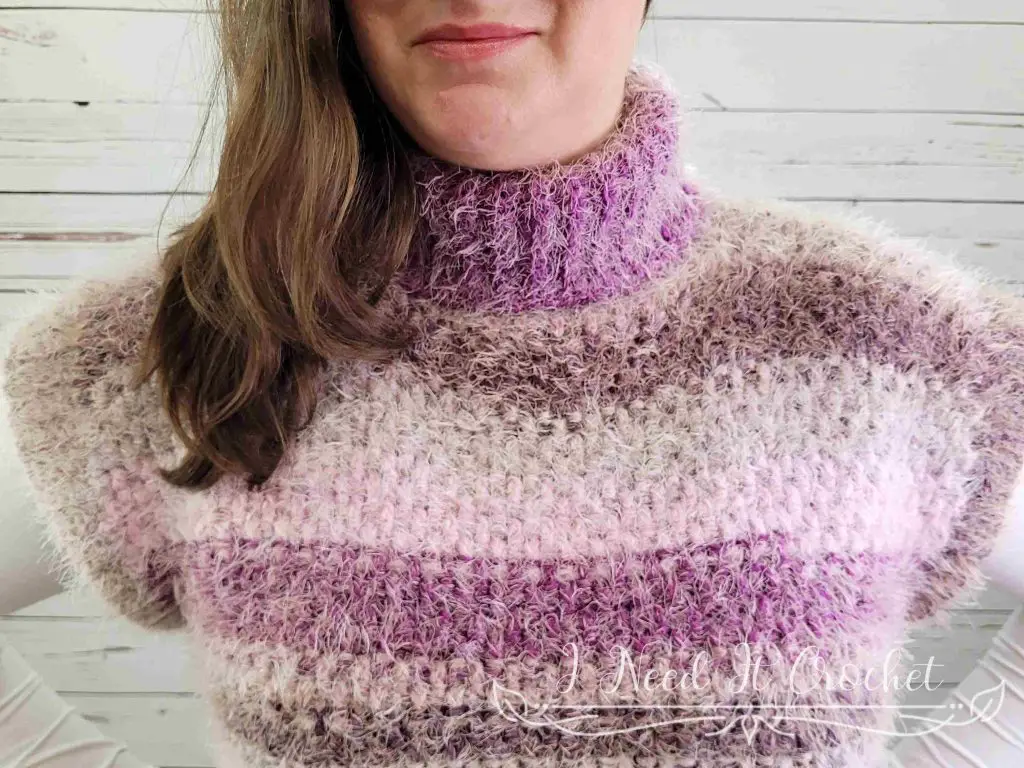
Free Crochet Vest Pattern- Fuzzy Textures
This design began (as many of mine do) with an unexpected yarn purchase. Of course, the trip to the yarn store had been intentional, but I hadn’t been looking for a fuzzy, textured cake yarn. Yet by some miracle, it ended up in my cart, and I took it home with me.
As with all sporadic yarn purchases, I wasn’t sure what I would create with it. All I knew is I loved its unique quirkiness. The fun challenge was in finding a project and a stitch pattern that would highlight the distinctive traits of this yarn, while still working well with more common yarns. The end result has a simple, repetitive stitch pattern coupled with thick, bulky yarn, which makes for a fun, quick project that is cozy and stylish.
Want to Pin it for later?
Click the image below and save the pin to your favourite crochet pattern boards!
Free Crochet Vest Pattern – Fuzzy Textures
Finished Sizes:
Instructions given to fit size X-small; changes for small, medium, large, X-large, 2X-large, 3X-large, 4X-large and 5X-large are in ()
XS (S, M, L, XL, 2XL, 3XL, 4XL, 5XL)
Finished Body Circumference: 28” (32”, 36”, 40”, 44”, 48”, 52”, 56”, 60”)
Finished Length: Customizable
Materials:
I used Caron Latte Cakes, which is a 58% Acrylic, 42% Nylon, #5 Bulky weight yarn.
Any yarn of similar weight would work.
Approximately 800 (900, 1000, 1100, 1200, 1300, 1400, 1500, 1600) yds.
6.5mm Hook
6mm Hook
Stitch Markers
Yarn Needle
Scissors
Measuring Tape
Gauge:
See gauge swatch instructions below. Be sure to always check your gauge. It will save you much time and heartache.
Difficulty:
Easy
Abbreviations:
RS = Right Side
WS = Wrong Side
Sk = Skip
St = Stitch
Ss = Slip Stitch
Ch = Chain
Sc = Single Crochet
Dc = Double Crochet
Tr = Treble Crochet
Fpdc = Front Post Double Crochet
Bpdc = Back Post Double Crochet
Notes:
Ch1 and ch2 at the beginning of a row is never considered a stitch.
Ch3 at the beginning of a row is considered a dc.
Ch4 at the beginning of a row is considered a tr.
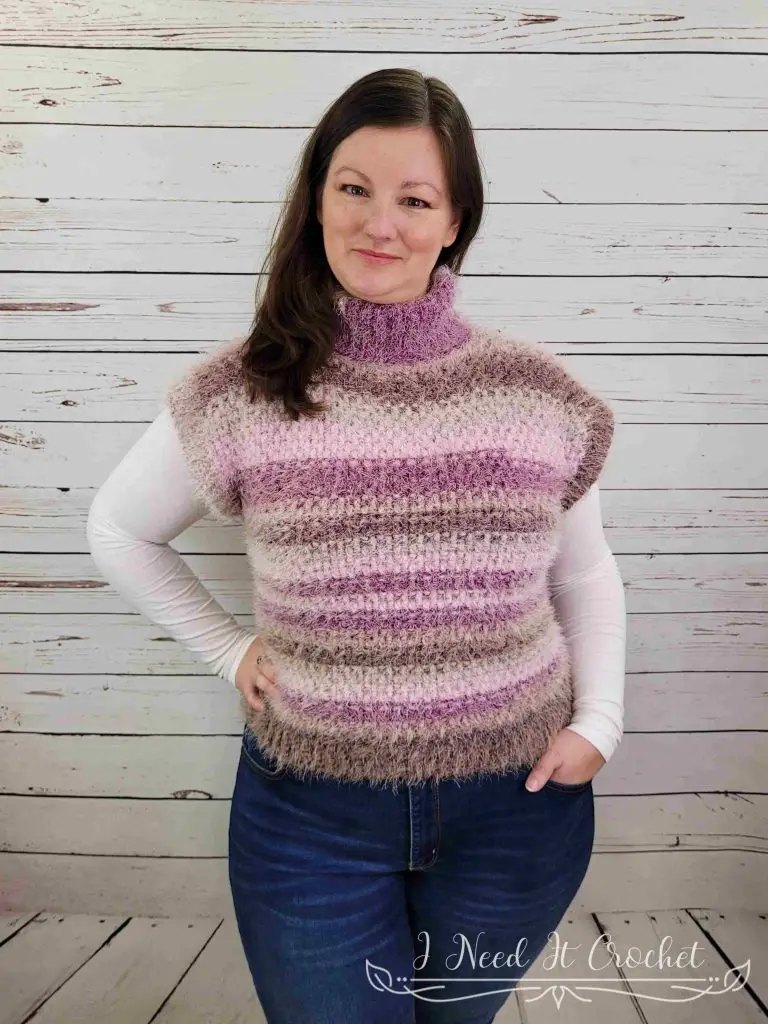
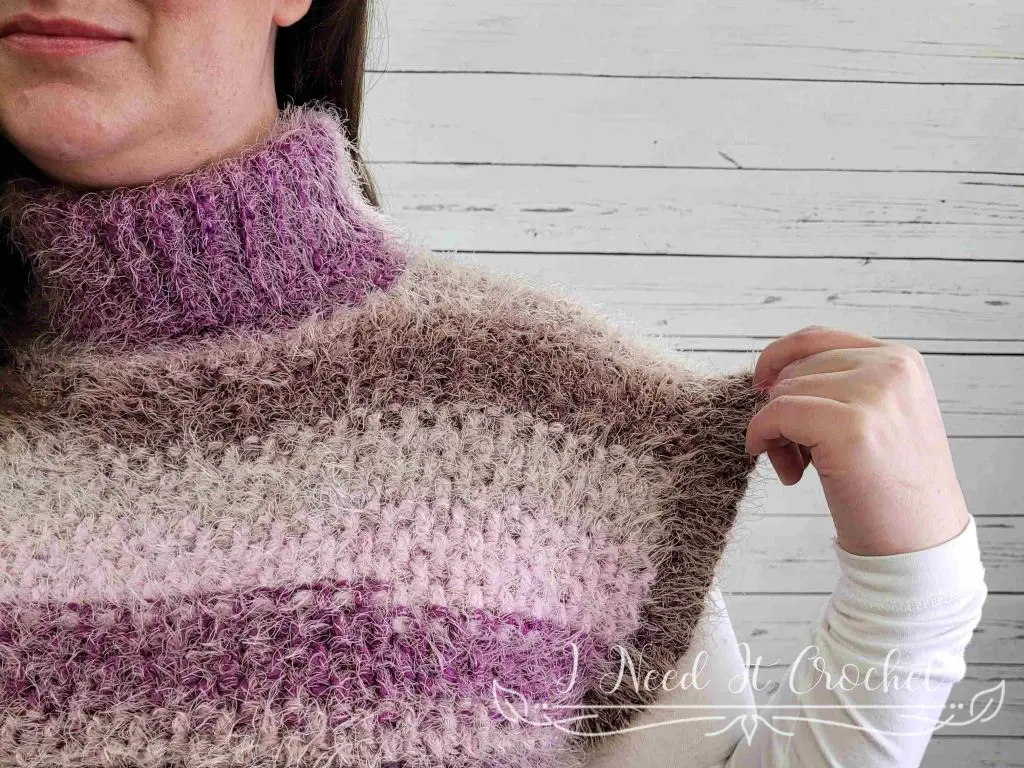
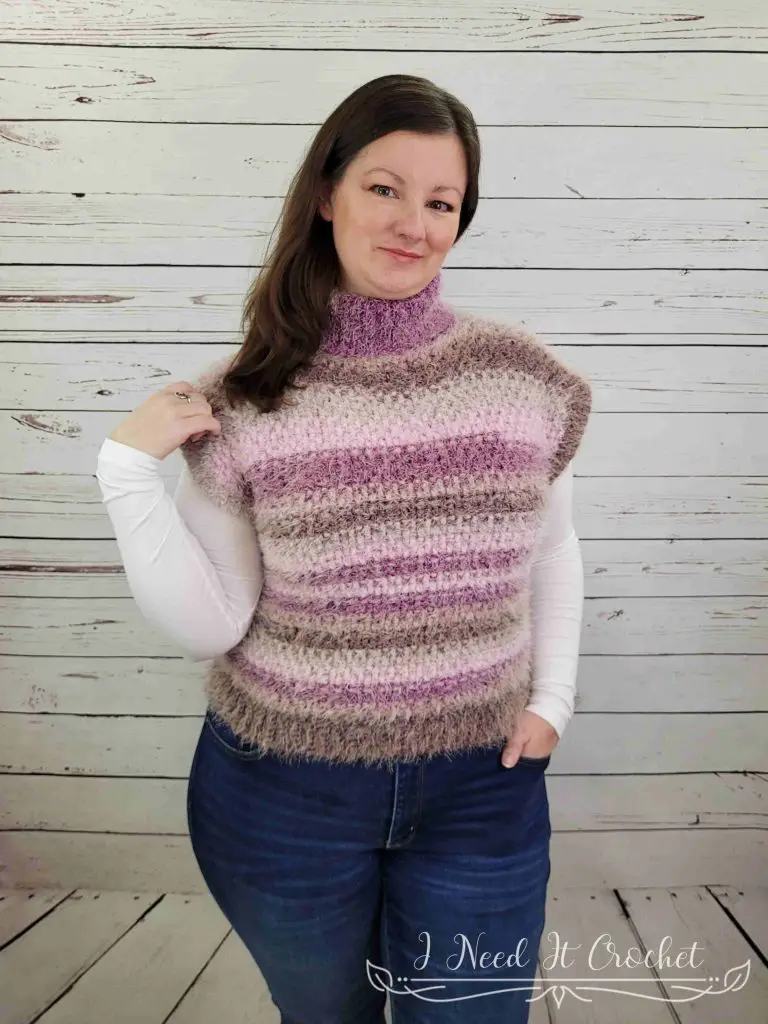
The model above (that’s me) has a 40” bust and is wearing a size L.
Choose your size according to your largest measurement (bust/waist) and how you would like the vest to fit. For a close-fitting vest, choose the size closest to your largest measurement. For a loose vest, choose a size 2-3” larger.
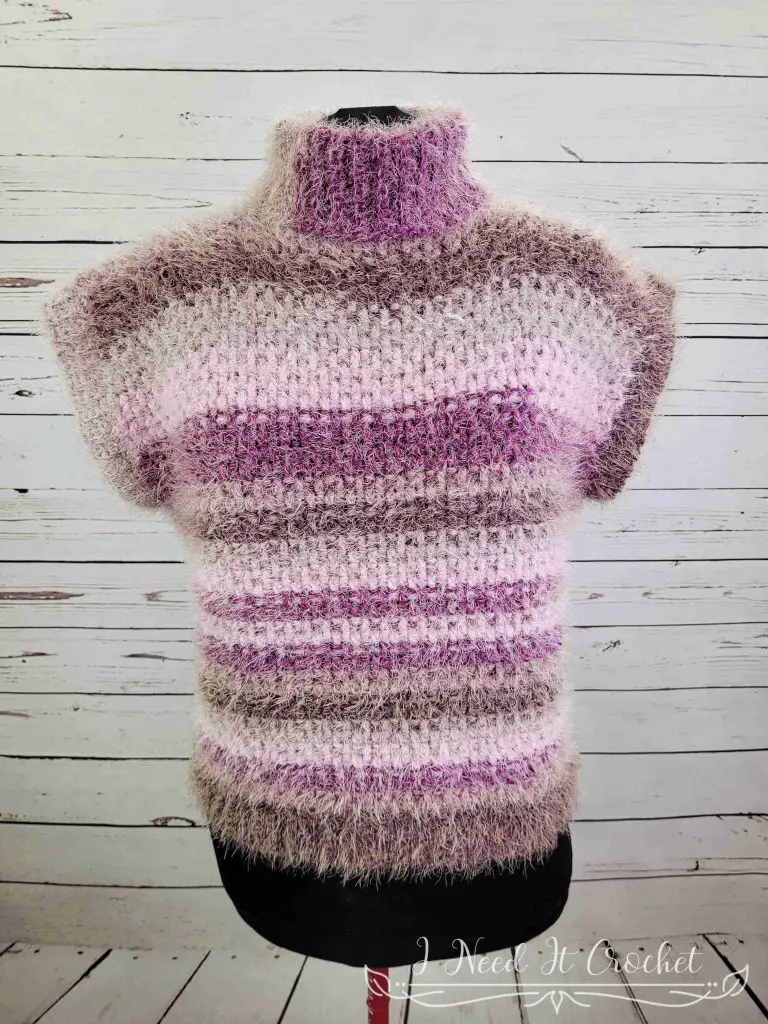
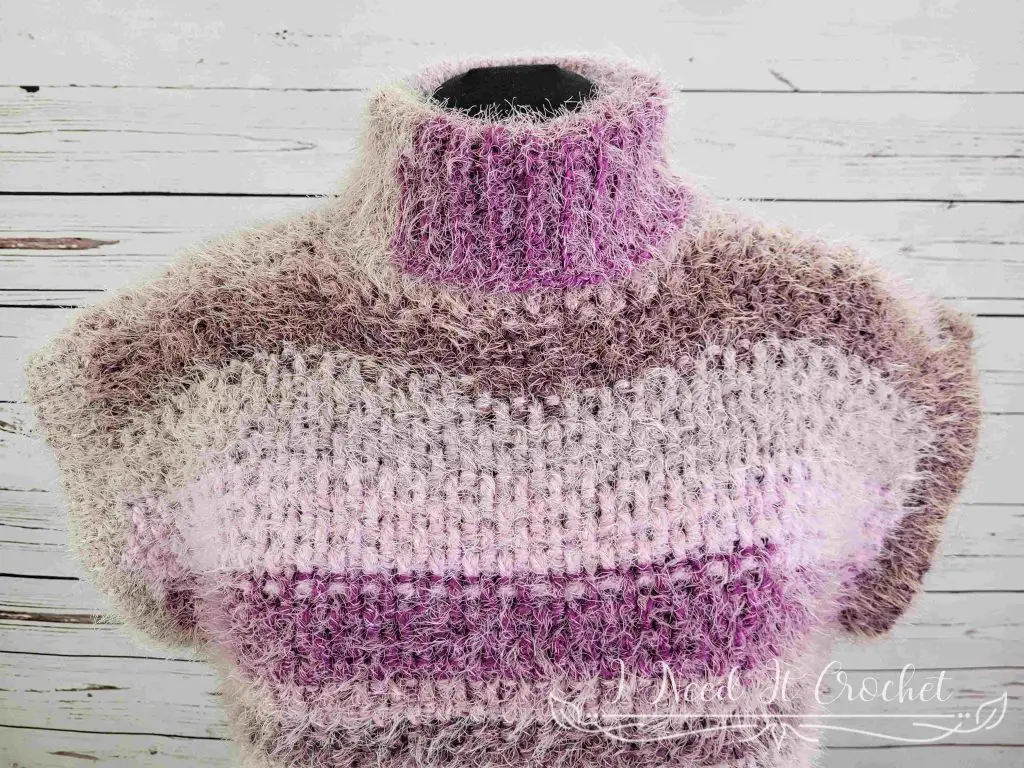
The body length and neck length of this pattern are customizable. I made mine with a long turtle neck and slightly cropped body, but it looks just as cute with a shorter neck and longer body.
Crochet Vest Pattern – Fuzzy Textures
Gauge Swatch
The instructions below will create a gauge swatch that is 4 ½” (9”) wide by 4 ½” (9 ”) high. If you are making a larger size and/or you sometimes find your tension is off, I recommend making the larger swatch. But, of course, that is completely up to you. Also, the width of your swatch is much more important than the overall height. So if your width is on point, but your height is off, I recommend using the hook that gives you the correct width.
With 6.5mm hook
- Ch 17 (31). Dc in 4th ch from hook and each ch across. Turn. – 15 (29) st
- Ch2. Fpdc in 1st st. *Bpdc in next st. Fpdc in next st.** Repeat from * to ** across. Turn. – 15 (29) st
Repeat row 2 until you have a total of 8 (16) rows. Your swatch should measure 4 ½” (9”) W by 4 ½” (9”) H.
Instructions
This vest is made from the top down. We will begin by making the upper back, working in rows from the shoulders down to the underarms. Then, we will make the upper front, again working in rows from the shoulders down to the underarms. Next, we will join the underarms and work the lower body in rounds. Then, we will finish off the bottom hem and arm openings with ribbed short rows. Finally, we will add the ribbed turtle neck.
Upper Back
With 6.5mm hook (or size used to obtain gauge)
- (RS) Ch 47 (53, 59, 65, 73, 79, 83, 91, 97). Dc in 4th ch from hook and each ch across. Turn. – 45 (51, 57, 63, 71, 77, 81, 89, 95) st
Tip: The RS and WS of this project look the same, so place a st marker on the right side of row 1 to help you keep track for later.
- (WS) Ch2. Fpdc in 1st st. *Bpdc in next st. Fpdc in next st.** Repeat from * to ** across. Turn. – 45 (51, 57, 63, 71, 77, 81, 89, 95) st
Repeat row 2 four more times, then check your gauge using the gauge check below.
Gauge Check: Your project should now be 13 ⅓” (15”, 16 ¾”, 18 ½”, 20 ¾”, 22 ½”, 23 ¾”, 26”, 28”) wide. If your project does not match gauge (less than ½” off), then you may want to start again with a different sized hook.
Repeat row 2 until you have a total of 18 (18, 18, 20, 20, 20, 22, 22, 22) rows. Ch 3 (3, 5, 5, 5, 5, 7, 7, 7). Bind off.
Upper Front – Right Shoulder
Flip and rotate your project so you now have the RS facing you with the starting chain positioned at the top (see Figure 1). Join your yarn in the bottom of the 1st ch. Your first row will be worked into the bottom of the 1st row of the upper back.
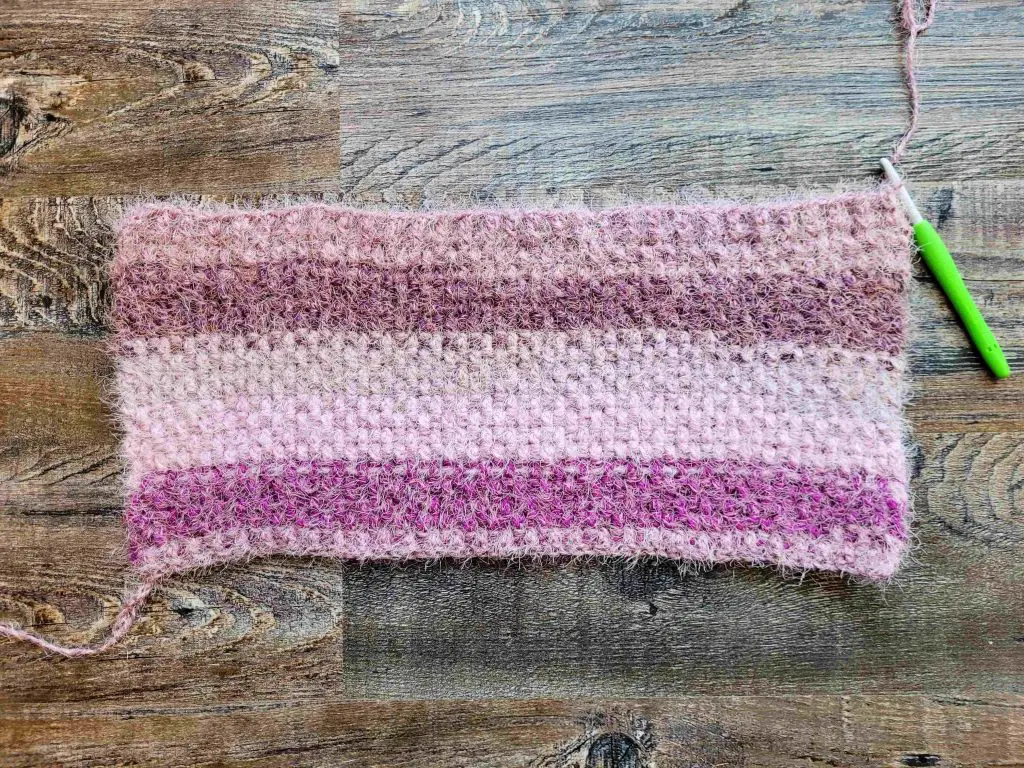
Figure 1
- (RS) Ch2. Fpdc in 1st st. *Bpdc in next st. Fpdc in next st.** Repeat from * to ** over next 8 (10, 14, 16, 20, 22, 24, 28, 30) sts. Leave remaining sts unworked for now. Turn. – 11 (13, 17, 19, 23, 25, 27, 31, 33) st
- (WS) Ch2. Fpdc in 1st st. *Bpdc in next st. Fpdc in next st.** Repeat from * to ** across. Turn. – 11 (13, 17, 19, 23, 25, 27, 31, 33) st
- Ch2. Fpdc in 1st st. Bpdc in next st. *Fpdc in next st. Bpdc in next st.** Repeat from * to ** until 1 st left. (2dc, tr) in last st. Ch 19 (21, 19, 21, 21, 23, 23, 23, 25). Bind off. – 13 (15, 19, 21, 25, 27, 29, 33, 35) st + 19 (21, 19, 21, 21, 23, 23, 23, 25) ch
Your project should now look similar to Figure 2 below.
Crochet Vest Pattern – Fuzzy Textures
Upper Front – Left Shoulder
Just as we did for the right shoulder, we will work the first row into the bottom of row 1 of the upper back. With the RS facing you, count 11 (13, 17, 19, 23, 25, 27, 31, 33) sts from the left side of the project and join your yarn in the last st counted (see hook placement in Figure 2)
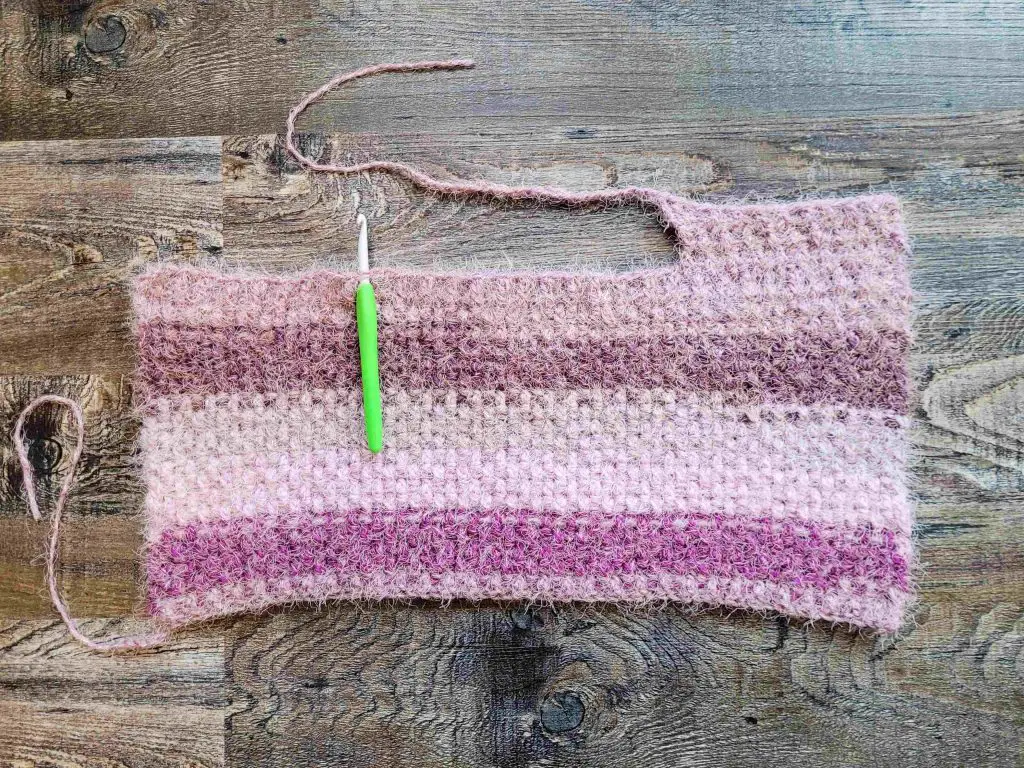
Figure 2
- (RS) Ch2. Fpdc in 1st st. *Bpdc in next st. Fpdc in next st.** Repeat from * to ** across. Turn. – 11 (13, 17, 19, 23, 25, 27, 31, 33) st
- (WS) Ch2. Fpdc in 1st st. *Bpdc in next st. Fpdc in next st.** Repeat from * to ** across. Turn. – 11 (13, 17, 19, 23, 25, 27, 31, 33) st
- (Ch4, 2dc) in 1st st (counts as 1tr + 2dc in 1st st). *Bpdc in next st. Fpdc in next st.** Repeat from * to ** across. Do not bind off. Turn. – 13 (15, 19, 21, 25, 27, 29, 33, 35) st
Your project should now look similar to Figure 3. Attach the end of the long chain from the right shoulder to the 1st st of the last row of the left shoulder. To do this, I just pulled the free end of the yarn through the stitch and made a knot (see Figure 4).
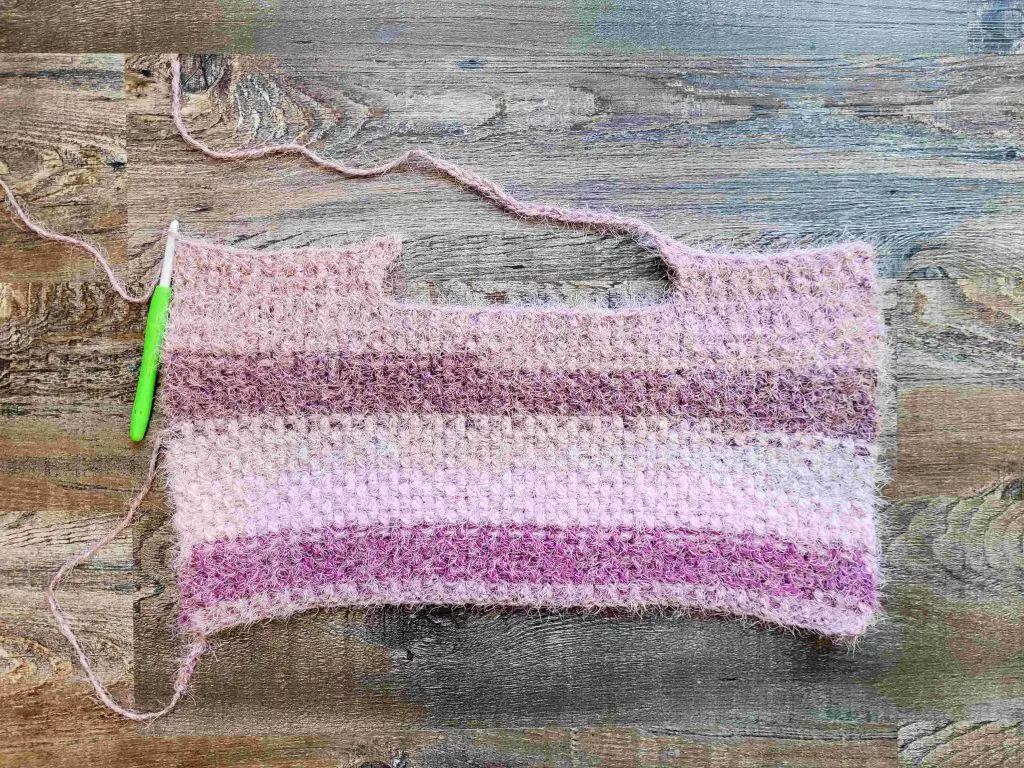
Figure 3

Figure 4
We will now add more rows to the upper front.
- (WS) Ch2. Fpdc in 1st st. *Bpdc in next st. Fpdc in next st.** Repeat from * to ** until you come to the long center chain. Dc in each chain until you come to the next st. Fpdc in next st. Repeat from * to ** to the end of the row. Your project should look similar to Figure 5 below. Turn. – 45 (51, 57, 63, 71, 77, 81, 89, 95) st
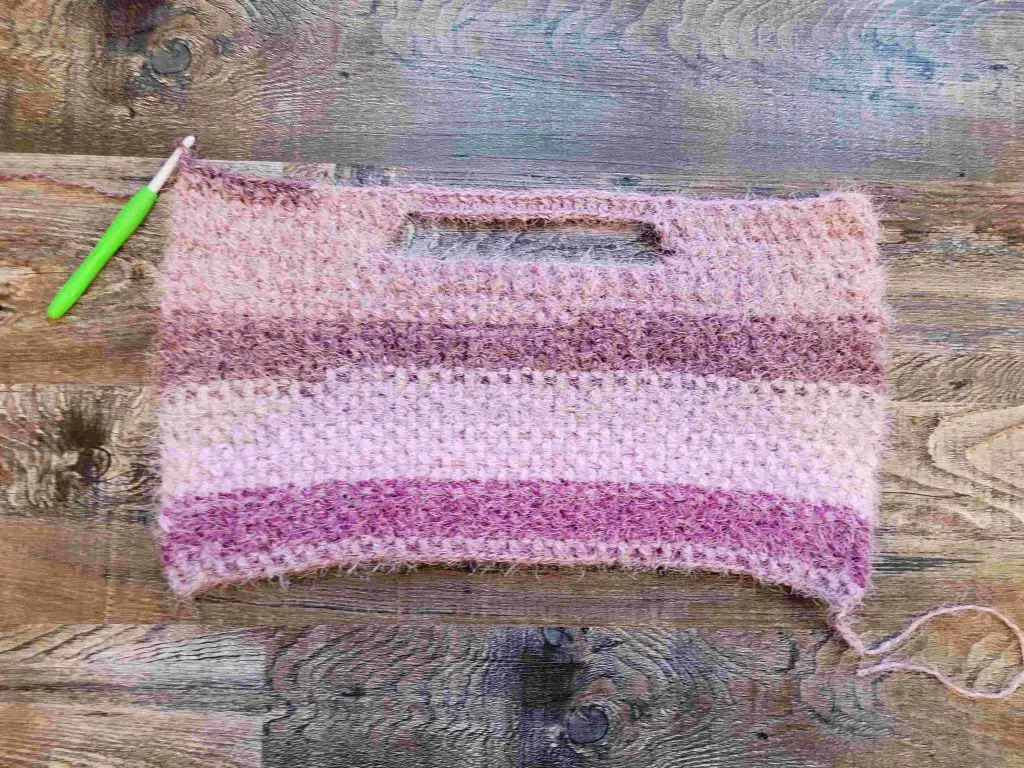
Figure 5
- (RS) Ch2. Fpdc in 1st st. *Bpdc in next st. Fpdc in next st.** Repeat from * to ** across. Turn. – 45 (51, 57, 63, 71, 77, 81, 89, 95) st
Repeat row 5 until you have a total of 18 (18, 18, 20, 20, 20, 22, 22, 22) rows (including the shoulder rows). Ch 3 (3, 5, 5, 5, 5, 7, 7, 7). Do not bind off. Your project should look similar to Figure 6 below.
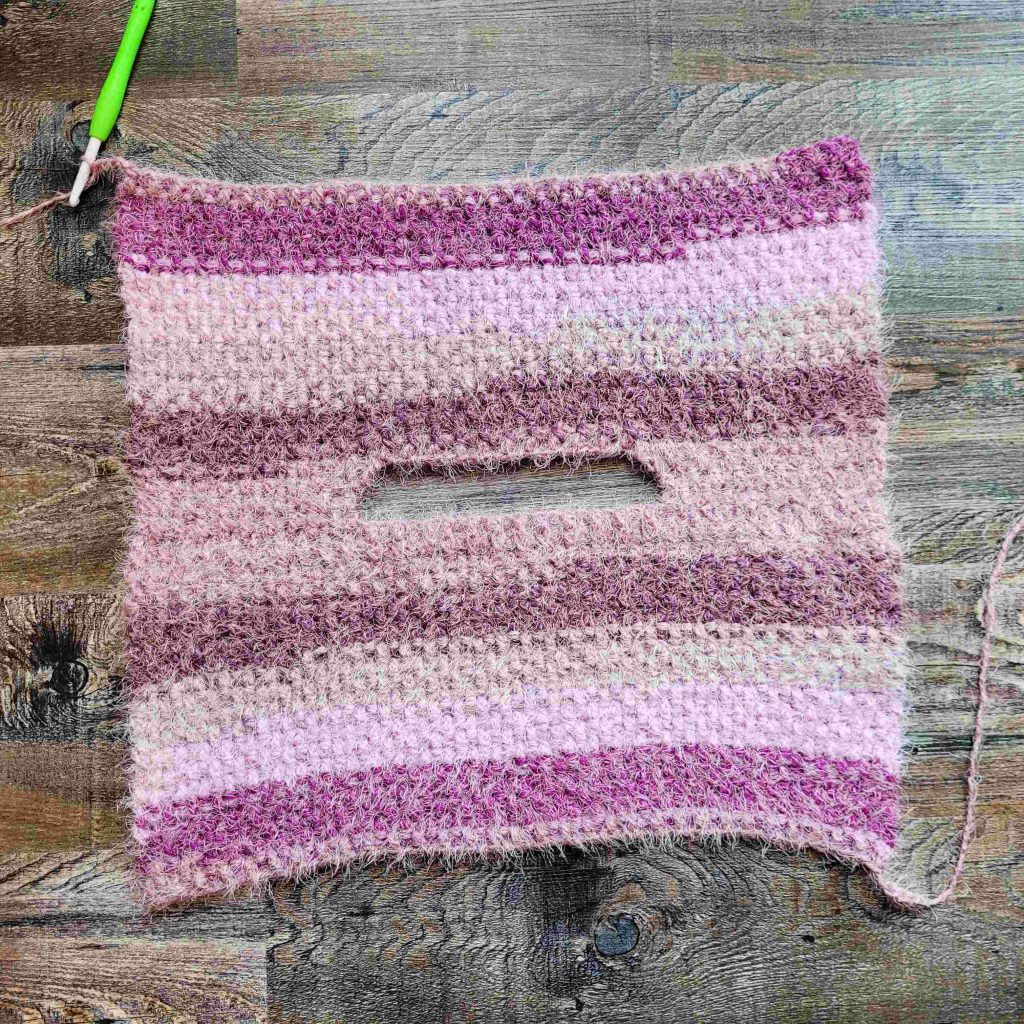
Figure 6
Crochet Vest Pattern – Fuzzy Textures
Lower Body
We will soon work the lower body, but first we must join the bottom edges of the front and back panels. With the wrong sides facing each other, fold your project in half like in Figure 7. Join the end of the chain from the upper back to the 1st st of the last row of the upper front (as seen in Figure 8). Make sure your chain isn’t twisted as you do so. Then, slip stitch into the 1st st of the last row of the upper back (as seen in Figure 9). Turn. We are now working in the round, but still turning at the end of each round.
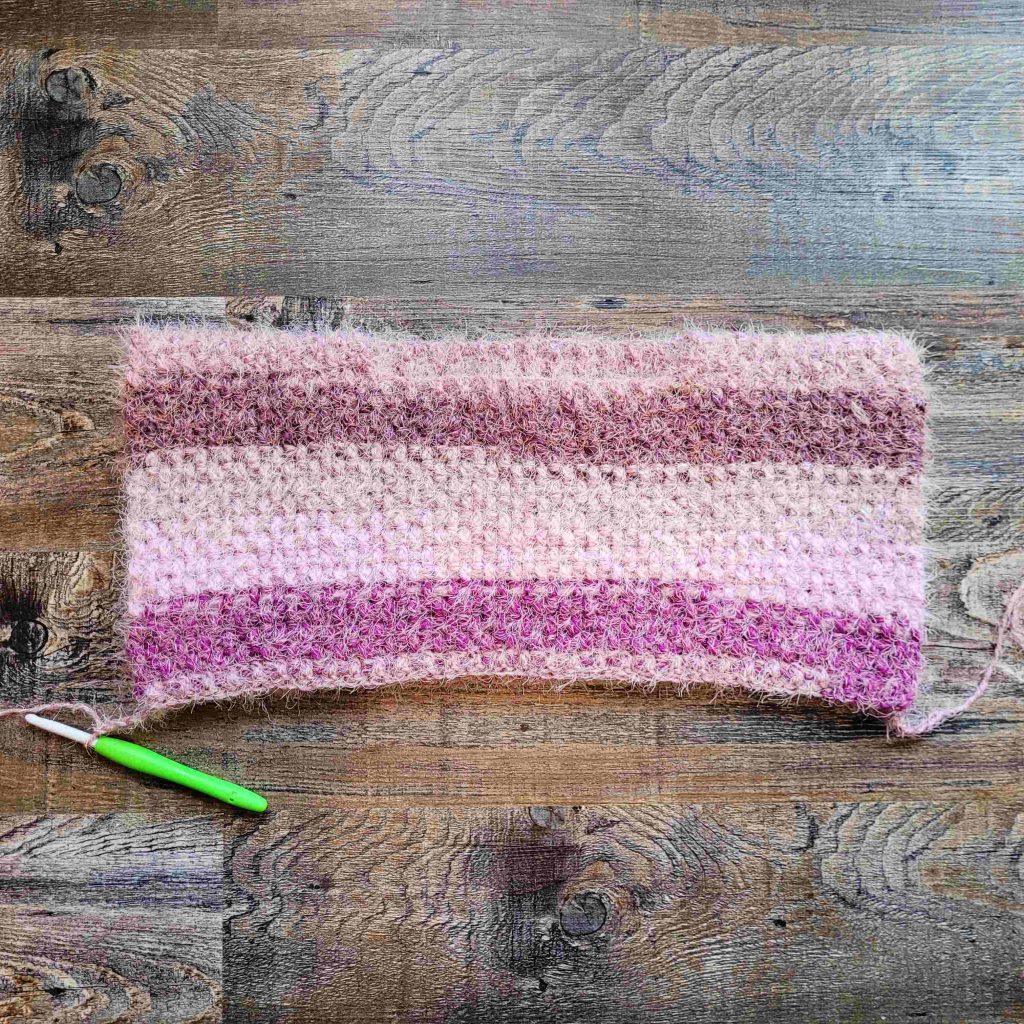
Figure 7
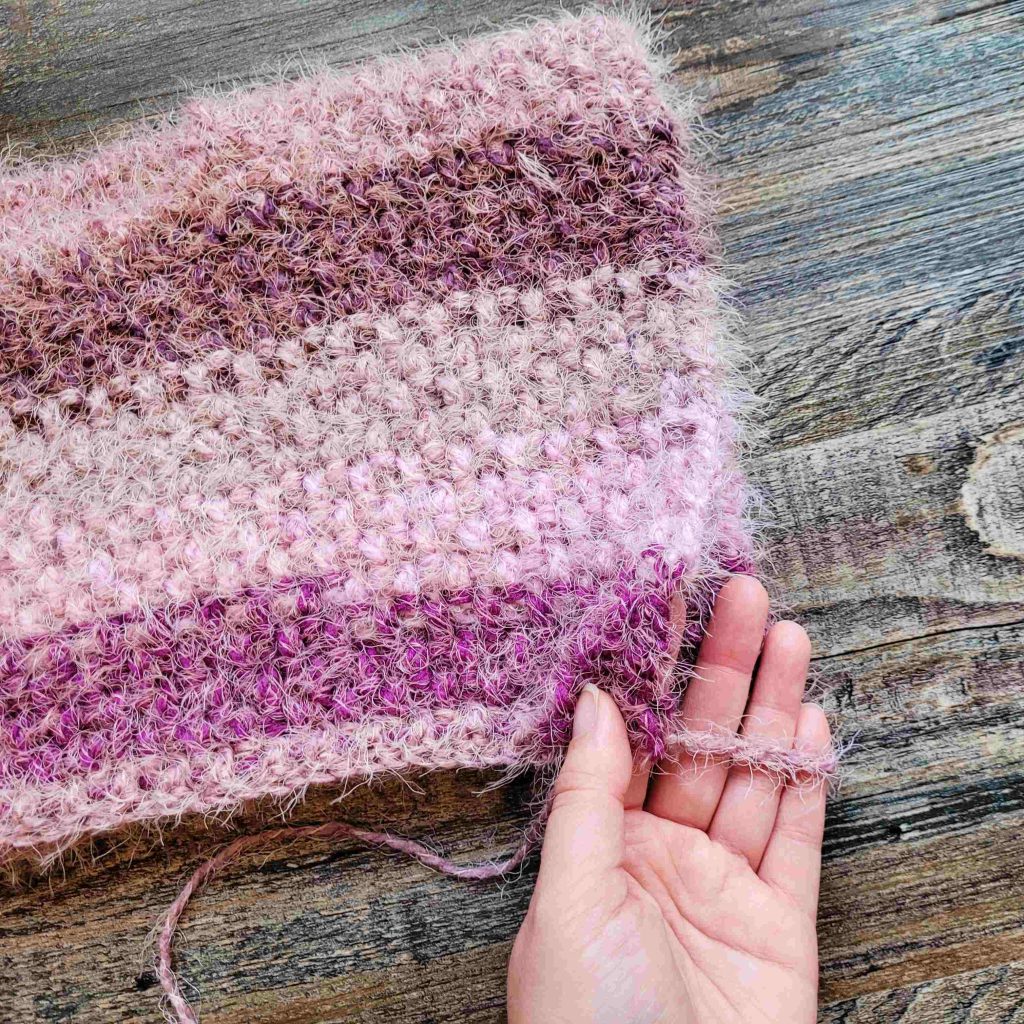
Figure 8
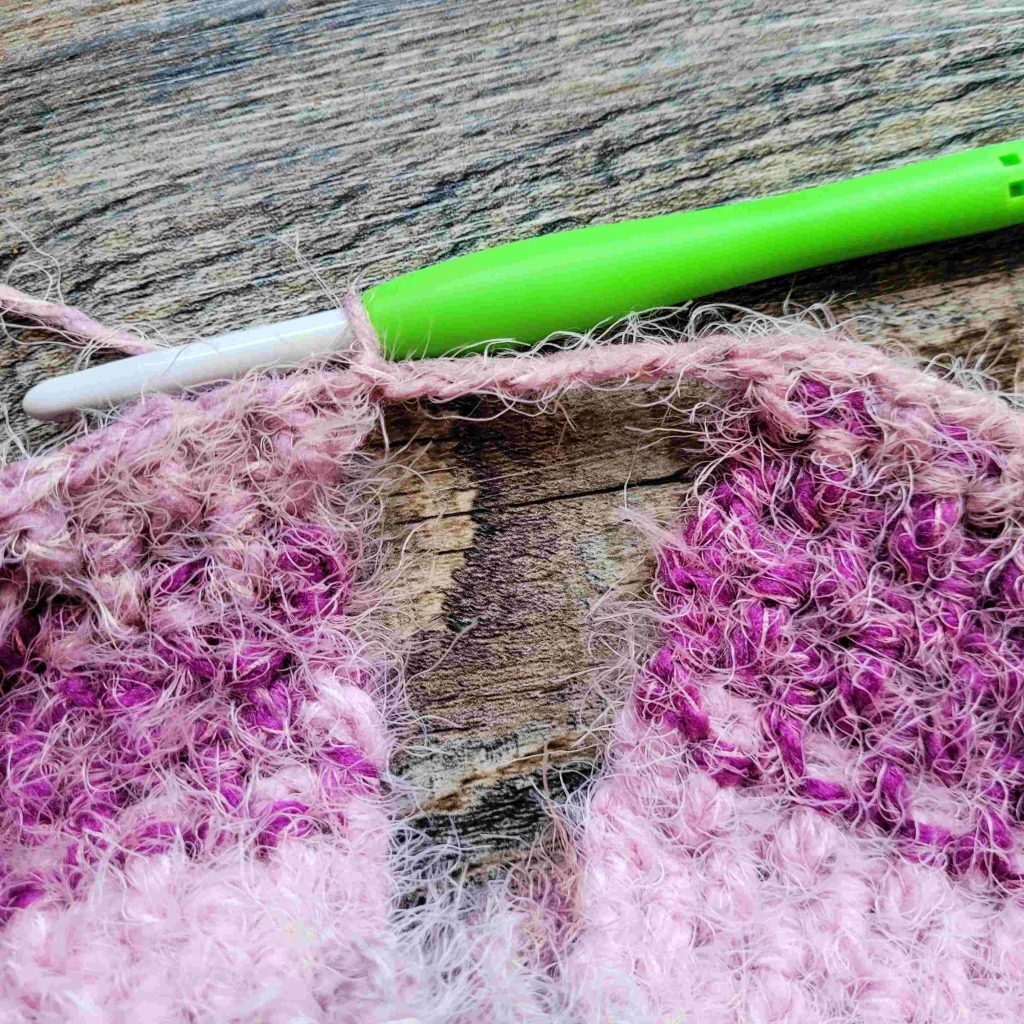
Figure 9
- (RS) Ch2. Fpdc in 1st st. Dc in next 3 (3, 5, 5, 5, 5, 7, 7, 7) chs. Fpdc in next st. *Bpdc in next st. Fpdc in next st.** Repeat from * to ** until you come to the next ch. Dc in next 3 (3, 5, 5, 5, 5, 7, 7, 7) chs. *Fpdc in next st. Bpdc in next st.** Repeat from * to ** to the end of the round. Ss to join to 1st st. Turn. – 96 (108, 124, 136, 152, 164, 176, 192, 204) st
- (WS) Ch2. Fpdc in 1st st. Bpdc in next st. *Fpdc in next st. Bpdc in next st.** Repeat from * to ** around. Ss to join to 1st st. Turn. – 96 (108, 124, 136, 152, 164, 176, 192, 204) st
Repeat round 2 until you have achieved your desired length minus 1 ¾”. Make your last round a WS round.
Bottom Hem
Next we will finish off the bottom hem with a ribbed band. With the RS facing you, work the sc round below.
Sc Round
- Ch1. Sc in 1st st and each st around. Ss to join to 1st st. Do not turn. – 96 (108, 124, 136, 152, 164, 176, 192, 204) st
Ribbing
- (RS) Ch7. Sc in 2nd ch and each ch across. Ss to st you chained from. Ss to next st. Turn. – 6 st + 2 ss
- (WS) Sk 2 ss, sc in blo of next 5 sts. Sc in both loops of last st. Turn. – 6 st
- Ch1. Sc in 1st st. Sc in blo of next 5 sts. Ss to next 2 unworked sts. Turn. – 6 st + 2 ss
Repeat rows 2 & 3 all the way around the bottom, ending with a repeat of row 2.
With the wrong side facing you, slip stitch the ends of the ribbing together, working through the bottom of the first row and back loop of the last row. Bind off. The seam should be nearly invisible on the right side.
Arm Openings
Each arm opening is also finished off with a ribbed band. With the RS facing you, join your yarn at the bottom of the arm opening.
Sc Round
- Ch1. Sc around the arm opening in the following manner:
- Work 1 sc into the bottom of each ch.
- Alternate between 1 & 2 sc in the end of each fpdc/bpdc row.
- Once you have worked all the way around the arm opening, ss to join to the 1st st.
- 57 (57, 59, 65, 65, 65, 73, 73, 73) st
Ribbing
- (RS) Ch5. Sc in 2nd ch and each ch across. Ss to st you chained from. Ss to next st. Turn. – 4 st + 2 ss
- (WS) Sk 2 ss, sc in blo of next 3 sts. Sc in both loops of last st. Turn. – 4 st
- Ch1. Sc in 1st st. Sc in blo of next 3 sts. Ss to next 2 unworked sts. Turn. – 4 st + 2 ss
Repeat rows 2 & 3 around the arm opening, ending with a repeat of row 2. Note: On your last repeat of row 3, you will have to ss into the last 3 unworked sts, then skip 3 ss on the last repeat of row 2.
With the wrong side facing you, slip stitch the ends of the ribbing together, working through the bottom of the first row and back loop of the last row. Bind off. The seam should be nearly invisible on the right side.
Crochet Vest Pattern – Fuzzy Textures
Neck
We will use the same ribbing to finish off the neck. The only difference is the rows will be much longer. You can make your turtle neck as long or as short as you like. I wanted mine to be almost as long as my neck while folded in half, so the total length is 7”. I also wanted mine to be close fitting to my neck, so I changed my hook to 1 size down (6mm). Alternatively, if you like your neck a bit loose, you can keep the same hook size or even go up a size. This is all personal reference, so feel free to adjust the neck to your comfort level.
With the RS facing you, join your yarn anywhere on the back of the neck.
Sc Round
- Ch1. Sc around the neck in the following manner:
- Work 1 sc into the bottom of each ch (front and back of the neck).
- Work 6 sc along each side of the neck.
- Once you have worked all the way around the neck, ss to join to the 1st st.
- 54 (58, 54, 58, 58, 62, 62, 64, 66) st
Ribbing
- (RS) Ch25. Sc in 2nd ch and each ch across. Ss to st you chained from. Ss to next st. Turn. – 24 st + 2 ss
- (WS) Sk 2 ss, sc in blo of next 23 sts. Sc in both loops of last st. Turn. – 24 st
- Ch1. Sc in 1st st. Sc in blo of next 23 sts. Ss to next 2 unworked sts. Turn. – 24 st + 2 ss
Repeat rows 2 & 3 around the neck, ending with a repeat of row 2.
With the wrong side facing you, slip stitch the ends of the ribbing together, working through the bottom of the first row and back loop of the last row. Bind off. The seam should be nearly invisible on the right side.
Weave in your ends, and you’re done!
I hope you love your new crochet vest, and I look forward to seeing all of your beautiful pictures on Ravelry!
If you’d like to know when I post new patterns and tutorials like the Crochet Vest Pattern – Fuzzy Textures, head on over to my Facebook and Instagram and give me a like and a follow!
If you enjoyed the Free Crochet Vest Pattern – Fuzzy Textures, you may want to check out my other designs!
Crochet Vest Pattern – Fuzzy Textures
Until next time… Happy Hooking! 😉