This Crochet Bead Stitch Tutorial is copyrighted by I Need It Crochet. You may not copy, share, change, or sell the tutorial itself. Also, you may not claim this tutorial as your own. All pictures contained in this tutorial fall under the copyright and may not be used.
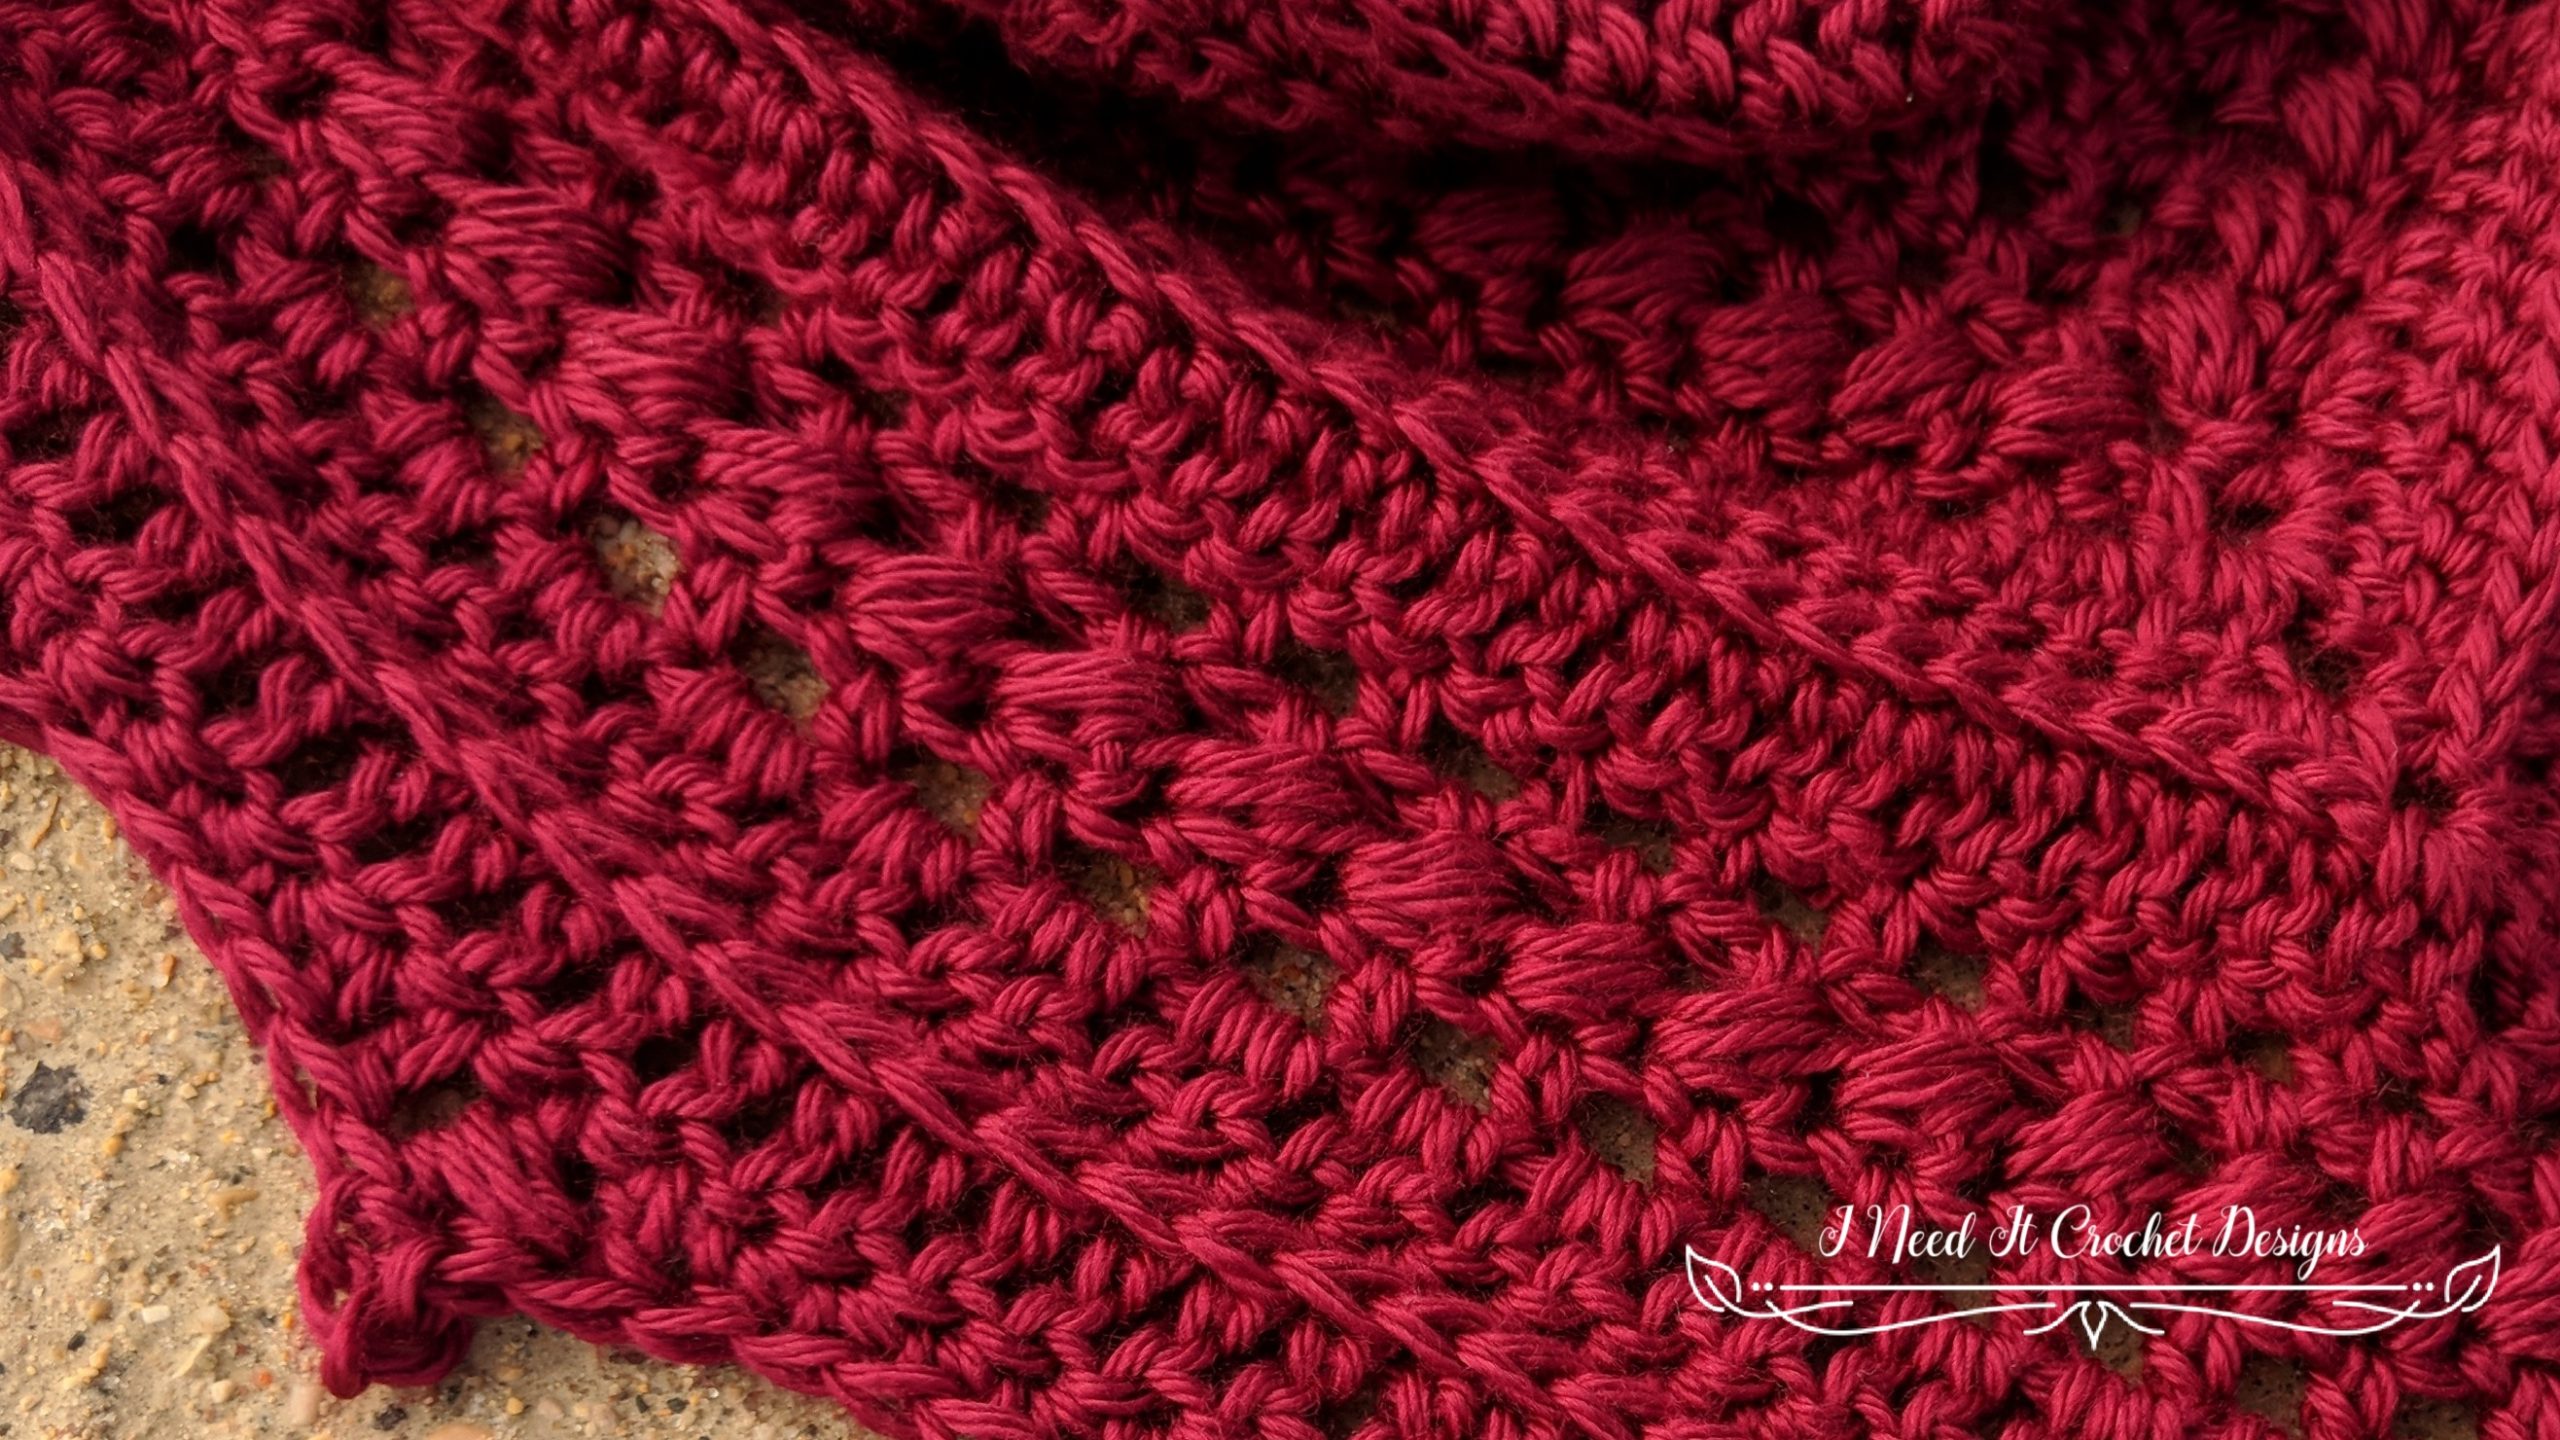
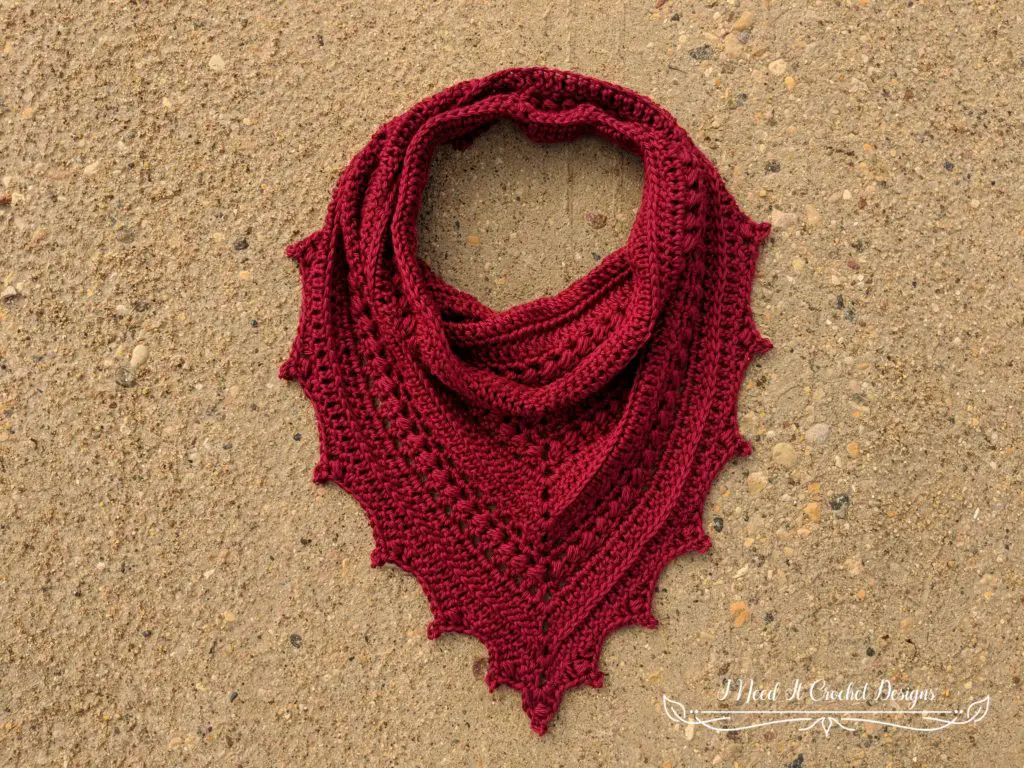
When I came across the Crochet Bead Stitch in my trusty Crochet Stitch Dictionary, by Sarah Hazell, I knew I just had to make something beautiful with it! So, I created the Bauble Bandana Cowl. I love how it turned out! The Crochet Bead Stitches really add something special to this piece.
When you use a yarn with a little bit of sheen, it looks like you are working a string of beads into your project. It really is a wonderfully fun stitch to make. And it isn’t very hard! Here, I’m going to teach you how.
Crochet Bead Stitch Tutorial
You begin by making a dc in the same stitch where you would like your bead stitch (see figure 1).
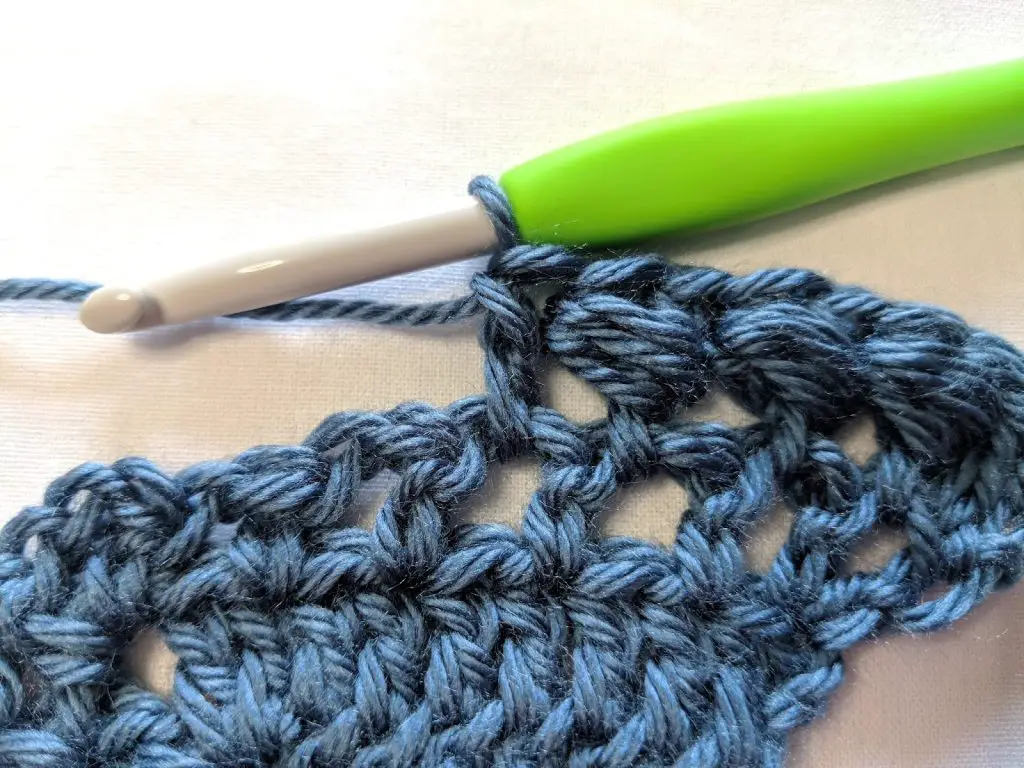
The next step is a little tricky, but once you get the hang of it, it will be a breeze. You are basically making a hdc3tog around the post of the dc you just made.
– So, you yarn over, insert your hook around the dc, yarn over, and pull it through, three times. You should have 7 loops on your hook (see figure 2).
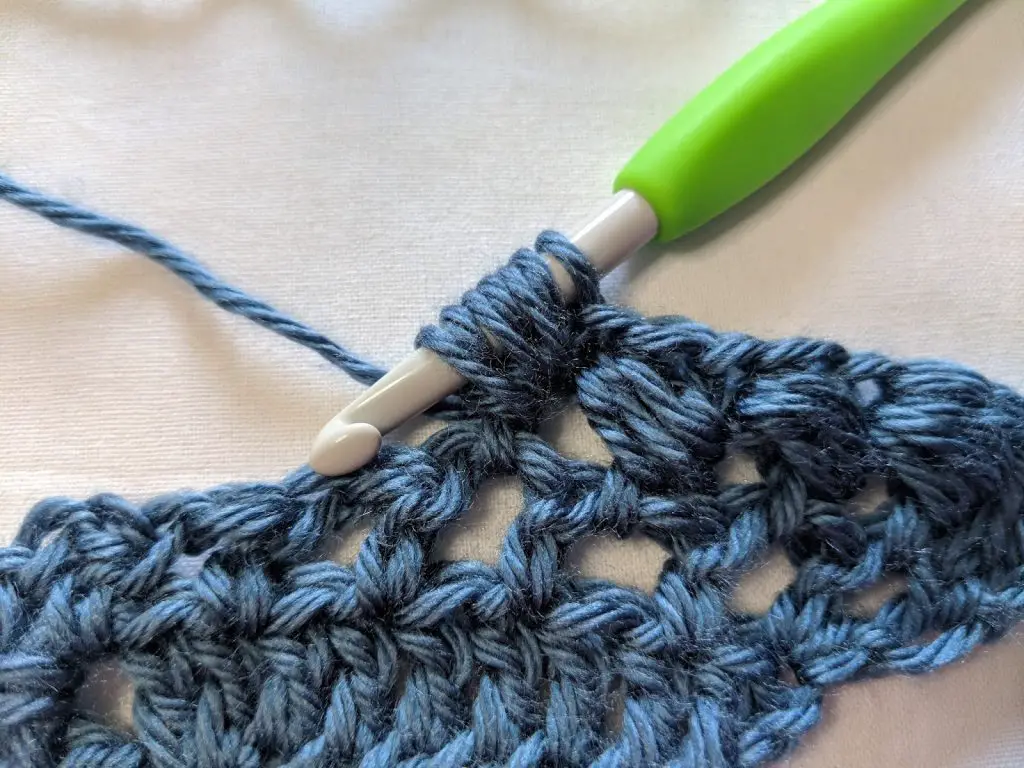
– Then, you yarn over and pull the yarn through all 7 loops (see figure 3). There! You have made a bead stitch! That wasn’t too bad, right?
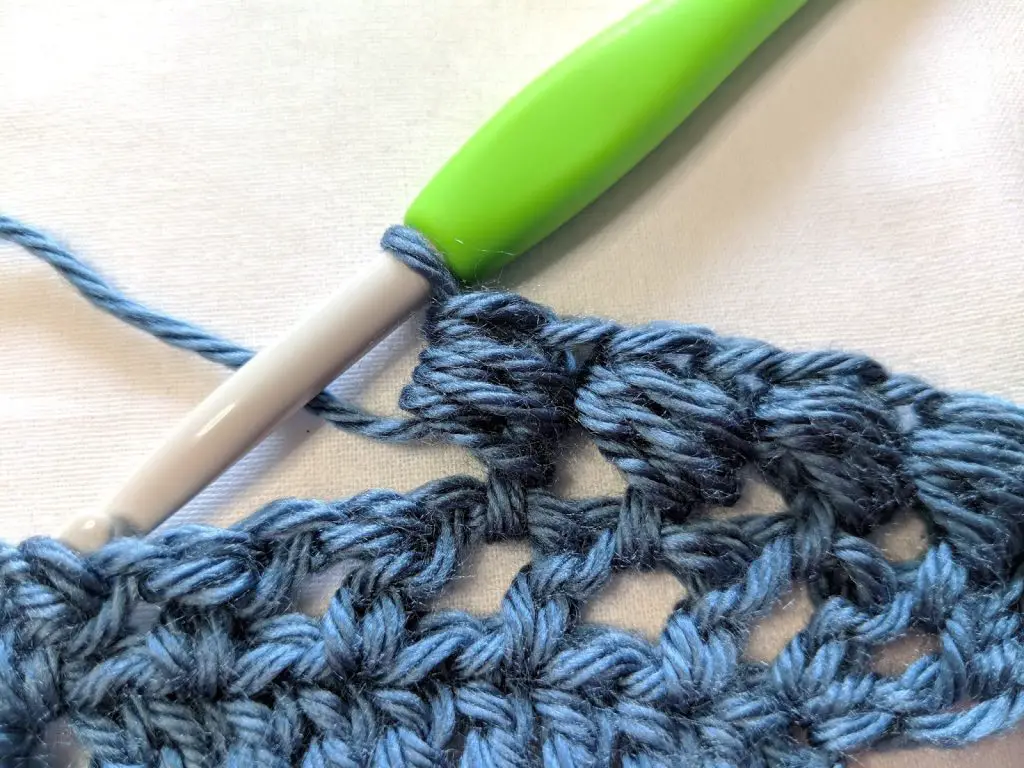
If you find your bead stitch looking a little messy, just pull it out and try again. The trick is to have even tension on all of your loops so that they are all relatively the same size. Keep practicing until they look even and consistent.
Now that you know how to do the bead stitch, head on over to the Bauble Bandana Cowl and get started!
If you enjoyed this Crochet Bead Stitch Tutorial, you might want to check out my other Tips, Tricks, and Tutorials.
If you’d like to know when I post new patterns and tutorials, head on over to my Facebook and Instagram and give me a like and a follow!
Happy Hooking! 😉

