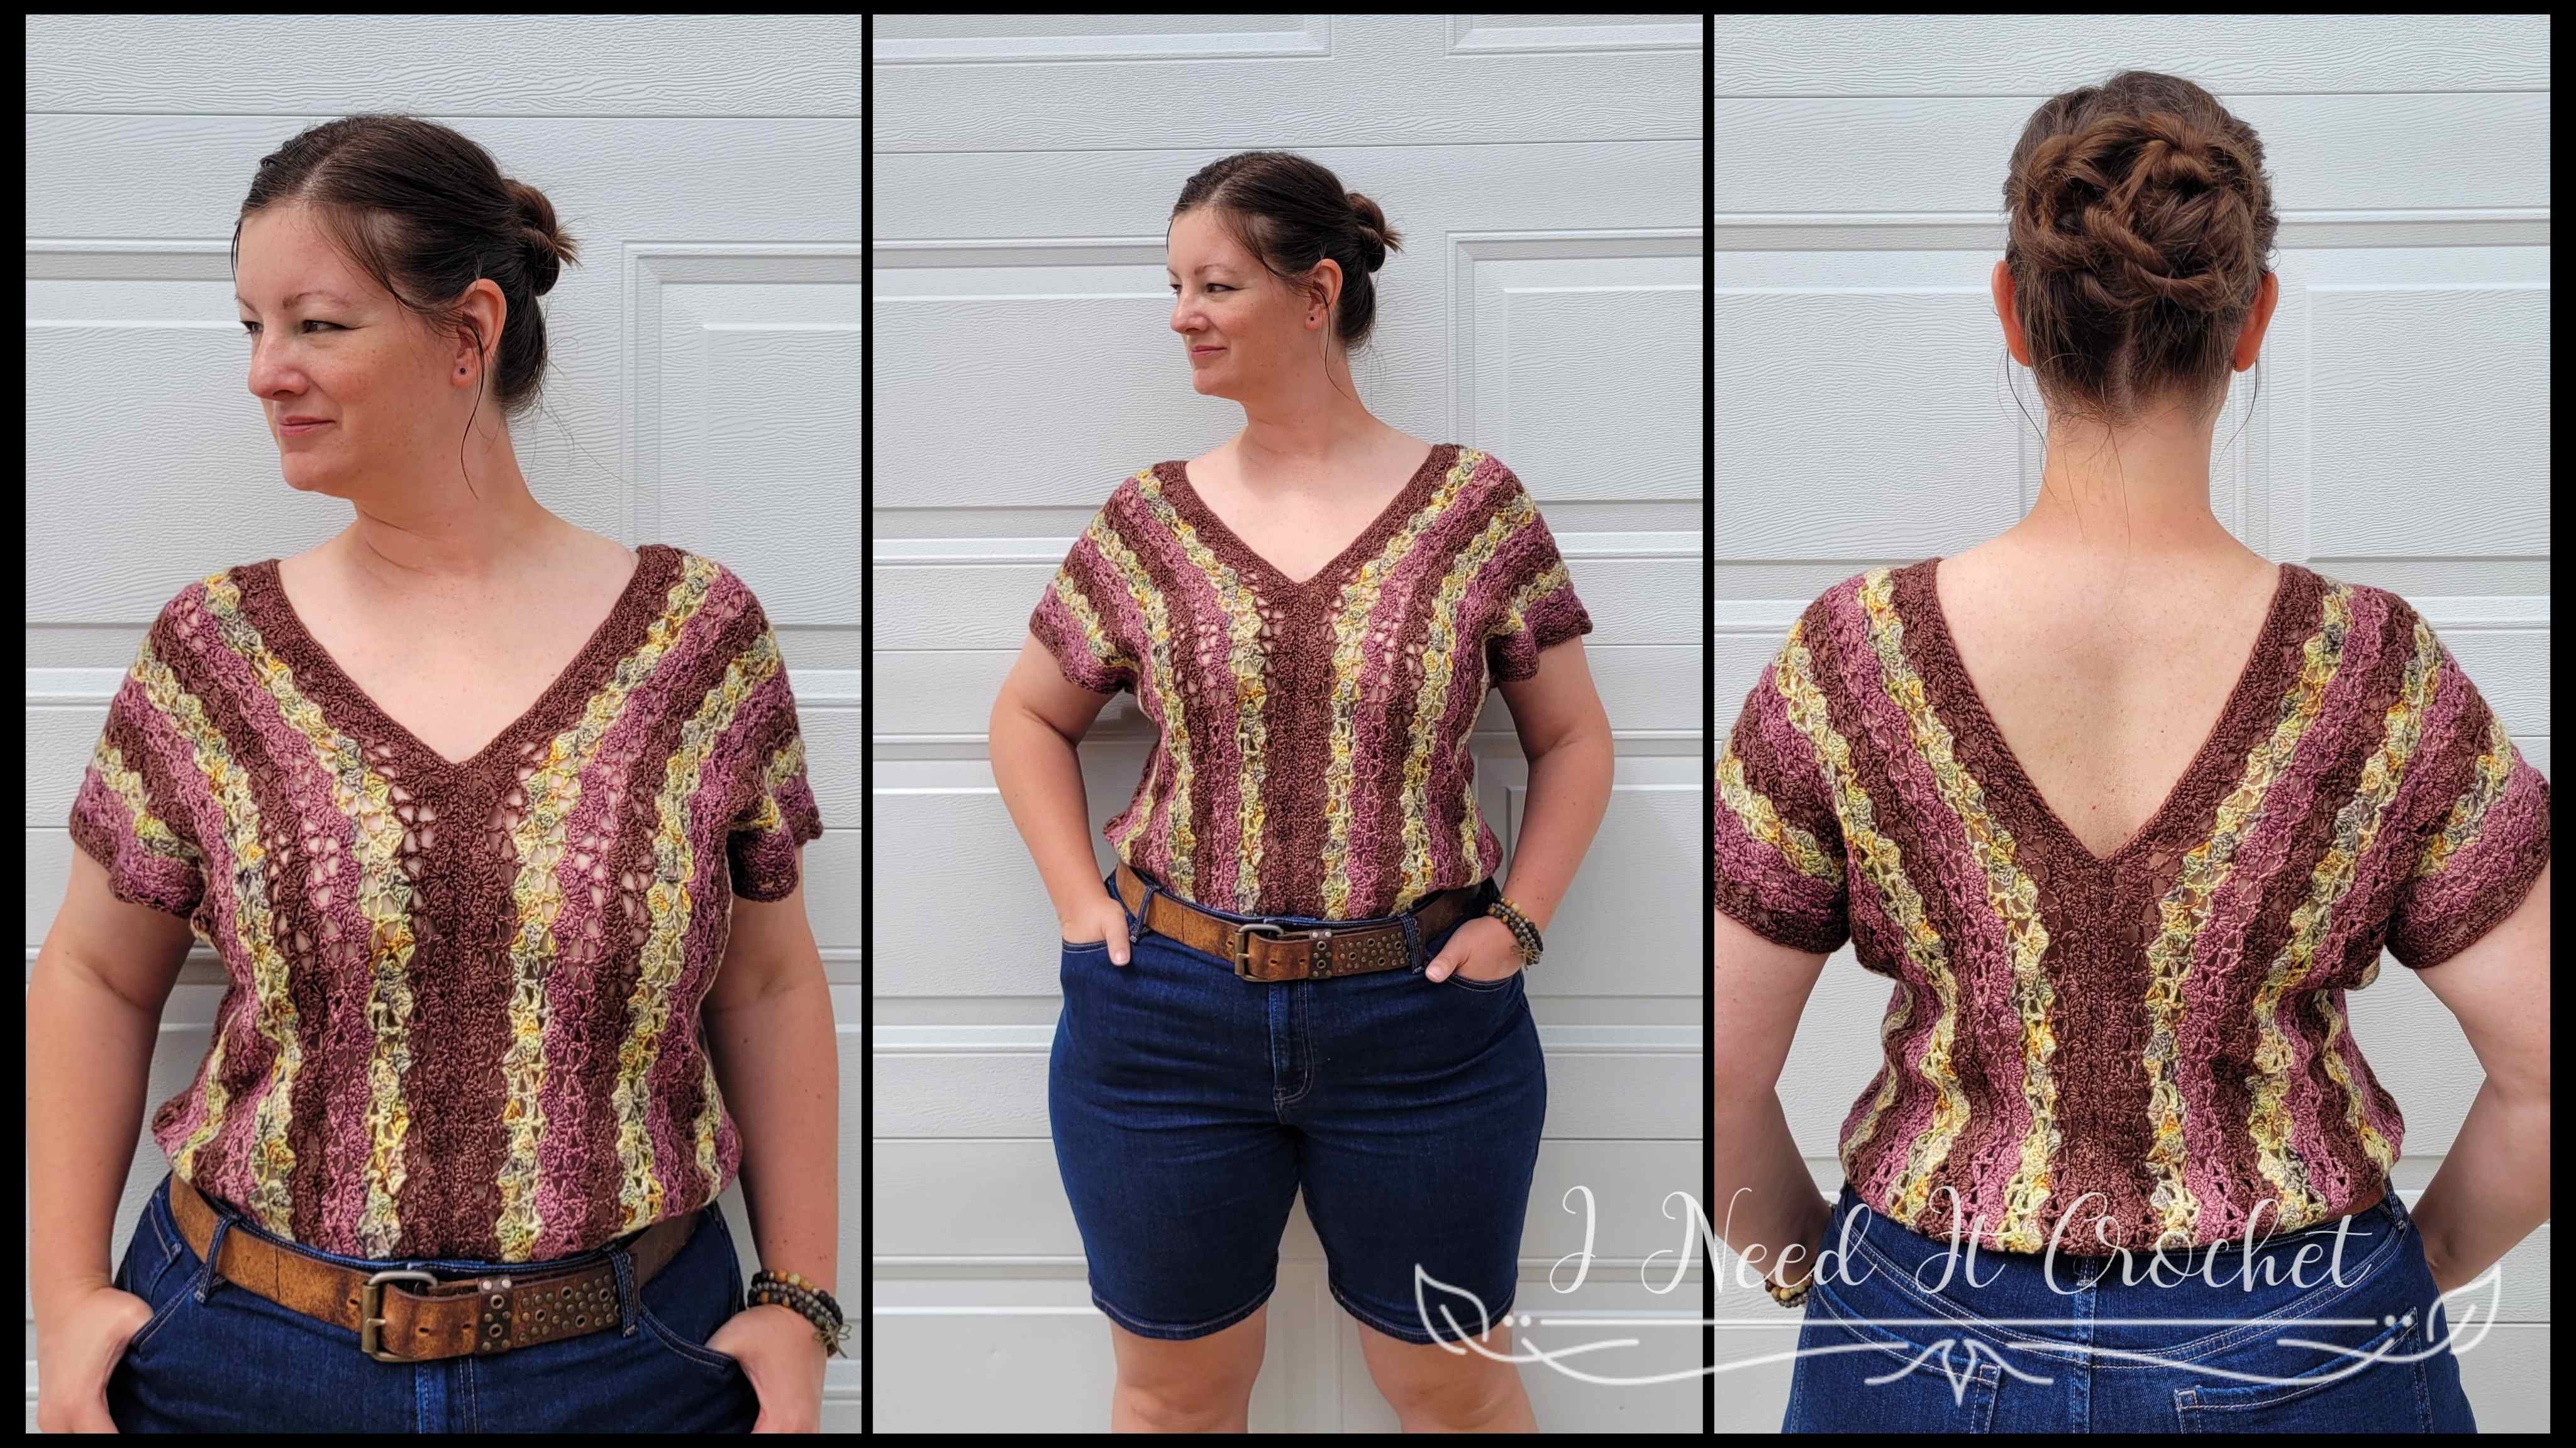
The Free Crochet Top Pattern – Thalassa Top is copyrighted by I Need It Crochet. You may not copy, share, change, or sell the pattern itself. Also, you may not claim this pattern as your own. All pictures contained in this pattern fall under the copyright and may not be used.
Finished items made from the Free Crochet Top Pattern – Thalassa Top belong to you, and you may do what you wish with them. If you choose to sell them on Etsy, I would very much appreciate it if you credited me as the pattern designer.


Or… Just scroll down to see it for free!
Like most fibre artists, I love visiting my local little yarn store. I love the engaging conversations with staff and other patrons, the smells of the coffee shop next door, and, of course, the irresistibly soft yarns I get to touch and admire!
It was on one such outing that I discovered Smash Knits. I instantly fell in love with their range and depth of colour as well as their gorgeously touchable yarn base. I picked three colours, brought them home, and eagerly waited until they told me what they wanted to be. Once the idea for the Thalassa Top materialized, I knew this would be the best way to showcase them.
Free Crochet Top Pattern – Thalassa Top
The Yarn
Do you ever buy yarn with no idea of what you’re going to make with it? I’d love to say that I have intentions for all of the yarn I buy, but the reality is that many of the gorgeous fibres that fall into my basket are for an unknown, unnamed future project.
Last year I took a trip to Wolseley Wool to spend some birthday money. Soon after I walked in, my eye was drawn to the display of Smash Knits Super Sock yarns. I walked the store for awhile, touching all the yarns and chatting with staff and other customers. But I kept going back to the same display.
I knew I had to take this yarn home. I also wanted to challenge myself, so I picked 3 colours instead of going with my usual monochromatic look. I knew I would be making something special with my purchase. This yarn is unbelievably soft, with just a little bit of spring. I can’t get over how beautiful they are. The depth of colour is magnificent. I am completely in love.
It took nearly a year for the yarn to tell me what it wanted to be. But that’s ok. I’m patient. And I was determined to create something worthy.


How To Crochet The Free Crochet Top Pattern – Thalassa Top
Finished Sizes:
Instructions given to fit size X-small; changes for small, medium, large, X-large, 2X-large, 3X-large, 4X-large and 5X-large are in ()
XS (S, M, L, XL, 2XL, 3XL, 4XL, 5XL)
Body Circumference: 28” (32”, 36”, 40”, 44”, 48”, 52”, 56”, 60”)
Finished Length: Customizable.
Armhole Depth: Customizable
Gauge:
See gauge swatch instructions below. Be sure to always check your gauge. It will save you much time and heartache.
Materials:
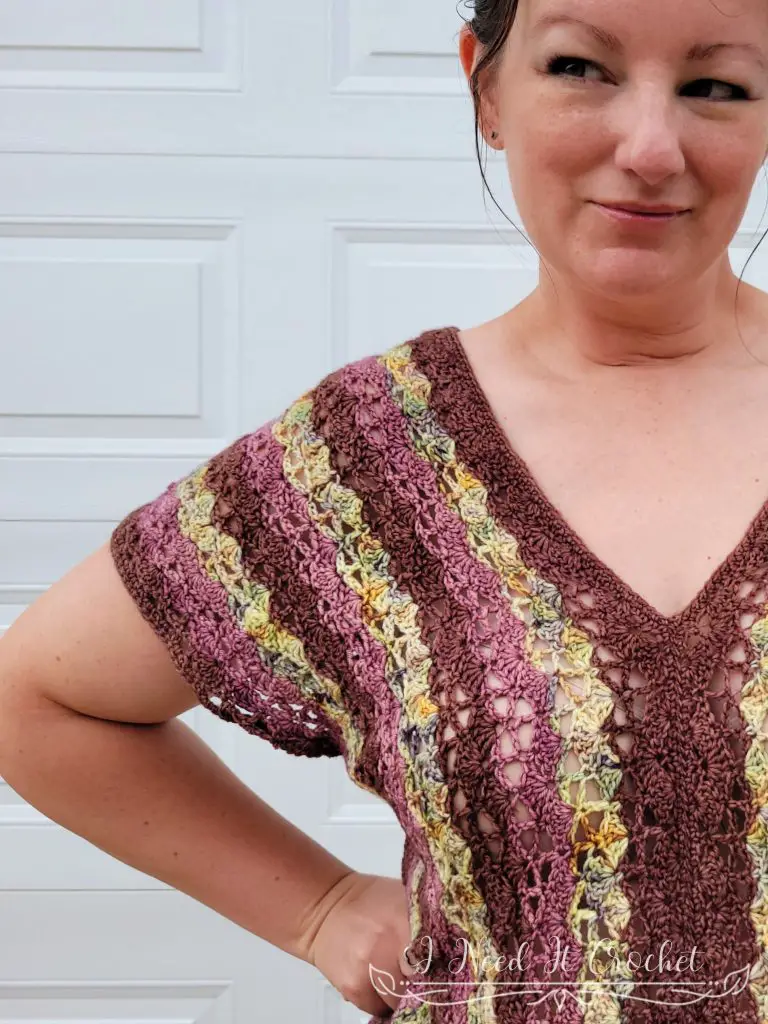
I used Smash Knits Super Sock, which is a 85% Superwash Merino, 15% Nylon, #1 Fingering weight yarn.
Any yarn of similar weight would work.
Approximately 800 (900, 1000, 1100, 1200, 1300, 1400, 1500, 1600) yds.
4mm Hook
Stitch Markers
Yarn Needle
Scissors
Measuring Tape
Abbreviations:
RS = Right Side
WS = Wrong Side
Sk = Skip
St = Stitch
Ss = Slip Stitch
Ch = Chain
Sc = Single Crochet
Dc = Double Crochet
Tr = Treble Crochet
Notes:
Ch1 at the beginning of a row is never considered a stitch.
Ch1 between stitches is considered a stitch.
Ch3 at the beginning of a row is considered a dc.
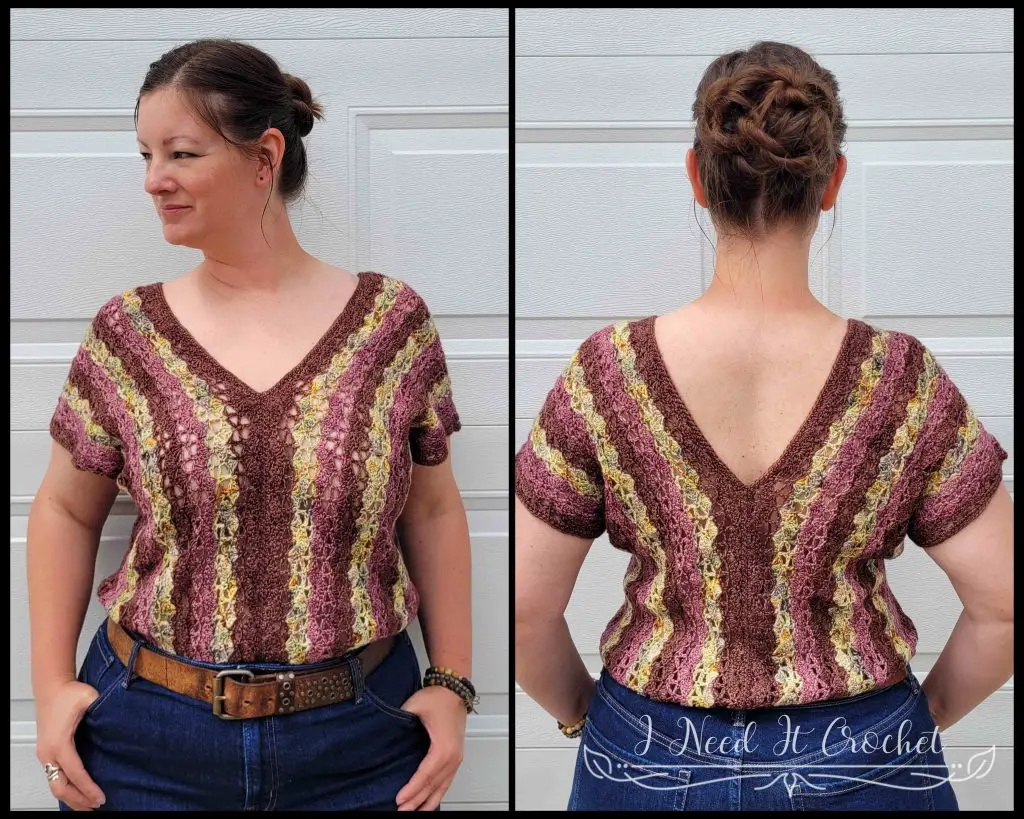
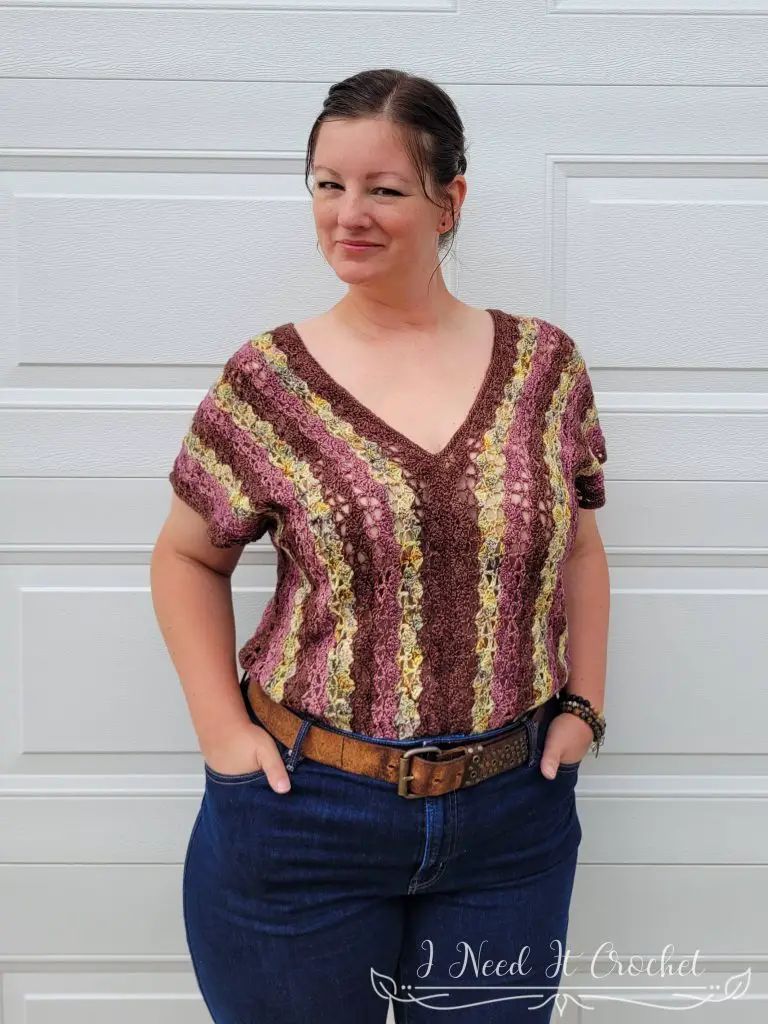
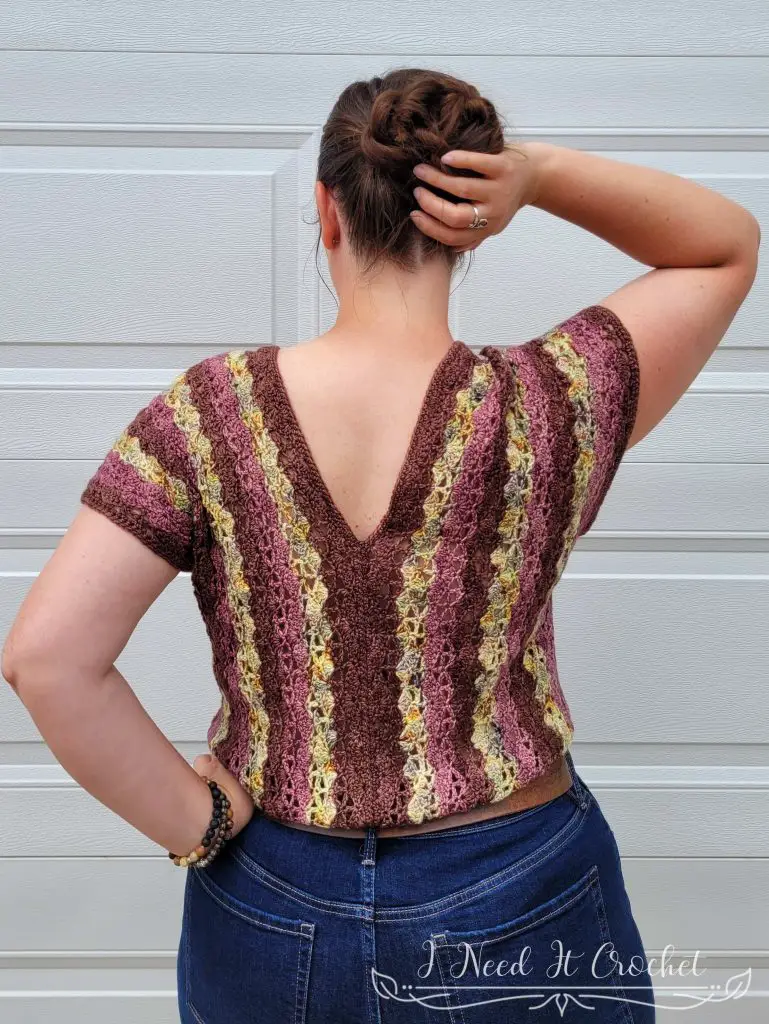
The model above (that’s me) has a 38” bust and is wearing a size L.
Choose your size according to your largest measurement (bust/waist) and how you would like the top to fit. For a close-fitting top, choose the size closest to your largest measurement. For a loose top, choose a size 2-3” larger.
Free Crochet Top Pattern – Thalassa Top
Gauge Swatch
The instructions below will create a gauge swatch that is 4 ½” (9”) wide by 4 ½” (9 ”) high. If you are making a larger size and/or you sometimes find your tension is off, I recommend making the larger swatch. But, of course, that is completely up to you. Also, the width of your swatch is much more important than the overall height. If your width is on point but your height is off, I recommend using the hook that gives you the correct width.
With 4mm hook
- Ch 26 (50). Sc in 2nd ch and each ch across. Turn. – 25 (49) st
- Ch3, 2dc in 1st st (counts as 3dc in 1st st). Sk 2 sts, sc in next st. *Sk 2 sts, 5dc in next st. Sk 2 sts, sc in next st.** Repeat from * to ** until 3 sts left. Sk 2 sts, 3dc in last st. Turn. – 25 (49) st
- Ch1, sc in 1st st. *Ch2, sk 2 sts, dc in next st. Ch2, sk 2 sts, sc in next st. Sk 2 sts, 5dc in next st. Sk 2 sts, sc in next st.** Repeat from * to ** across. Turn. – 25 (49) st
- Ch5 (counts as dc + ch2). Sk 2 sts, sc in next st. *Ch2, sk 2 sts, dc in next st. Ch2, sk 2 sts, sc in next st.** Repeat from * to ** until 3 sts left. Ch2, sk 2 sts, dc in last st. Turn. – 25 (49) st
- Ch1, sc in 1st st. *Sk 2 sts, 5dc in next st. Sk 2 sts, sc in next st.** Repeat from * to ** across. Turn. – 25 (49) st
- Ch3, 2dc in 1st st (counts as 3dc in 1st st). Sk 2 sts, sc in next st. Ch2, sk 2 sts, dc in next st. Ch2, sk 2 sts, sc in next st. *Sk 2 sts, 5dc in next st. Sk 2 sts, sc in next st. Ch2, sk 2 sts, dc in next st. Ch2, sk 2 sts, sc in next st.** Repeat from * to ** until 3 sts left. Sk 2 sts, 3dc in last st. Turn. – 25 (49) st
- Ch1, sc in 1st st. *Ch2, sk 2 sts, dc in next st. Ch2, sk 2 sts, sc in next st.** Repeat from * to ** across. Turn. – 25 (49) st
Repeat rows 2 – 7 until you have a total of 13 (25) rows. Your swatch should measure 4 ½” (9 ”) W by 4 ¼” (8 ¼”) H.
Instructions
This top is made of two long panels sewn together to create the neck and arm openings. Then, the edges will be finished off with a row of sc.
If you want to make your top multicoloured like mine, then switch colours after completing rows 5 and 7. Or you can play around with your colours and have fun with it!
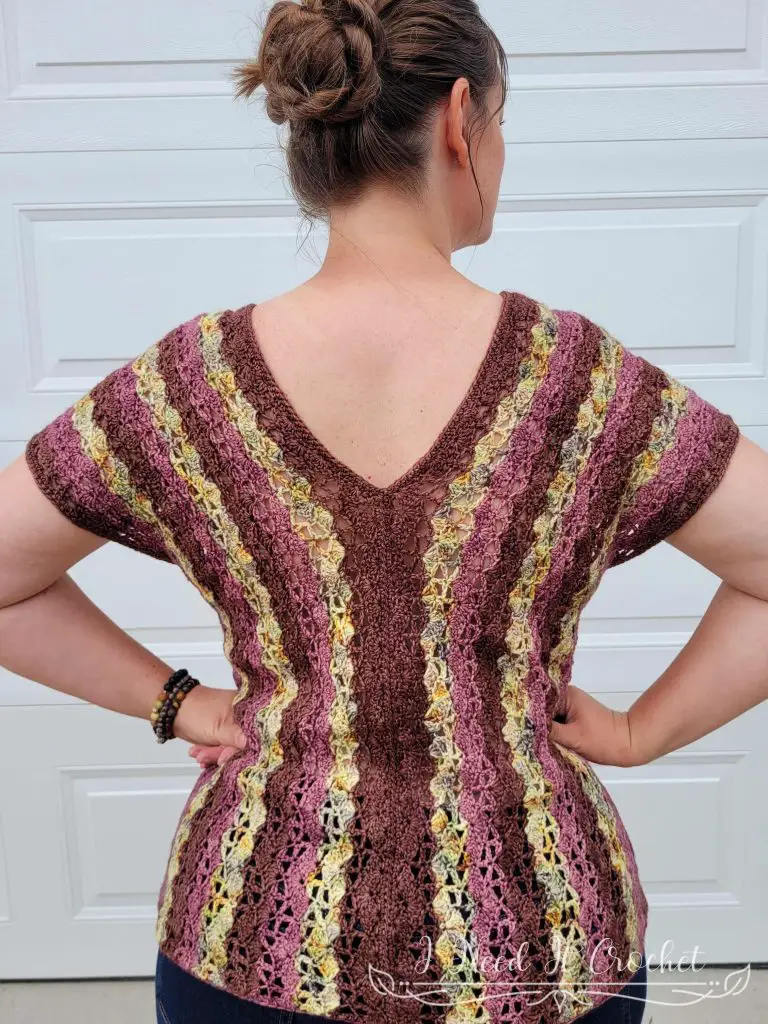
Free Crochet Top Pattern – Thalassa Top
Panel – Make 2
With 4mm hook (or hook used to obtain gauge). Begin with a long tail for sewing.
- (RS) Ch 242 (242, 242, 248, 248, 248, 254, 254, 254) (see note below to customize finished length). Sc in 2nd ch and each ch across. Turn. – 241 (241, 241, 247, 247, 247, 253, 253, 253) st
Adjusting the length: As written, the length of the finished top will be 22” (22”, 22”, 23”, 23”, 23”, 24”, 24”, 24”) from shoulder to bottom hem. If you would like your top to be longer or shorter, simply add or subtract a multiple of 12 chs to your starting chain. Each 12 chs will add or subtract approximately an inch of length from your finished top.
- (WS) Ch3, 2dc in 1st st (counts as 3dc in 1st st). Sk 2 sts, sc in next st. *Sk 2 sts, 5dc in next st. Sk 2 sts, sc in next st.** Repeat from * to ** until 3 sts left. Sk 2 sts, 3dc in last st. Turn. – 241 (241, 241, 247, 247, 247, 253, 253, 253) st
- Follow only the instructions marked with your size:
Sizes XS, S, M, 3X, 4X, & 5X: Ch1, sc in 1st st. *Ch2, sk 2 sts, dc in next st. Ch2, sk 2 sts, sc in next st. Sk 2 sts, 5dc in next st. Sk 2 sts, sc in next st.** Repeat from * to ** across. Turn.
Sizes L, XL, & 2X: Ch1, sc in 1st st. Ch2, sk 2 sts, dc in next st. Ch2, sk 2 sts, sc in next st. *Sk 2 sts, 5dc in next st. Sk 2 sts, sc in next st. Ch2, sk 2 sts, dc in next st. Ch2, sk 2 sts, sc in next st.** Repeat from * to ** across. Turn.
– 241 (241, 241, 247, 247, 247, 253, 253, 253) st - Ch5 (counts as dc + ch2). Sk 2 sts, sc in next st. *Ch2, sk 2 sts, dc in next st. Ch2, sk 2 sts, sc in next st.** Repeat from * to ** until 3 sts left. Ch2, sk 2 sts, dc in last st. Turn. – 241 (241, 241, 247, 247, 247, 253, 253, 253) st
- Ch1, sc in 1st st. *Sk 2 sts, 5dc in next st. Sk 2 sts, sc in next st.** Repeat from * to ** across. Turn. – 241 (241, 241, 247, 247, 247, 253, 253, 253) st
- Follow only the instructions marked with your size:
Sizes XS, S, M, 3X, 4X, & 5X: Ch3, 2dc in 1st st (counts as 3dc in 1st st). Sk 2 sts, sc in next st. Ch2, sk 2 sts, dc in next st. Ch2, sk 2 sts, sc in next st. *Sk 2 sts, 5dc in next st. Sk 2 sts, sc in next st. Ch2, sk 2 sts, dc in next st. Ch2, sk 2 sts, sc in next st.** Repeat from * to ** until 3 sts left. Sk 2 sts, 3dc in last st. Turn.
Sizes L, XL, & 2X: Ch3, 2dc in 1st st (counts as 3dc in 1st st). Sk 2 sts, sc in next st. *Ch2, sk 2 sts, dc in next st. Ch2, sk 2 sts, sc in next st. Sk 2 sts, 5dc in next st. Sk 2 sts, sc in next st.** Repeat from * to ** until 3 sts left. Ch2, sk 2 sts, dc in last st. Turn.
– 241 (241, 241, 247, 247, 247, 253, 253, 253) st - Ch1, sc in 1st st. *Ch2, sk 2 sts, dc in next st. Ch2, sk 2 sts, sc in next st.** Repeat from * to ** across. Turn. – 241 (241, 241, 247, 247, 247, 253, 253, 253) st
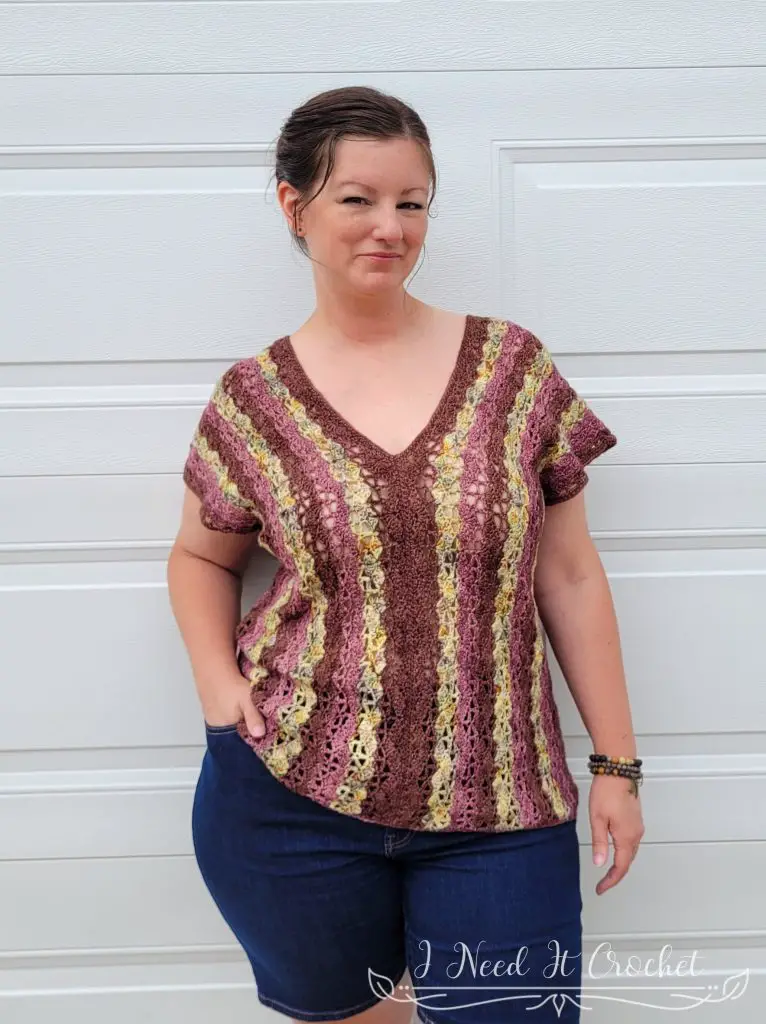
Free Crochet Top Pattern – Thalassa Top
Measurement Check: Your project should now be 44” (44”, 44”, 46”, 46”, 46”, 48”, 48”, 48”) wide (unless you have adjusted the length). If your measurement is off, you may want to start over with a different sized hook.
Repeat rows 2 – 7 until your project is 7” (8”, 9”, 10”, 11”, 12”, 13”, 14”, 15”) high, ending with an odd numbered row (3, 5, or 7). Proceed to row 8 below.
- Ch1. Sc in 1st st and each st and ch sp across (each ch2 sp will receive 2 sc). Bind off, leaving a long tail for sewing. – 241 (241, 241, 247, 247, 247, 253, 253, 253) st
Your panels should look similar to Figure 1 below. Next, we will sew them together.
Lay out your panels, right side up,with the first rows together as seen in Figure 1. Fold each panel in half with right sides facing each other as seen in Figure 2. Sew along sides, center front, and center back to create arm and neck holes. I highly recommend you take the time to try on your top at this point to make sure the arm holes and neckline are the size you want so you can adjust them if needed. Your project should now look similar to Figure 3. Turn right side out.
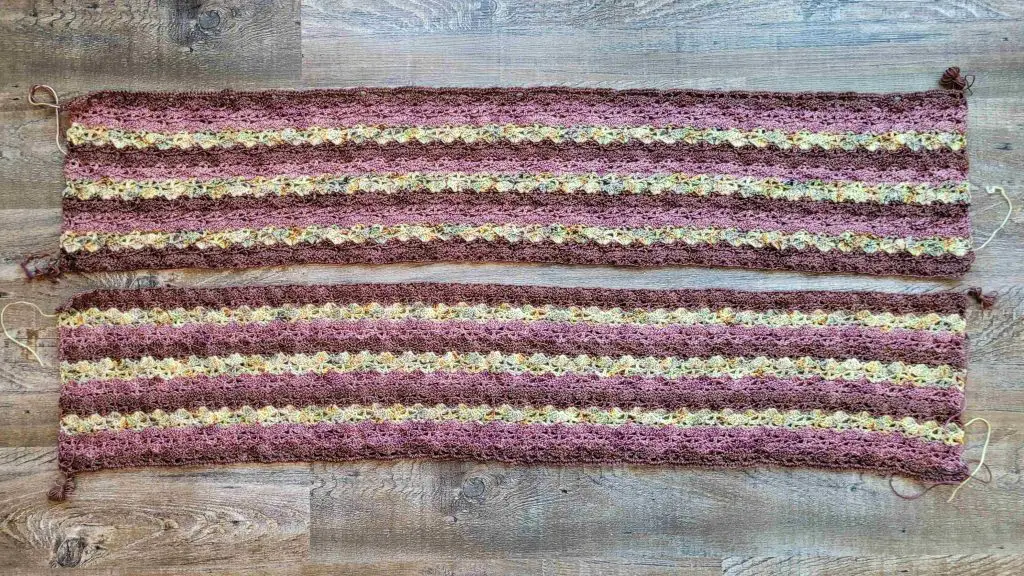
Figure 1
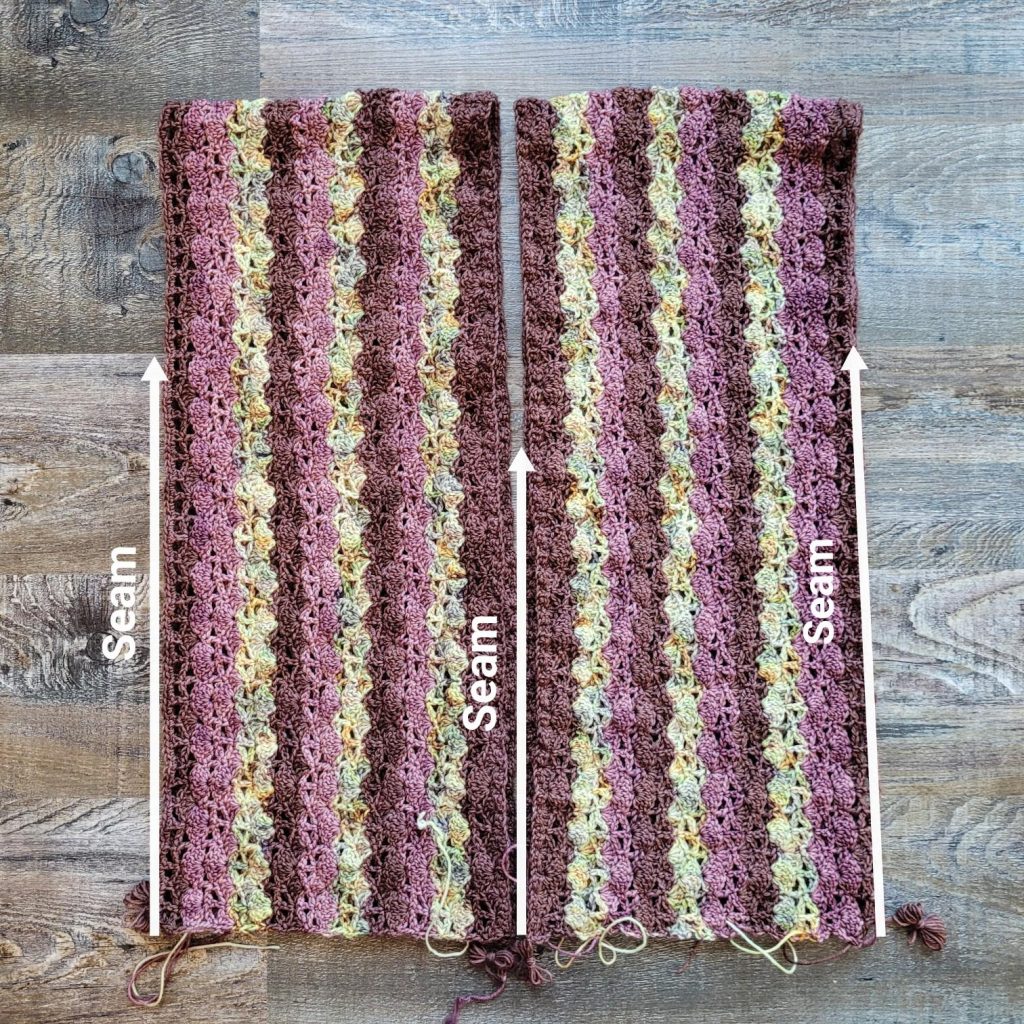
Figure 2
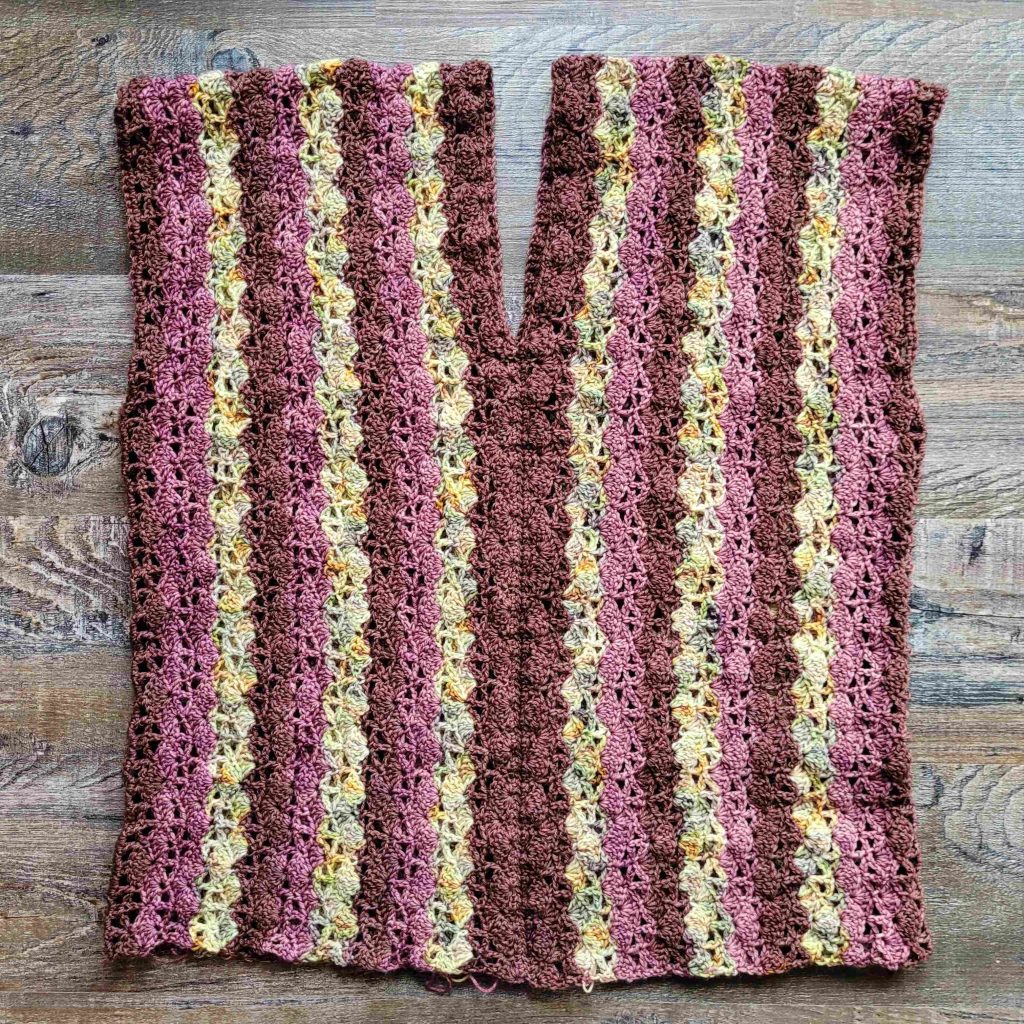
Figure 3
Finishing
The edges are all finished with a simple round of sc.
Starting with the arm holes and neckline. With the RS facing you, join your yarn in any stitch.
- Ch1, and sc in each st around. Ss to join to the 1st st and bind off.
For the bottom hem. With the right side facing you, join your yarn near one of the side seams.
- Ch1. Sc evenly around the entire bottom, placing 1sc in the end of each sc stitch, and 2sc in the end of each dc st. Ss to join to 1st st. Bind off.
Weave in your ends, and you’re done!
I hope you love your new crochet top, and I look forward to seeing all of your beautiful pictures on Ravelry!
If you’d like to know when I post new patterns and tutorials like the Free Crochet Top Pattern – Thalassa Top, head on over to my Facebook and Instagram and give me a like and a follow!
If you enjoyed The Free Crochet Top Pattern – Thalassa Top, you may want to check out my other designs!
Free Crochet Top Pattern – Thalassa Top
And until next time… Happy Hooking! 😉

