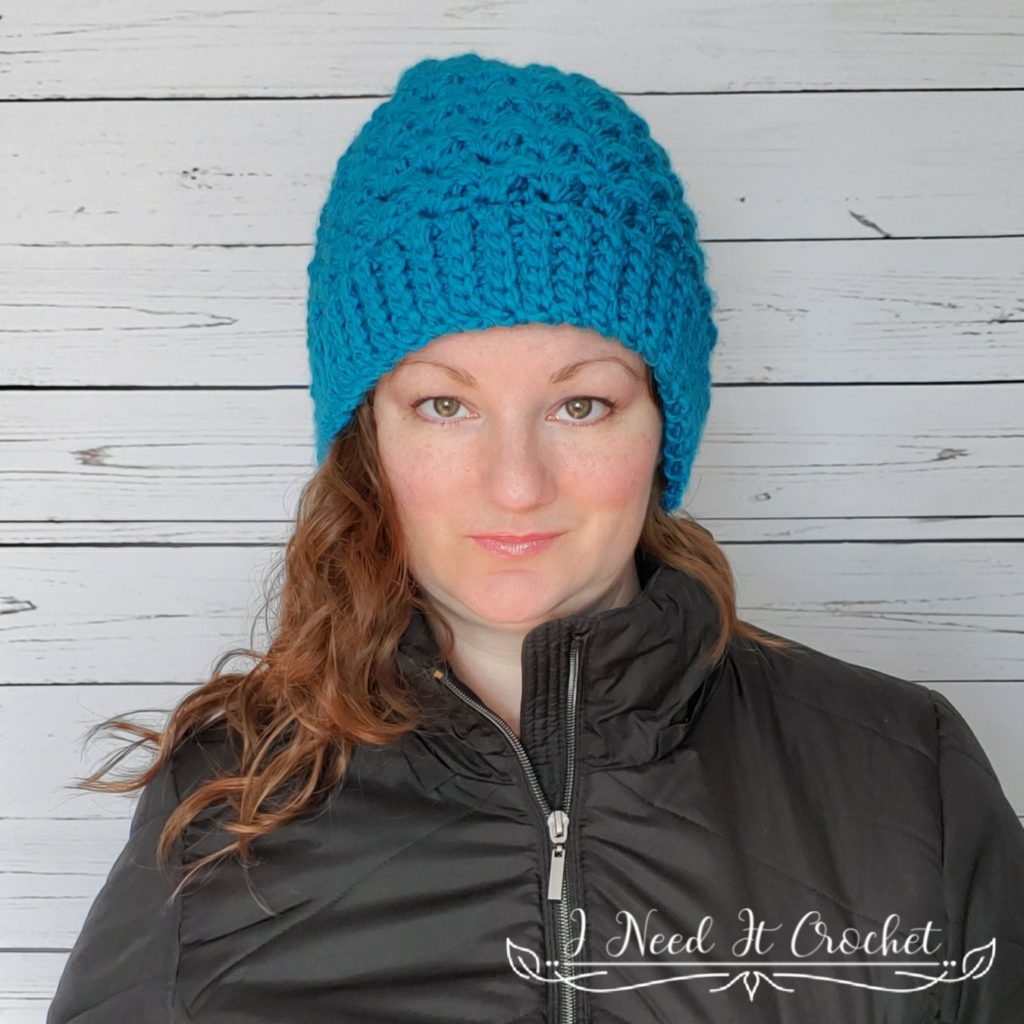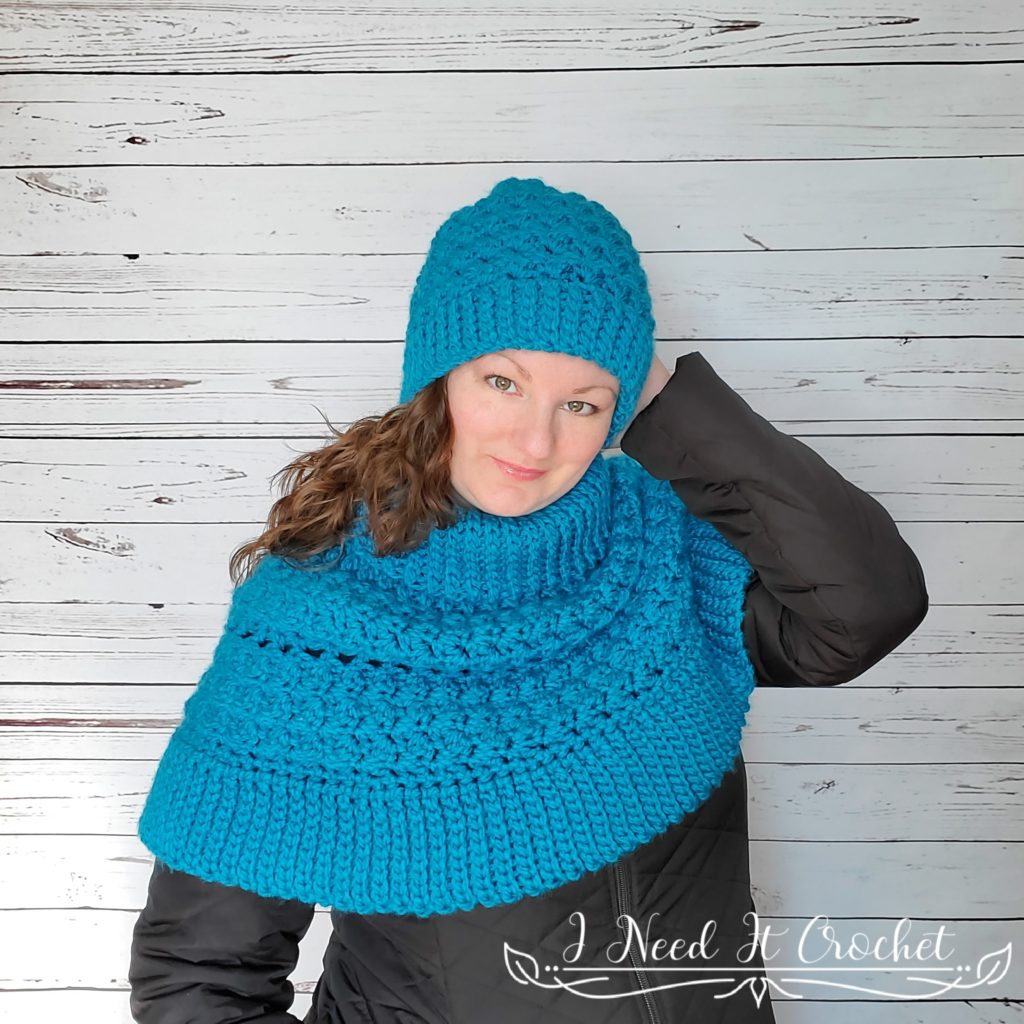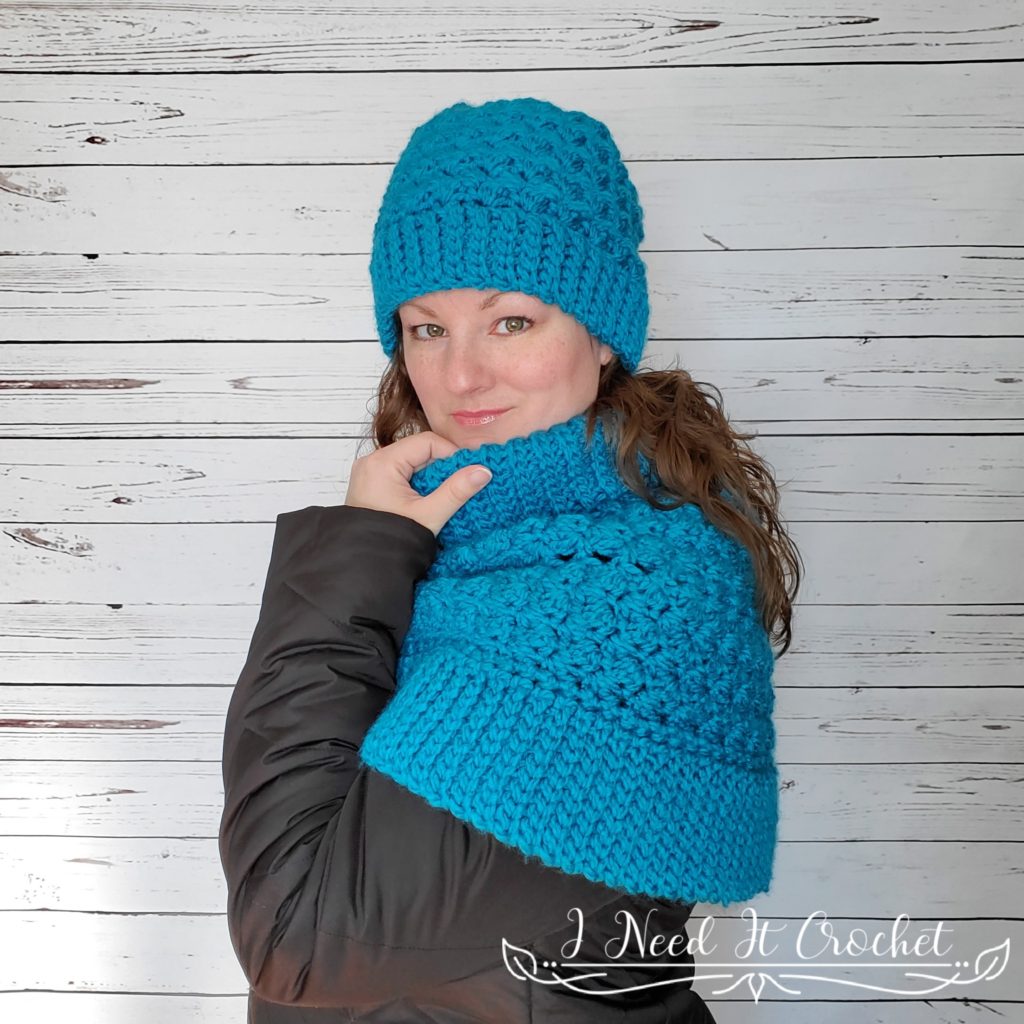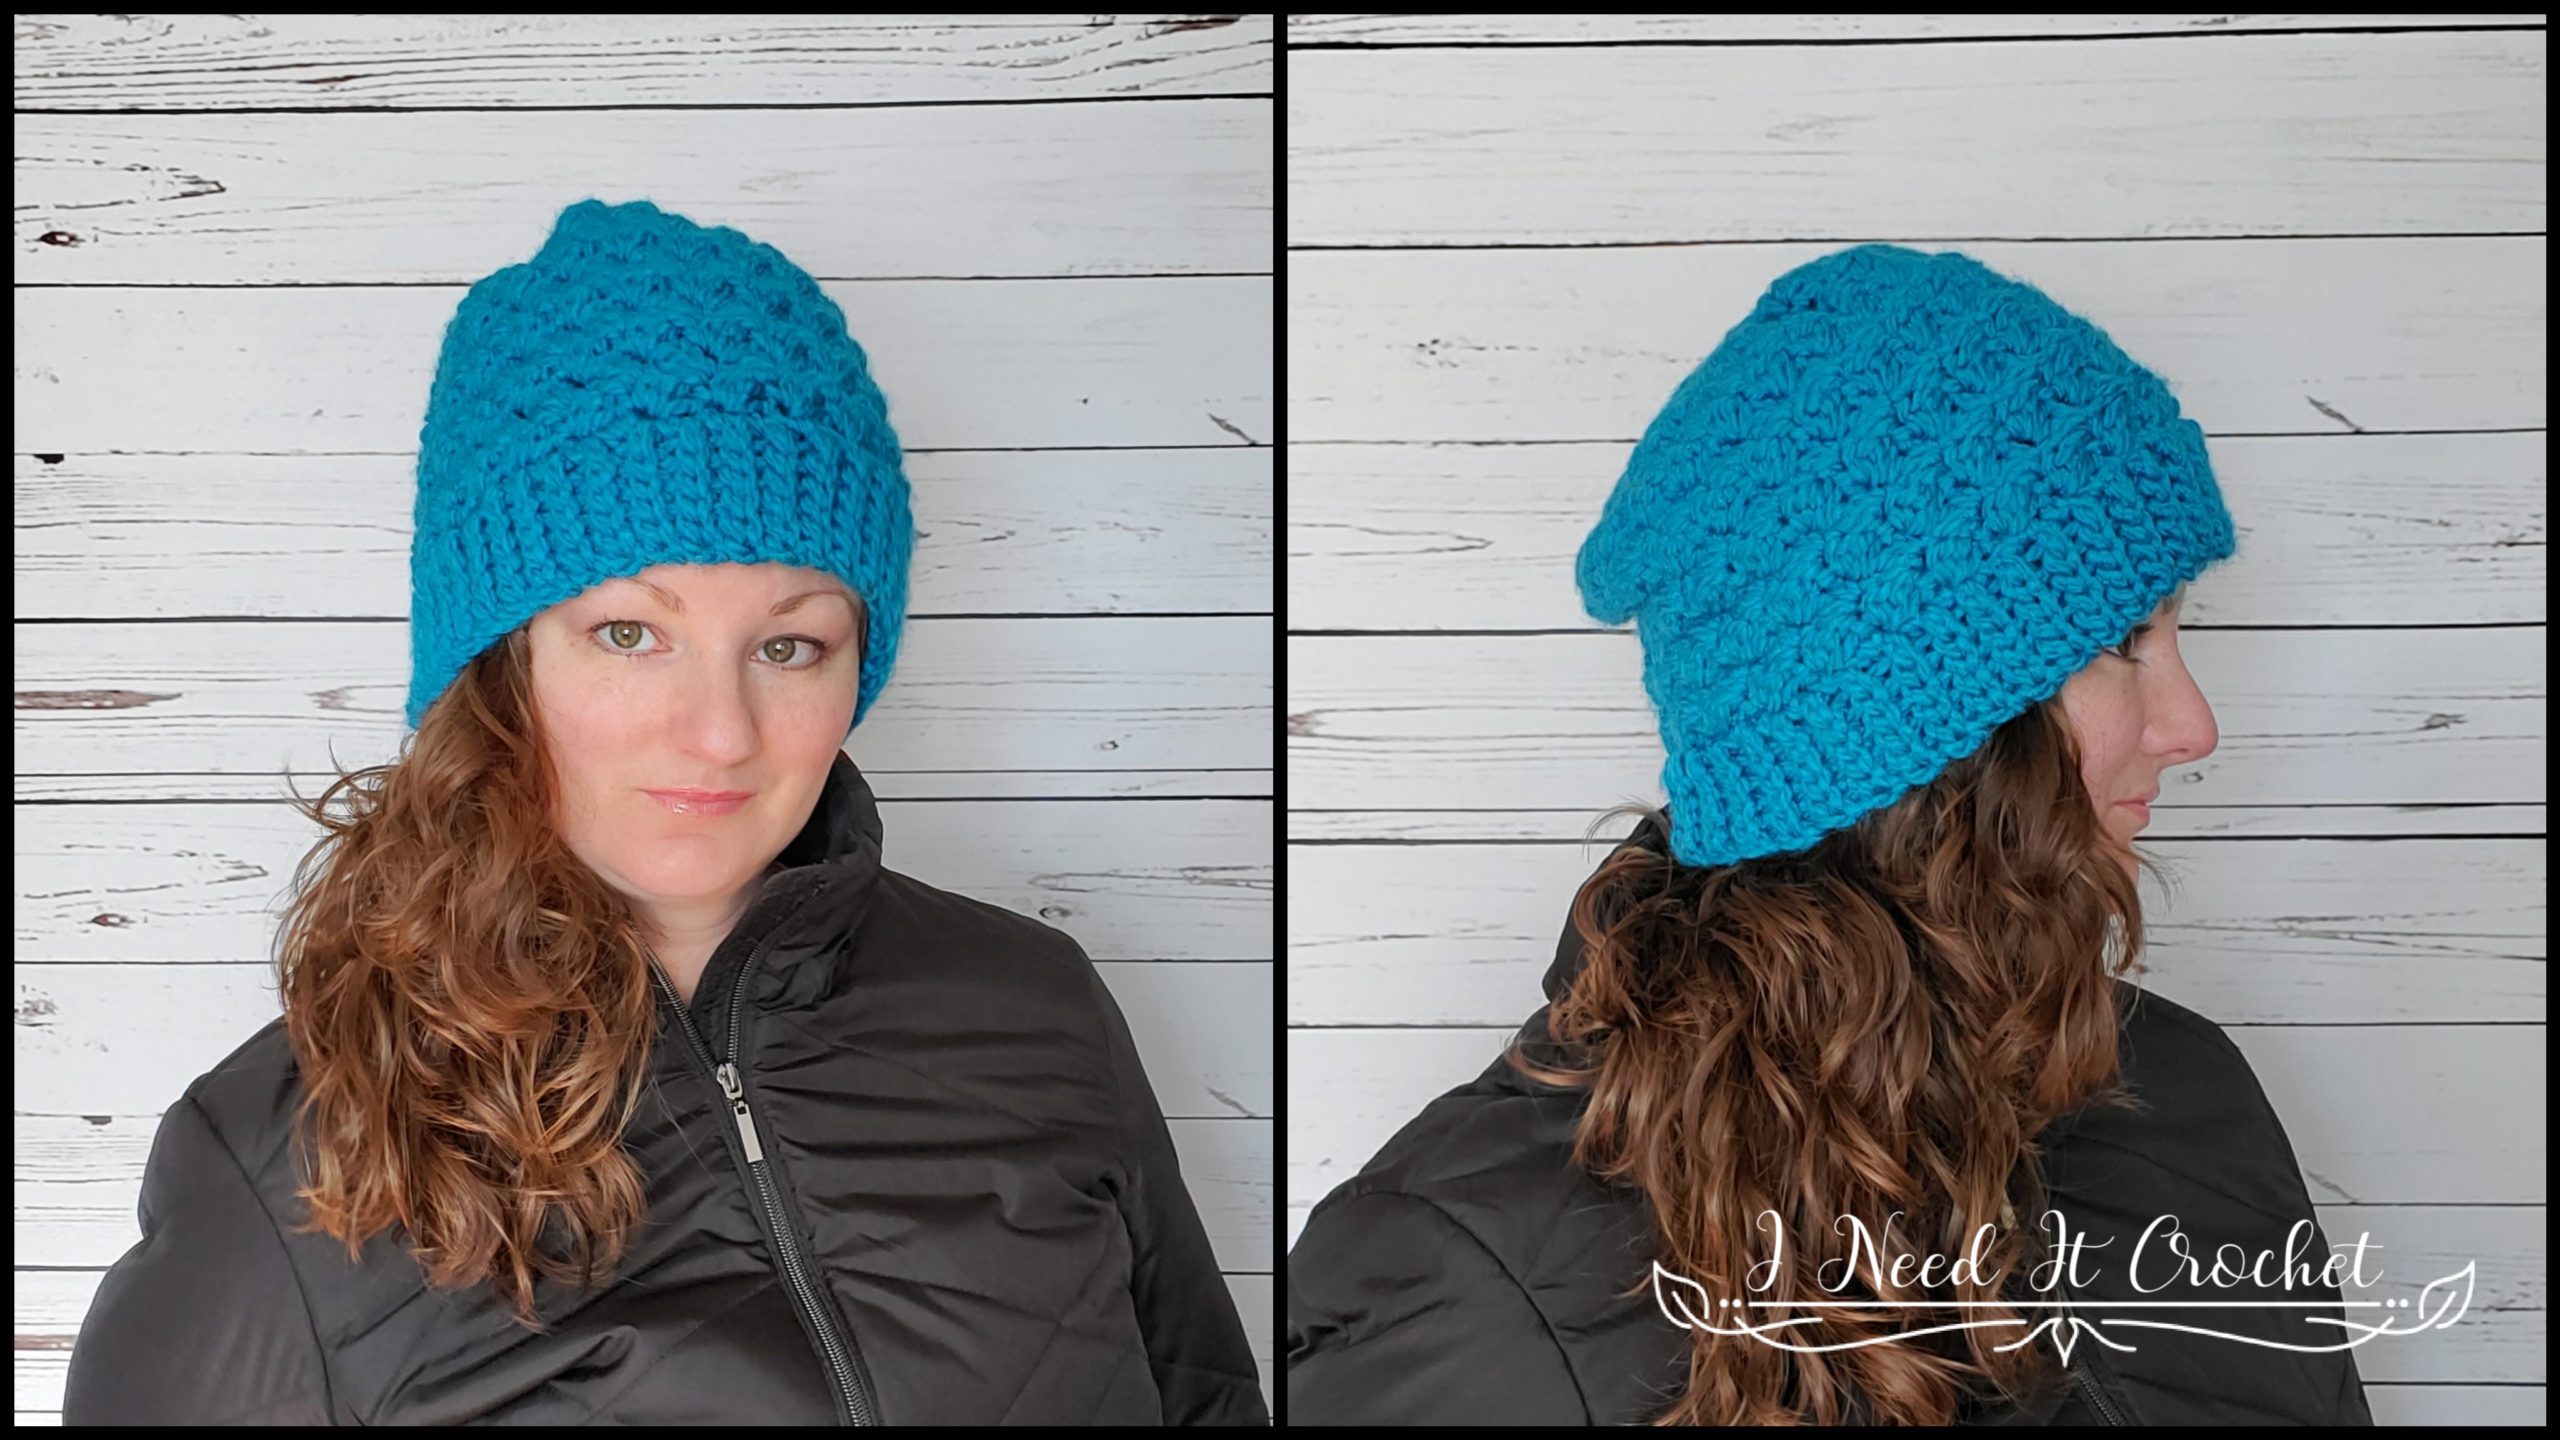
The Dead of Winter Toque – Free Crochet Pattern is copyrighted by I Need It Crochet. You may not copy, share, change, or sell the pattern itself. Also, you may not claim this pattern as your own. All pictures contained in this pattern fall under the copyright and may not be used.
Finished items made from The Dead of Winter Toque – Free Crochet Pattern belong to you and you may do what you wish with them. If you choose to sell them on Etsy I would very much appreciate it if you credited me as the pattern designer.


Or… Just scroll down to see it for free!
Often, when I’m designing a set of patterns, I come up with the largest piece first and model the other patterns after it. The opposite is actually true in this case. I designed the Dead of Winter Capelet a few weeks ago, and only released it last week, but I actually designed this toque over a year ago.
Back in December of 2018, I had spun some beautiful merino into a super chunky yarn and I needed to make it into something. After a lot (like, a whole lot) of trial and error, I made it into a toque. It turned out to be the warmest toque ever! I actually wear it every day, even in -40. So, If you have a nice wool based yarn, I’d definitely recommend using it for this pattern. And if you’re curious how my wool hat looks, go check out my Instagram!
Finished Sizes:
Instructions given to fit size Small; changes for Medium & Large are in ()
S (M, L)
To Fit Head Circumference: 21” (22”, 23”)
Finished Circumference: 21” (22”, 23”)
Finished Length: 9”.
Gauge Swatch:
With 8mm hook, ch 10.
1. Sc in 2nd ch from hook and each ch across. Turn. – 9 st
2. bCh1, (sc, dc) in 1st st, sk1 st. *(Sc, dc) in next st, sk1 st.** Repeat from * to ** 2 more times. Sc in last st. Turn. – 9 st
Repeat row 2 until you have 8 rows total. Swatch should measure 4 ¼” x 4 ¼”. If your swatch measurements are off, try again with a different sized hook.
Materials:
I used Loops and Threads Charisma, which is 100% Acrylic, #5 Bulky weight yarn. Though it is listed as a #5, it is more like a #6.
Any yarn of similar weight would work.
Approximately 100 (110, 120) yds.
8mm Hook
Stitch Markers
Yarn Needle
Scissors
Measuring Tape
Abbreviations:
Sk = Skip
Sp = Space
St = Stitch
Ss = Slip Stitch
Ch = Chain
Sc = Single Crochet
Hdc = Half Double Crochet
Dc = Double Crochet
BLO = Back Loop Only
Hdc2tog = Half Double Crochet 2 Together
Notes:
Ch1 at the beginning of a row is never considered a stitch.
I have added many pictures to help you along the way.
Model above (that’s me) is wearing a size Medium.

Instructions
This hat is made from the bottom up. First we will make the band, then the body of the hat.
Band
With 8mm Hook (or the hook used to obtain gauge)
Ch 6.
1. Ss in BLO of 2nd ch from hook and each ch across. Turn. – 5 st
2. Working this row in BLO: Ch1. Ss in each st across. Turn. – 5 st
Repeat row 2 until you have 35 (37, 39) ribs (see notes below).
When designing this pattern, I noted that keeping track of your row count is nearly impossible with this stitch, unless you want to mark off each row as you complete it. Nobody wants to do that (including me!), so I have provided instructions to count your ribs instead. This is how you will count your ribs:
– Lay out your piece so that the starting tail is on the top right and your hook is on the top left. (If your hook is on the bottom left, that means you need to complete one more row before continuing.) See figure 1 for an example of what this looks like. This is the right side of your work.
– Count each rib across. In figure 2 my hook is laying on a rib.
– Once you have the right number of ribs, Pick up your work with the right side facing you.
– Fold your band in half, bringing the bottom row up in front of the top row (see figure3).
– Ss the ends together, working through the bottom loop of the starting chain (shown in yellow in figure 4), and the /BLO of the last row (shown in red in figure 4).
– Turn your band right side out. Do not bind off. The first row of the hat body will be worked into the top edge of the band.
Hat Body
We will now be working in the round, but still turning after each round is completed.
1. Ch1. Work 44 (46, 48) sc around the bottom edge of the band. Ss to 1st sc. Turn. – 44 (46, 48) st
2. Ch1. (Sc, dc) in 1st st, sk1 st. *(Sc, dc) in next st, sk1 st. ** Repeat from * to ** around. Ss to 1st sc. Turn. – 44 (46, 48) st
3. – 11. Repeat round 2.
12. Ch1. Hdc in 1st st, hdc2tog. *Hdc in next st, hdc2tog. * Repeat from * to ** until there are only 2 (1, 0) sts left unworked. Hdc in last 2 (1, 0) sts. Ss to 1st hdc. Turn. – 30 (31, 32) st
13. Ch1. Hdc2tog over 1st 2 sts. Hdc2tog around until there is only 0 (1, 0) st left unworked. Hdc in last 0 (1, 0) st. Ss to 1st hdc. Turn. – 15 (16, 16) st
14. Ch1. Hdc2tog over 1st 2 sts. Hdc2tog around until there is only 1 (0, 0) st left unworked. Hdc in last 1 (0, 0) st. Ss to 1st hdc. Bind off, leaving a long tail for closing. – 8 (8, 8) st
Weave the tail between the remaining stitches and pull tight to close. Tie a secure knot.
Weave in your ends, and you’re done!
I hope you love your new toque, and I look forward to seeing all of your beautiful pictures on Ravelry!
If you’d like to know when I post new patterns and tutorials, head on over to my Facebook and Instagram and give me a like and a follow!
If you enjoyed The Dead of Winter Toque – Free Crochet Pattern, you may want to check out my other designs!

And until next time… Happy Hooking! 😉

