This Double Slip Stitch Tutorial is copyrighted by I Need It Crochet. You may not copy, share, change, or sell the tutorial itself. Also, you may not claim this tutorial as your own. All pictures contained in this tutorial fall under the copyright and may not be used.
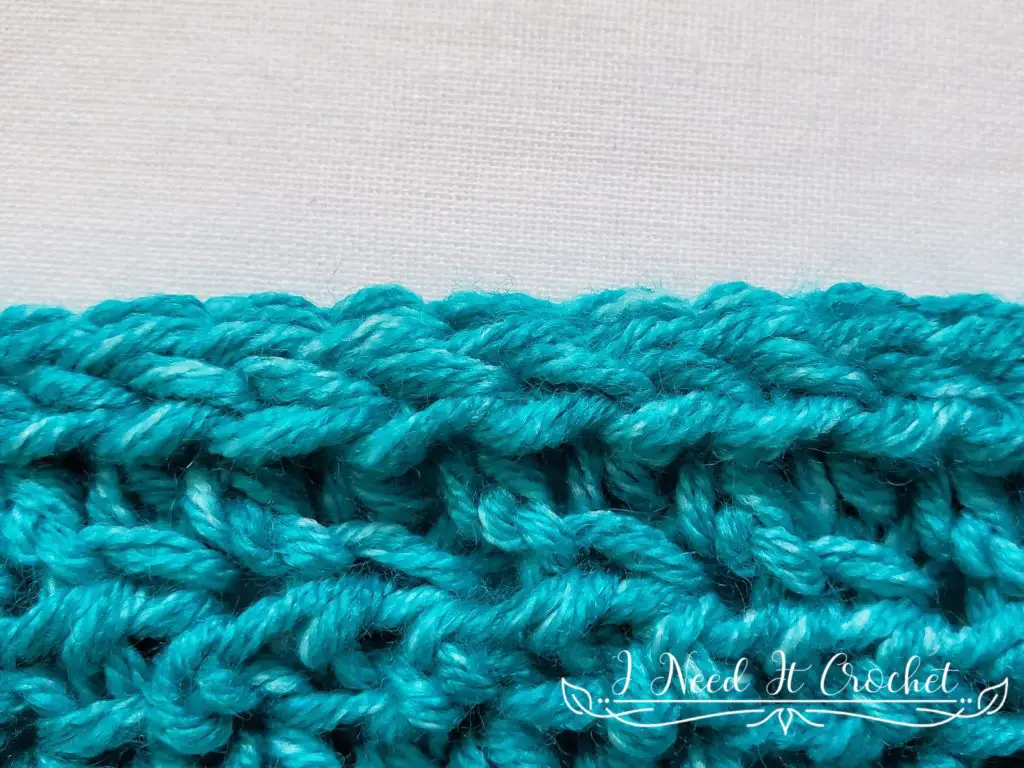
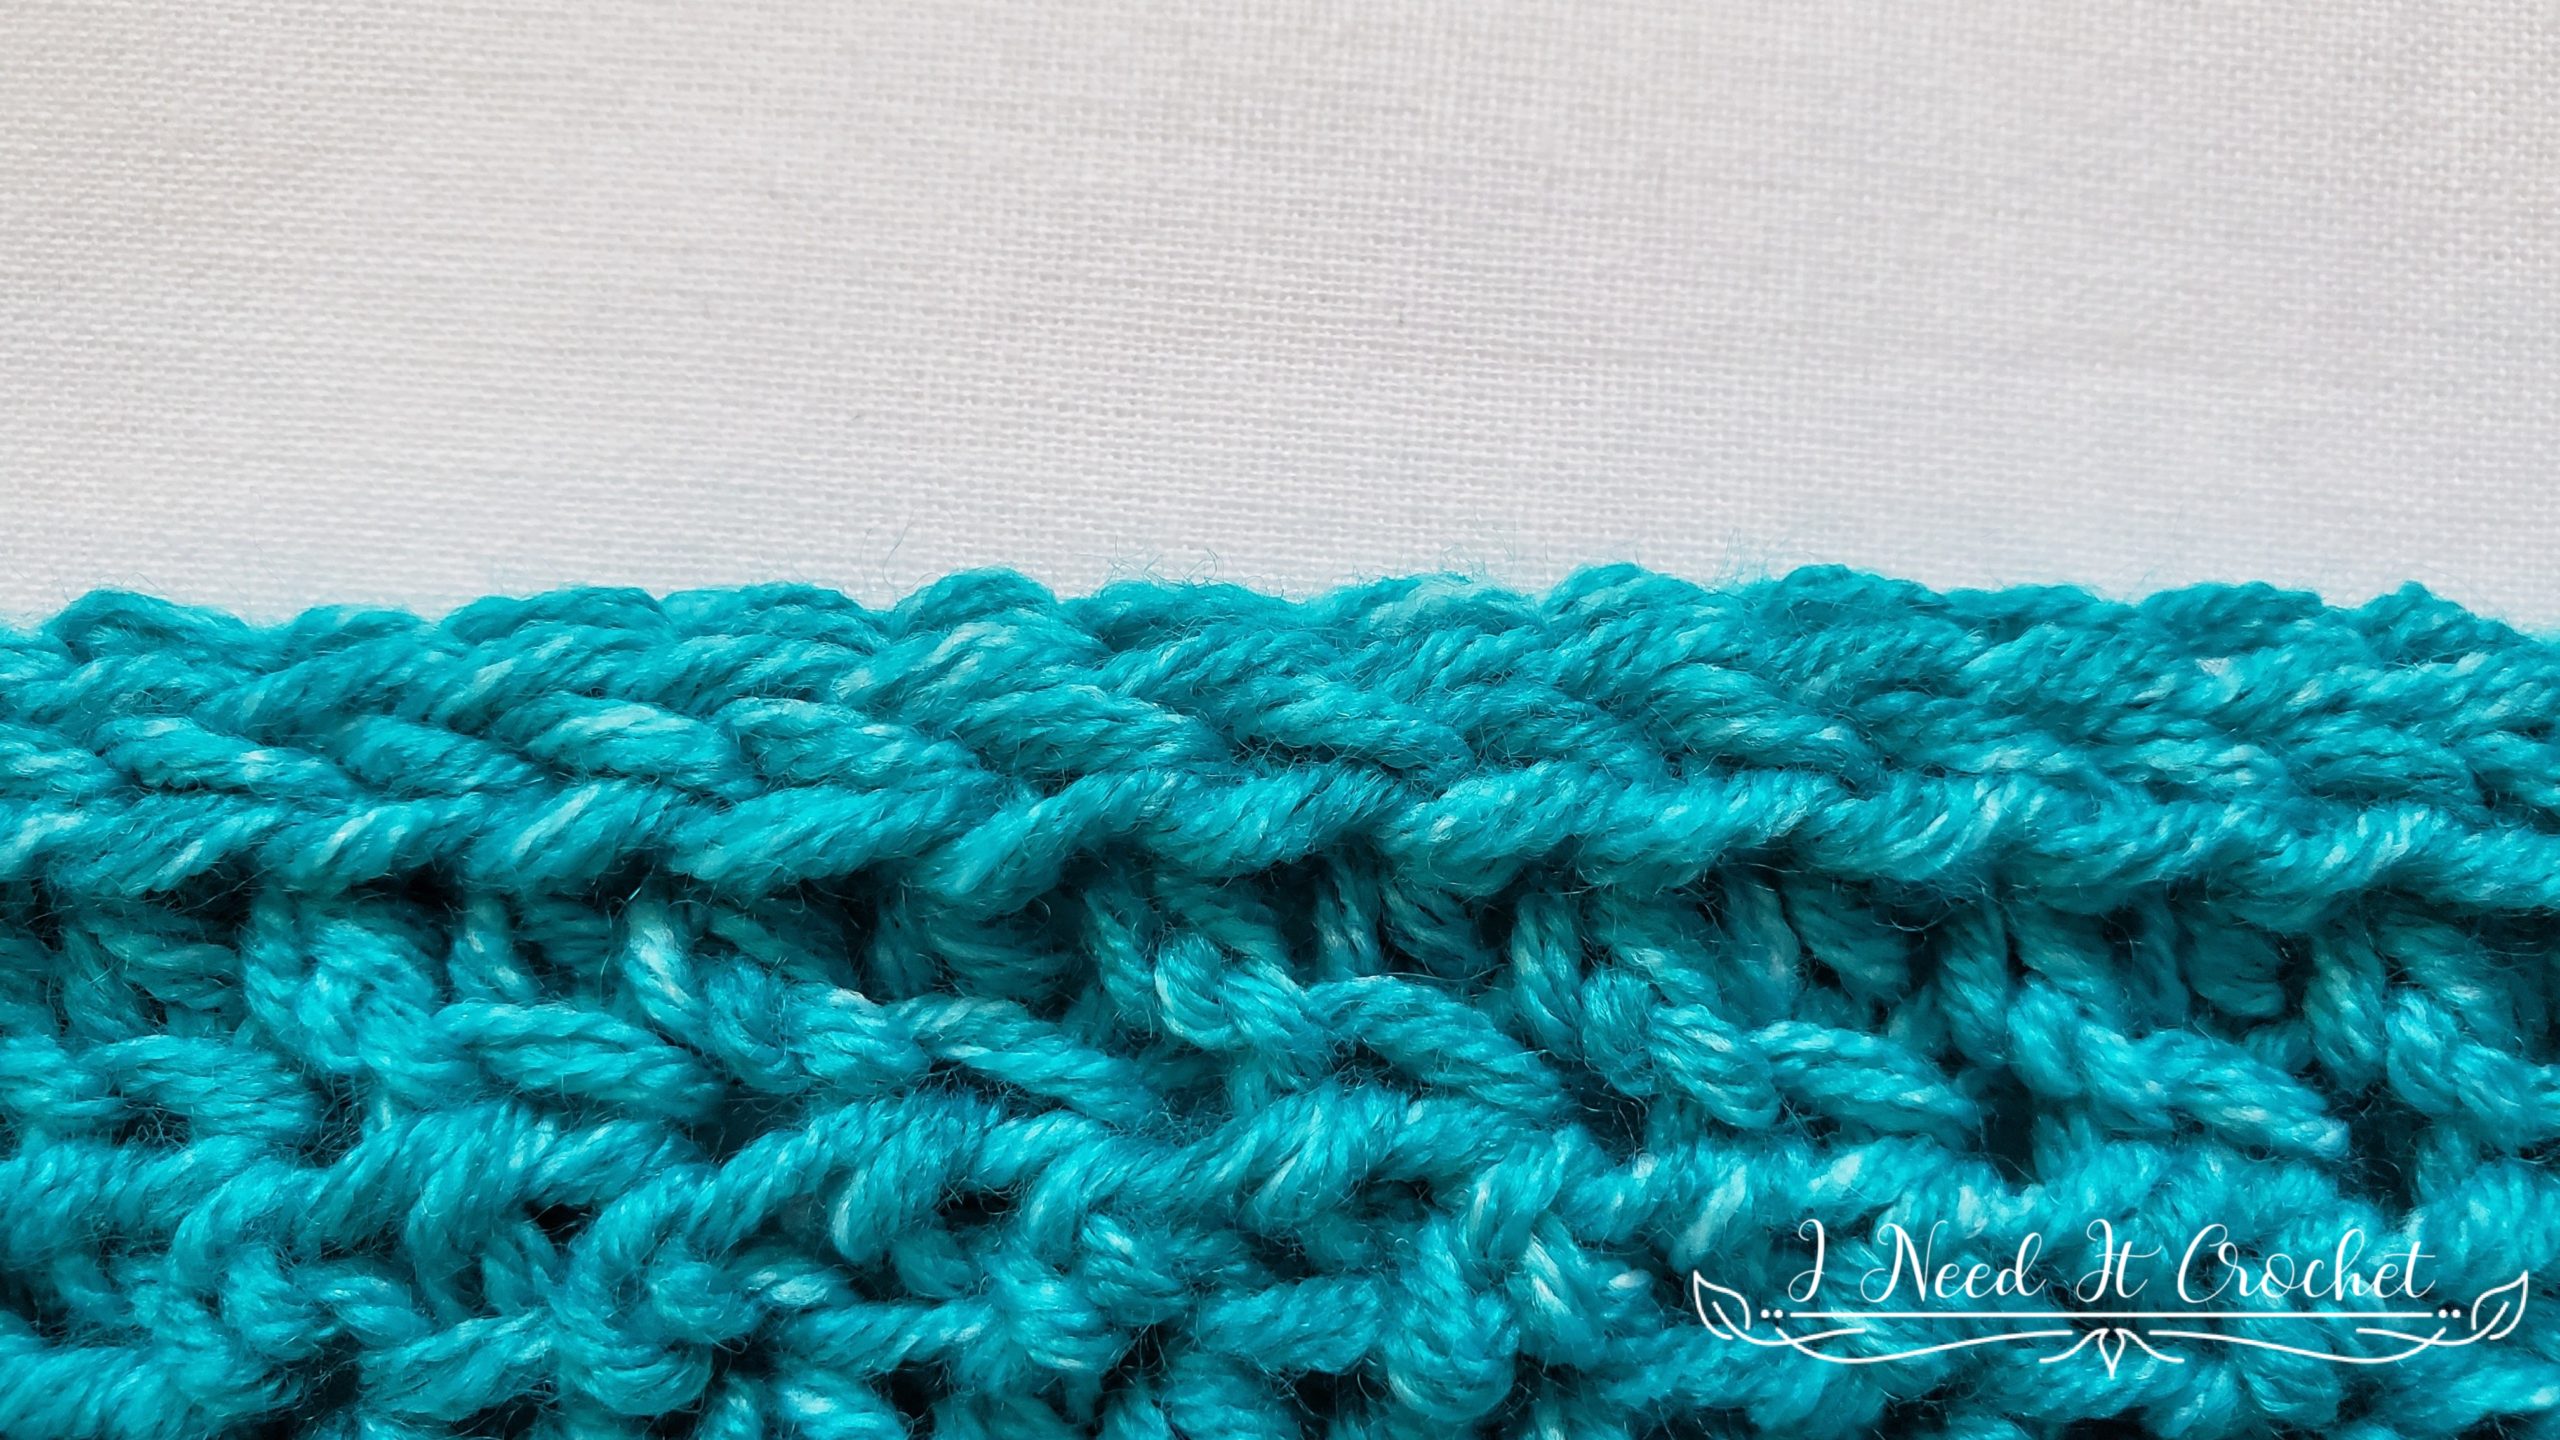
I honestly can’t remember where I first saw this stitch, but it has been at the back of my mind ever since. It creates a wonderfully subtle edging that stabilizes the garment while not detracting from the overall look. Plus its very quick and easy.
Begin with a base row of stitches. In this tutorial we’re starting with a row of hdc (see figure 1).
Ch1, and start with a regular ss in your 1st st (see figure 2). Be careful not to make it too tight. This will count as your 1st st.
– *Next, insert your hook into the same st you just worked, yo, and draw up a loop (2 loops on hook) (see figure 3).
– Now insert your hook into the next st, yo, and draw up a loop (3 loops on hook) (see figure 4).
– Take that last loop and pull it through the other 2 loops (see figure 5). **
You have now completed a double slip stitch! Repeat the above instructions from * to ** until you have completed the entire row. Remember to begin by inserting your hook into the stitch you just worked, then into the next stitch (see figure 6). Figure 7 shows what it looks like after you have completed a few stitches, and figure 8 shows what it looks like after you turn your work.
In my pattern for The Aspirations Pullover, I use two rows of this stitch to make the edging. Go check it out!
If you enjoyed this Double Slip Stitch Tutorial, you might want to check out my other Tips, Tricks, and Tutorials.
If you’d like to know when I post new patterns and tutorials, head on over to my Facebook and Instagram and give me a like and a follow!
Happy Hooking! 😉

