

Bean Stitch Crochet Tutorial
This Bean Stitch Crochet Tutorial is copyrighted by I Need It Crochet. You may not copy, share, change, or sell the tutorial itself. Also, you may not claim this tutorial as your own. All pictures contained in this tutorial fall under the copyright and may not be used.
I came across the bean stitch a while back on Pinterest and I knew instantly I would use it in a pattern. Not only is this stitch cute as heck, it’s quite easy and fun to do!
Here’s a quick rundown. For a more detailed tutorial with pictures, scroll a little further.
Time needed: 1 minute
Bean Stitch Crochet Tutorial | How to crochet the bean stitch
- Make your base row, then turn.
You can use any stitch you like. Ex: Sc, hdc, dc, etc.
- Set up the start of the row.
Ch1, then hdc in 1st st. Ch1, then sk 1 st.
- Insert your hook in the next st, yo and pull up a loop.
2 loops on hook.
- Insert your hook into the same st, yo, and pull up a loop.
4 loops on hook.
- Insert your hook into the same st, yo, and pull up a loop.
6 loops on hook.
- Finish the bean stitch.
Yo, then pull through all 6 loops. Then ch1 to close.
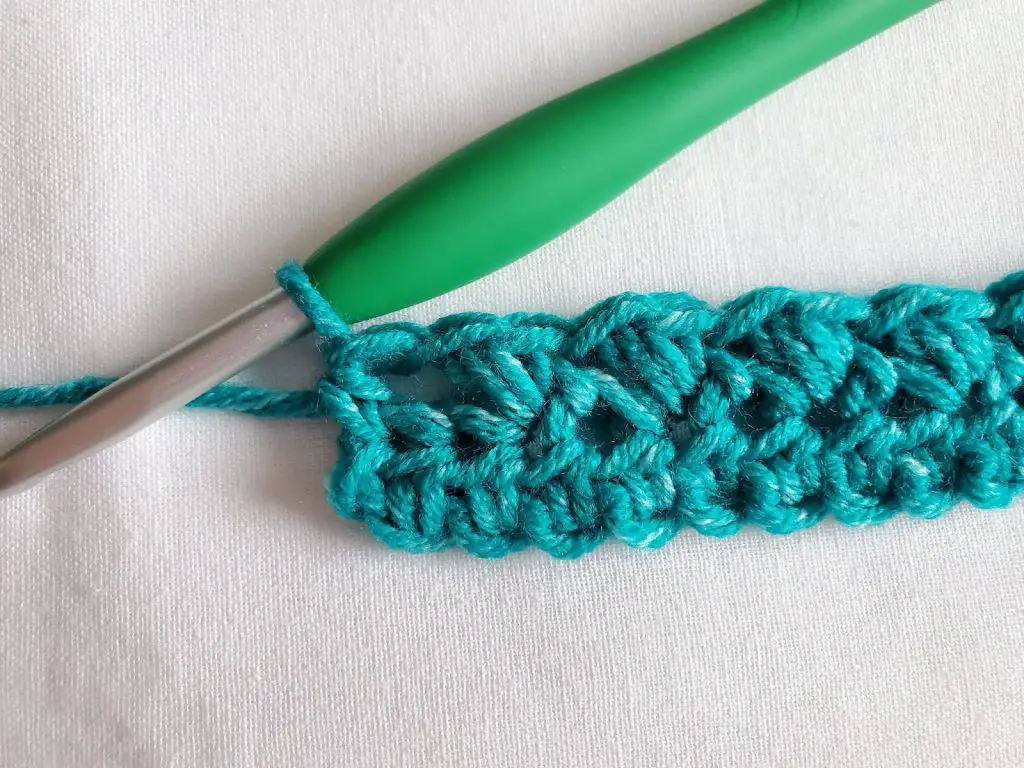
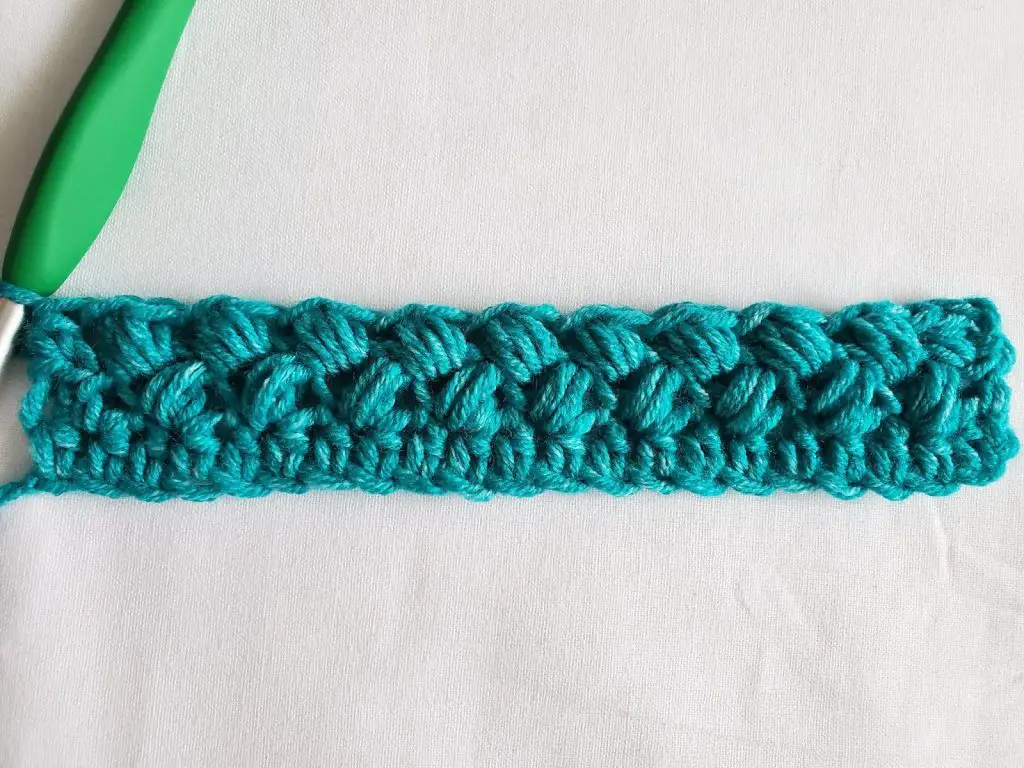
You begin by making a base row of stitches or chains. To make the learning process a little easier, we will be making a base row of hdc. So ch 22, hdc in the 2nd ch and each ch across. (21 sts)
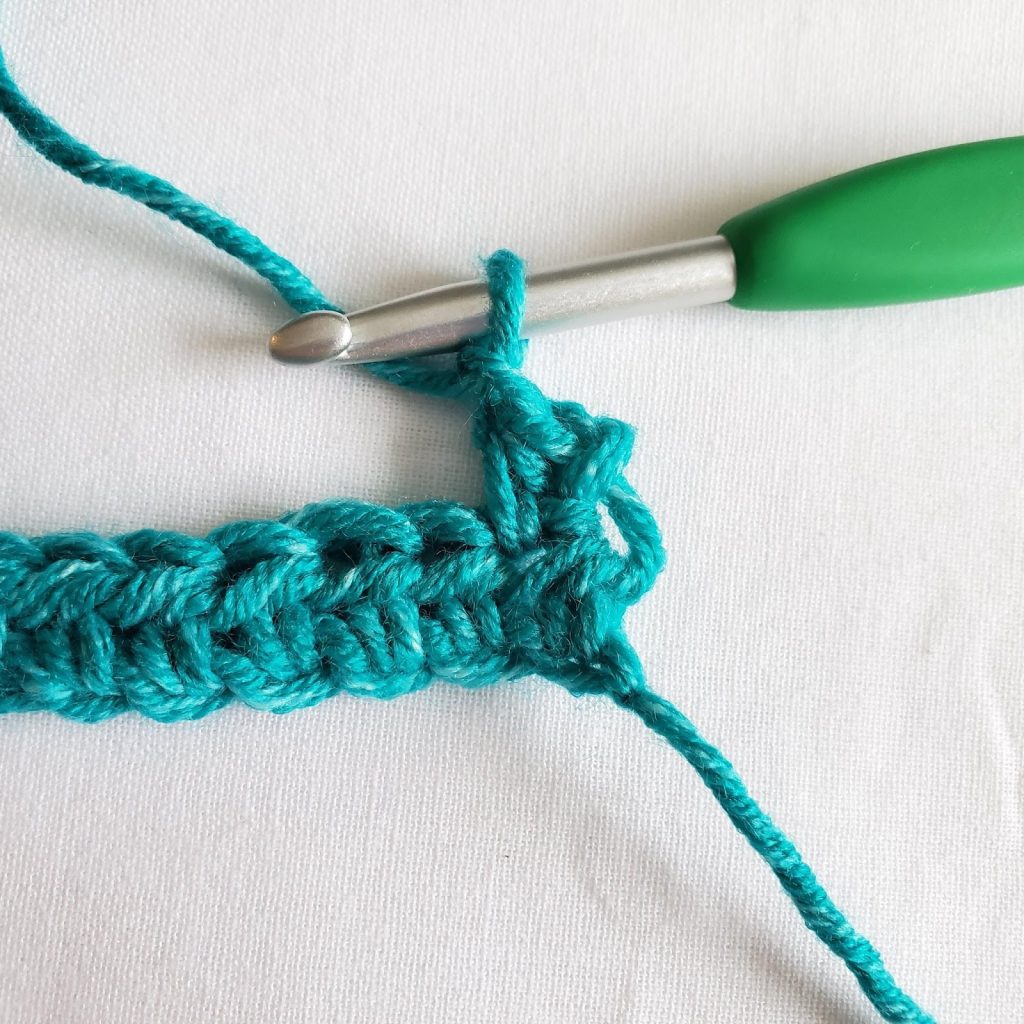
1. Turn, ch1, hdc in 1st st, ch1, sk1 st (see figure 1). Now we will be forming a Bean Stitch (Bn).
– Insert your hook into the next stitch, yo, and pull up a loop (see figure 2). (2 loops on hook.)
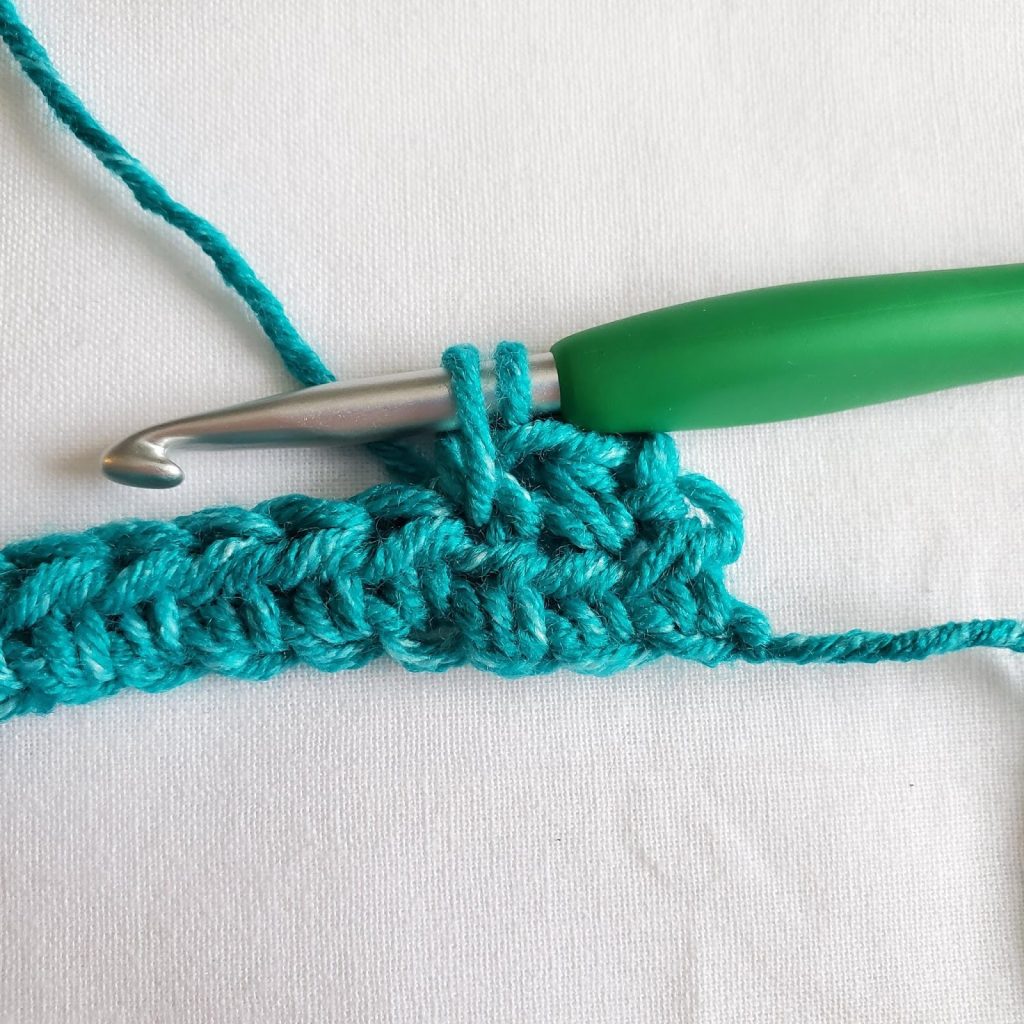
– Yarn over, insert your hook again into the same stitch, yo, and pull up a loop (see figure 3). (4 loops on hook.)
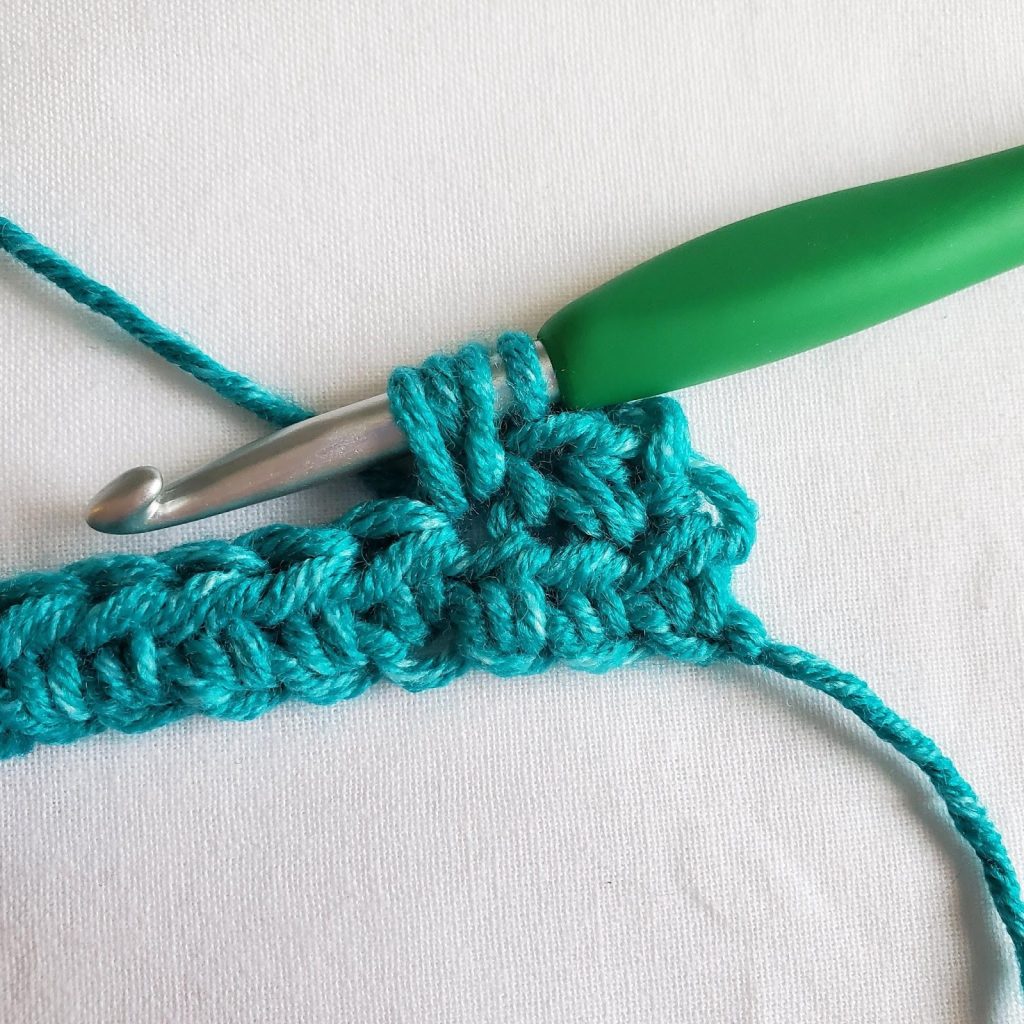
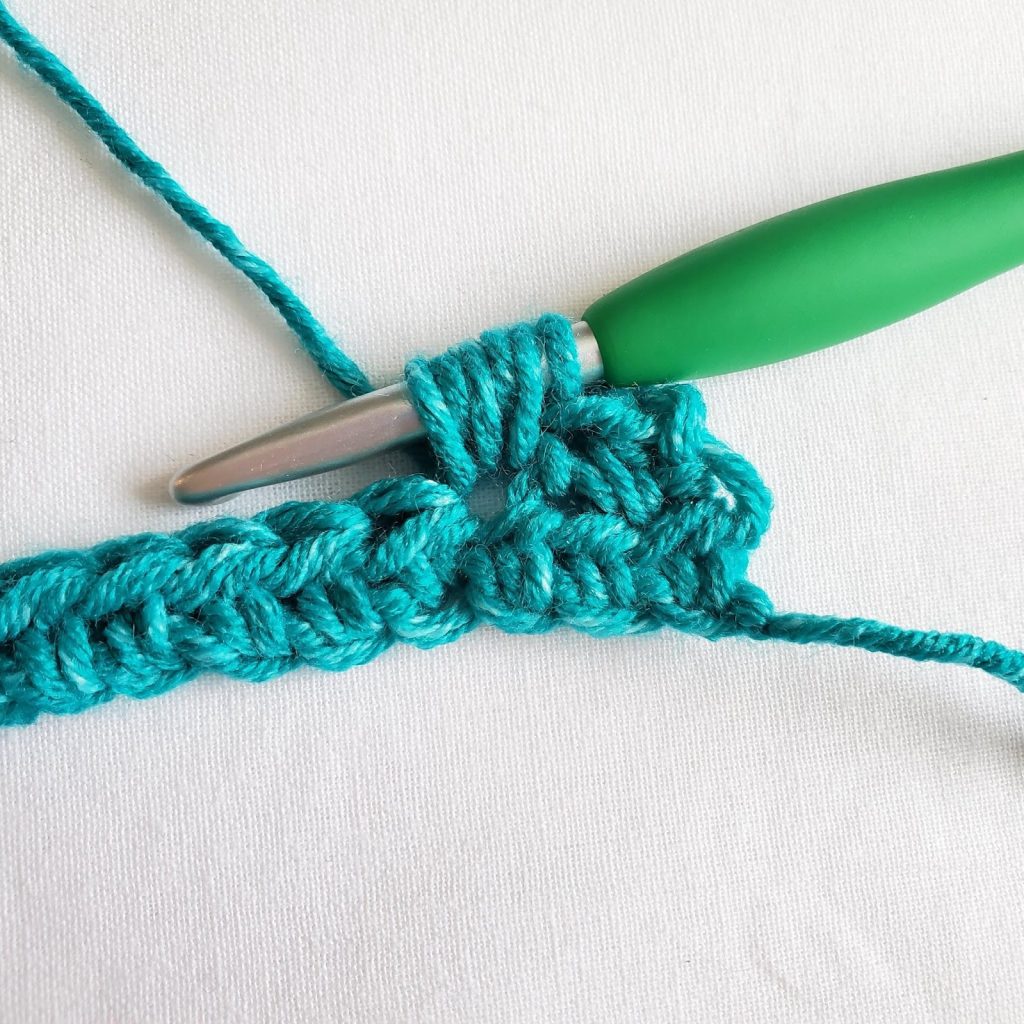
– Yarn over, insert your hook again into the same stitch, yo, and pull up a loop (see figure 4). (6 loops on hook.)
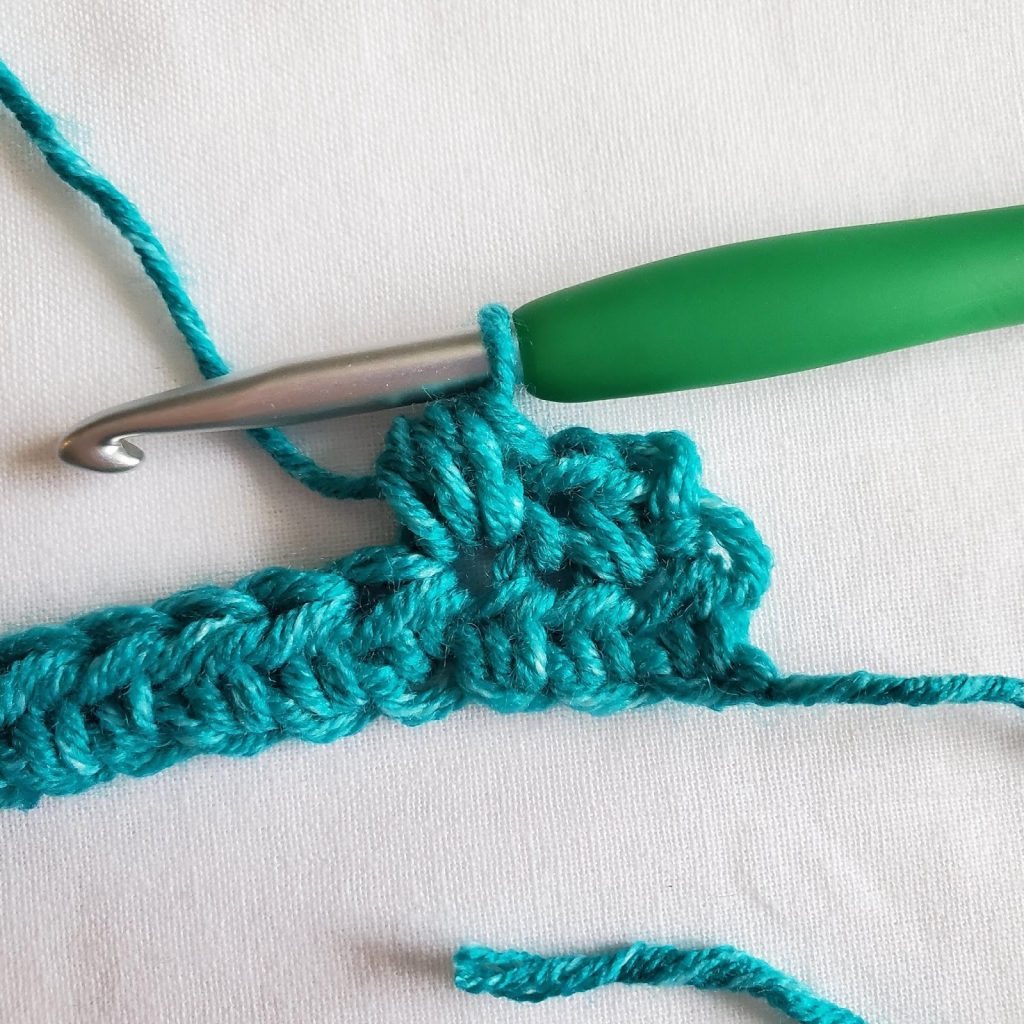
– Yo and pull through all 6 loops (see figure 5). Then ch1 (see figure 6).
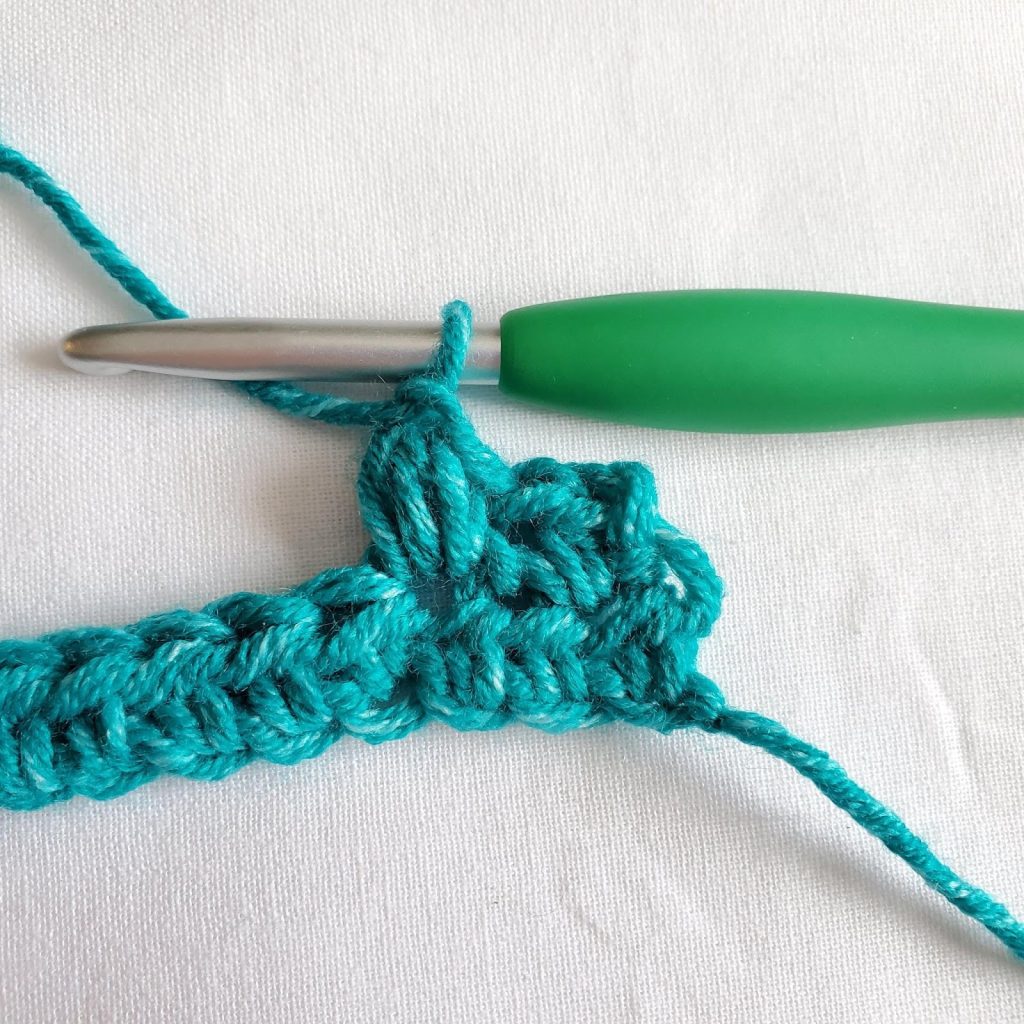
You have now completed a Bean Stitch. Skip the next stitch and make your next bean in the stitch after. Each Bn counts as 2 stitches. Keep repeating the Bn until you have only 2 sts left unworked. Sk 1 st and hdc in the last st.
If you find your bean stitch looking a little messy, just pull it out and try again. The trick is to have even tension on all of your loops so that they are all relatively the same size. Keep practicing until they look even and consistent.
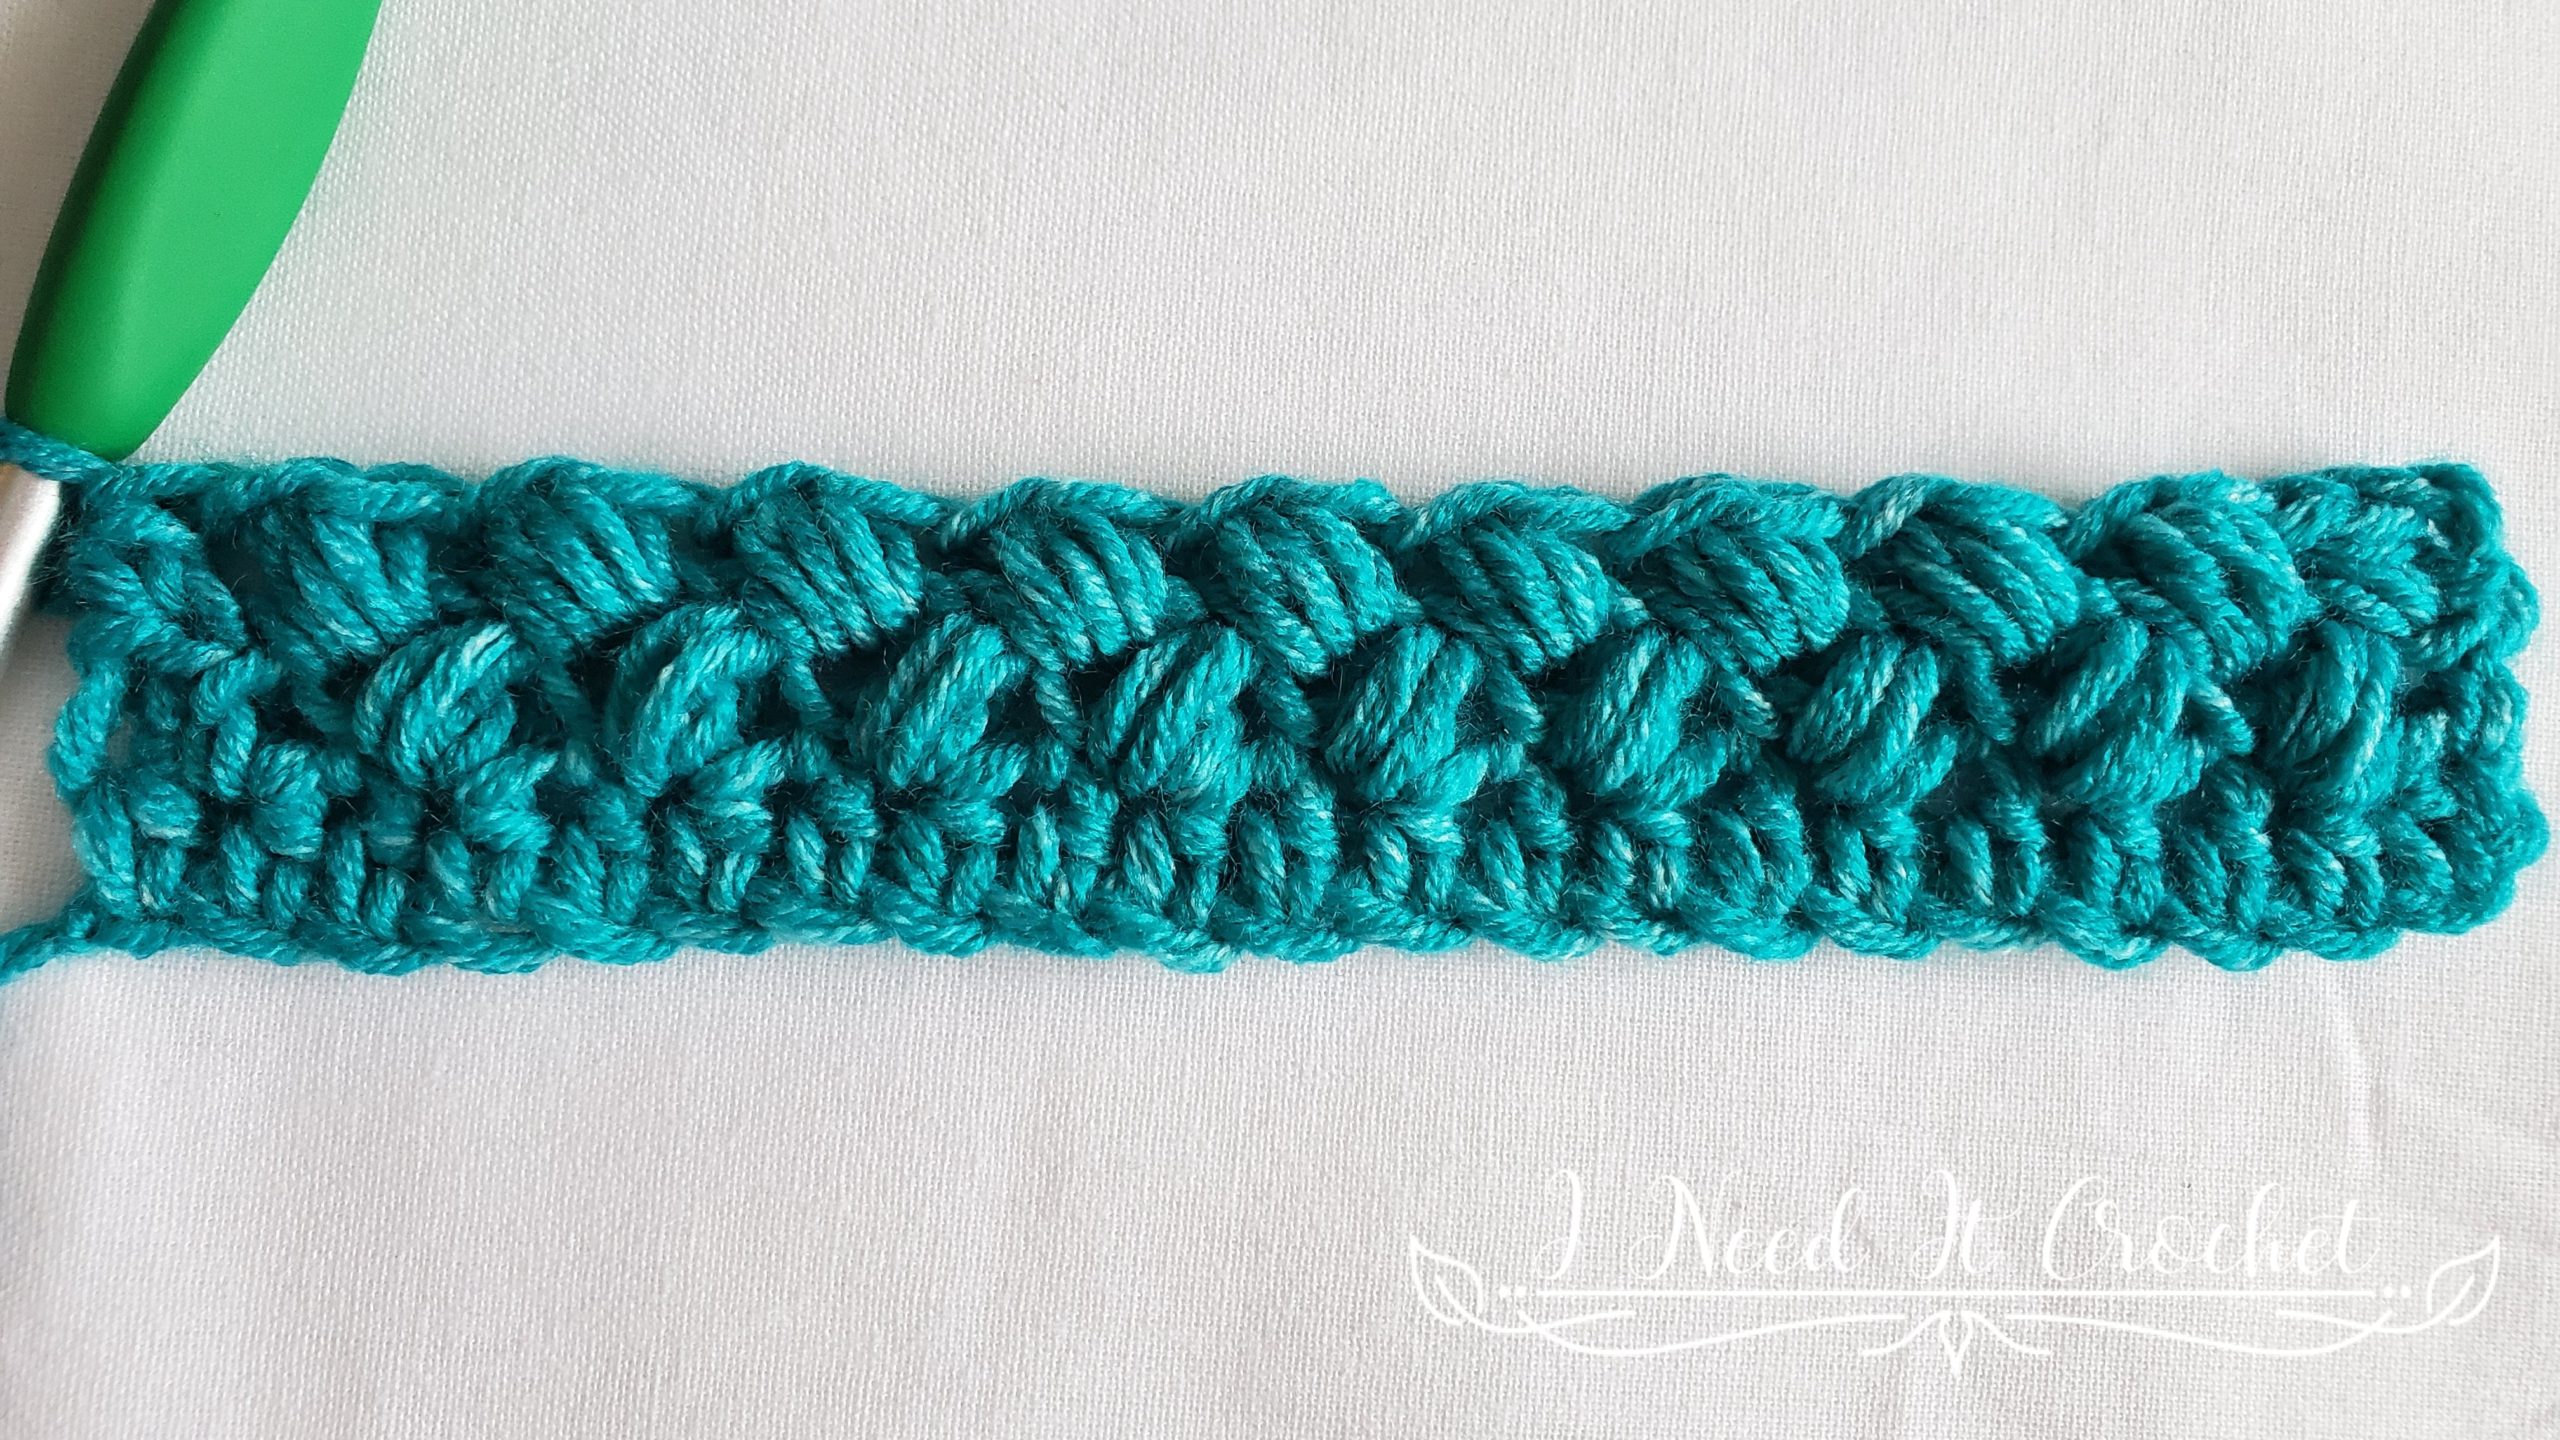
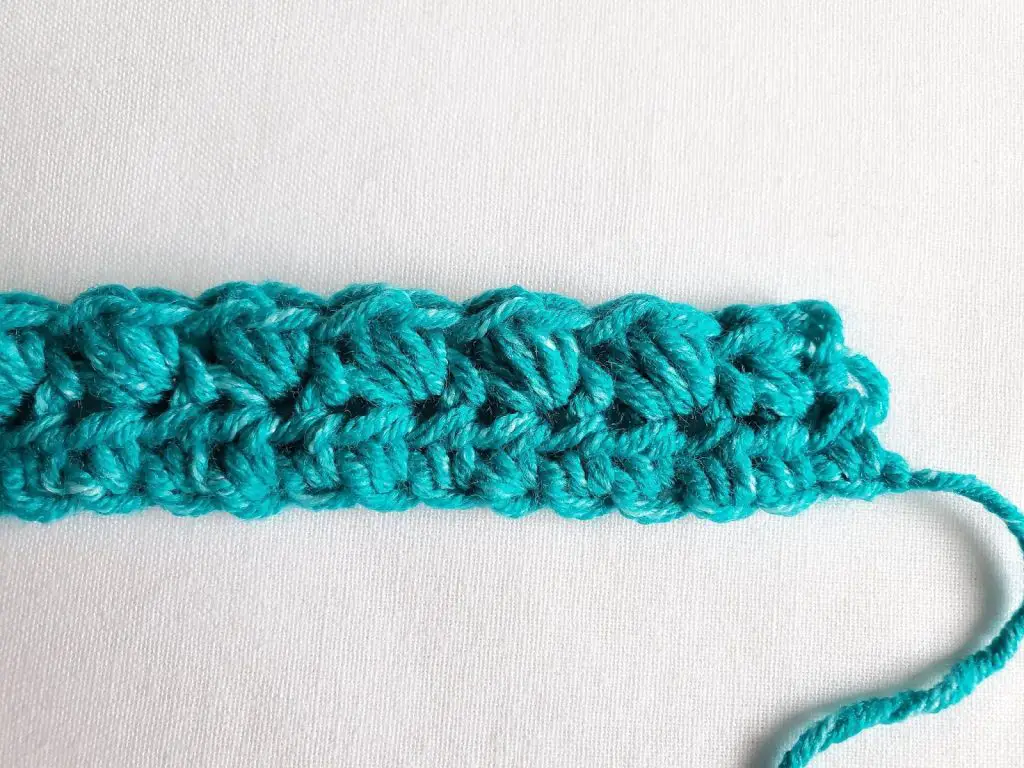
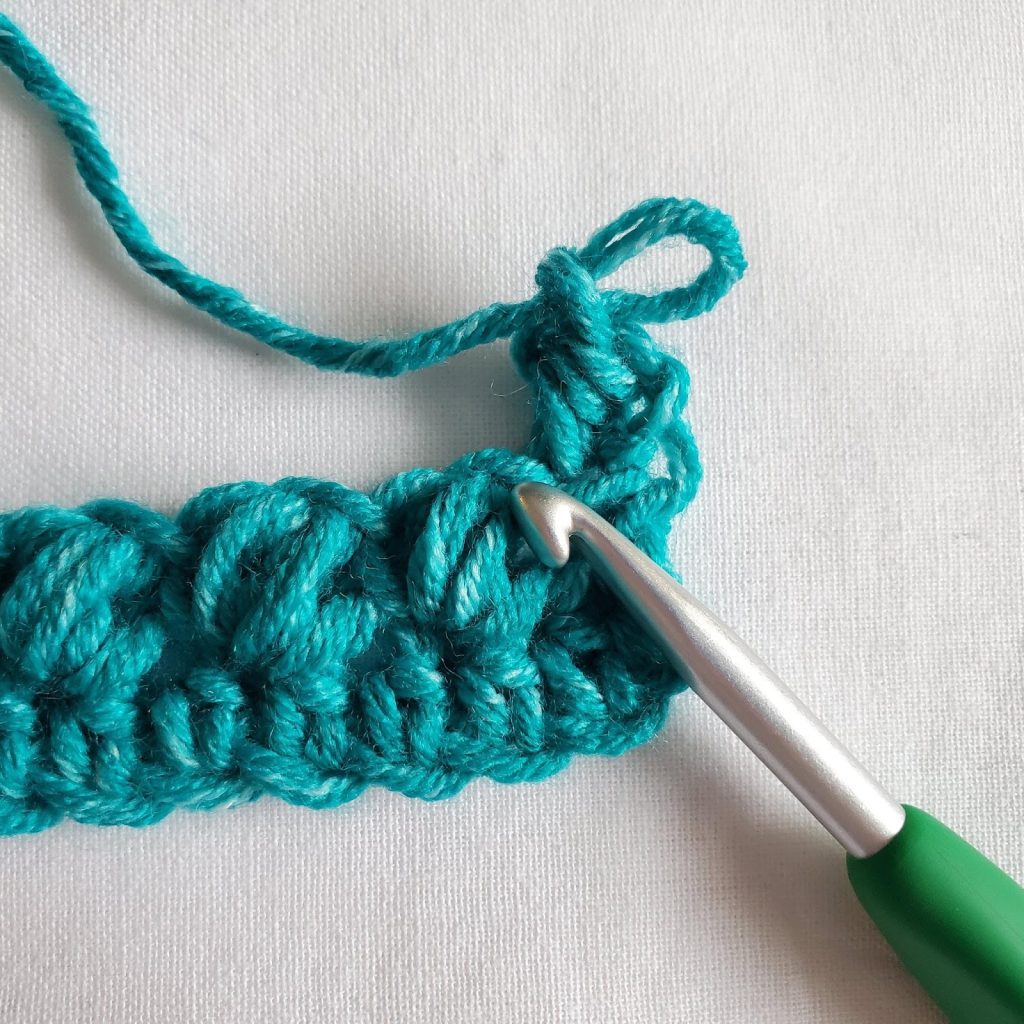
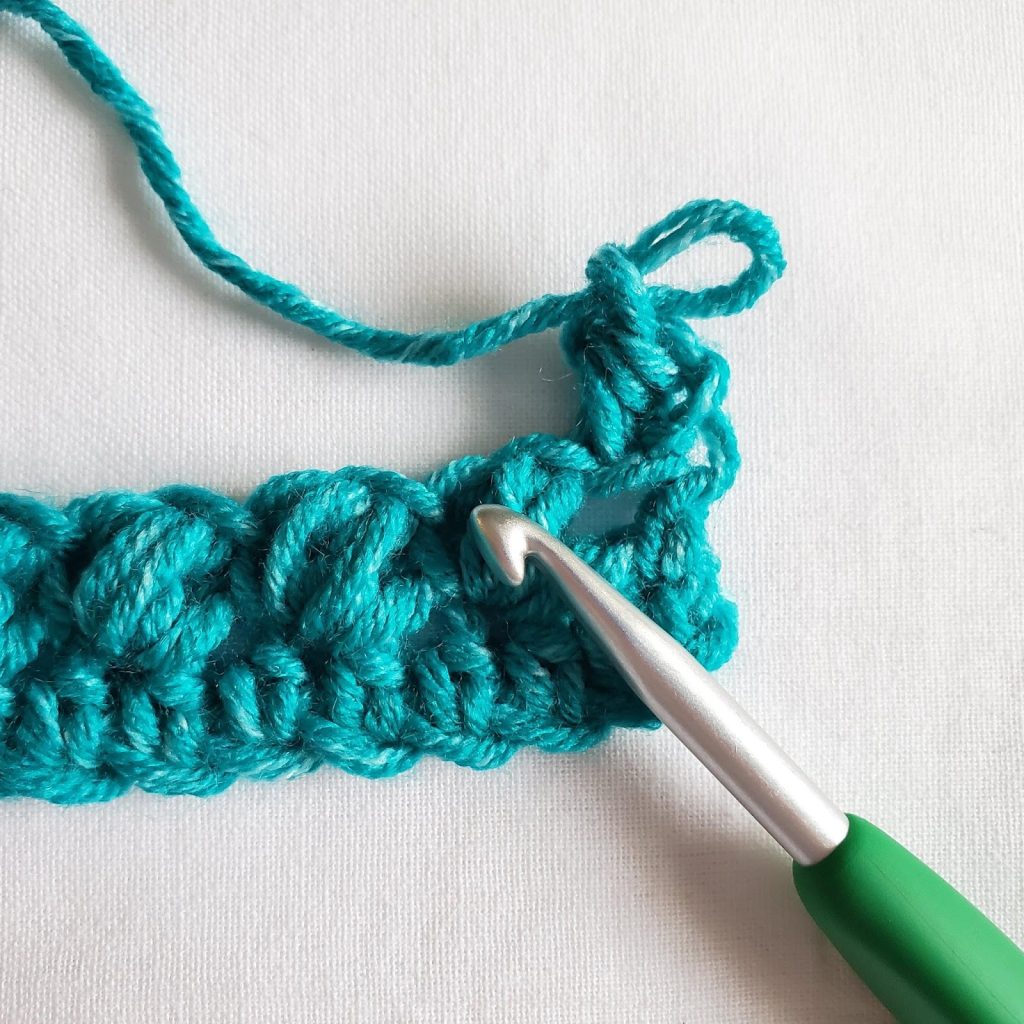
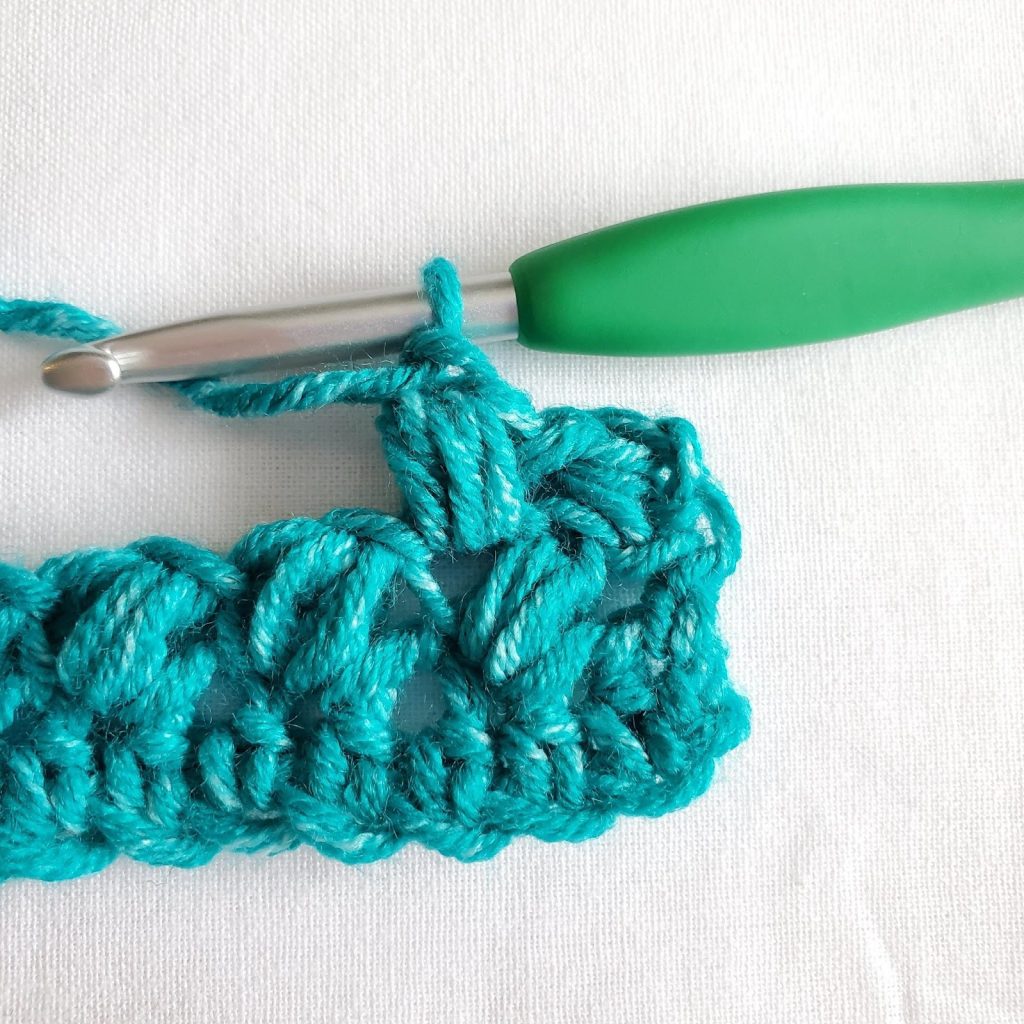
In the next row, and each subsequent row, you will be working your bean stitches into the tops of the bean stitches of the previous row. Ch1 and hdc in the 1st st. Ch1, sk 1 st (see figure 9) and bean into the next st (see figure 10 & 11). You will know you are placing your bean in the right stitch by looking for the triangle shaped space above the previous rows bean stitch. This is where you will be placing your next bean stitch. Work in this same manner all the way across (see figure 12).
And there you are! Was I right?? Super cute, super easy, and super fun! I have used the crochet bean stitch in multiple designs, including the Aspirations Pullover and the Phaseolus Set. Feel free to head over and check out these patterns!
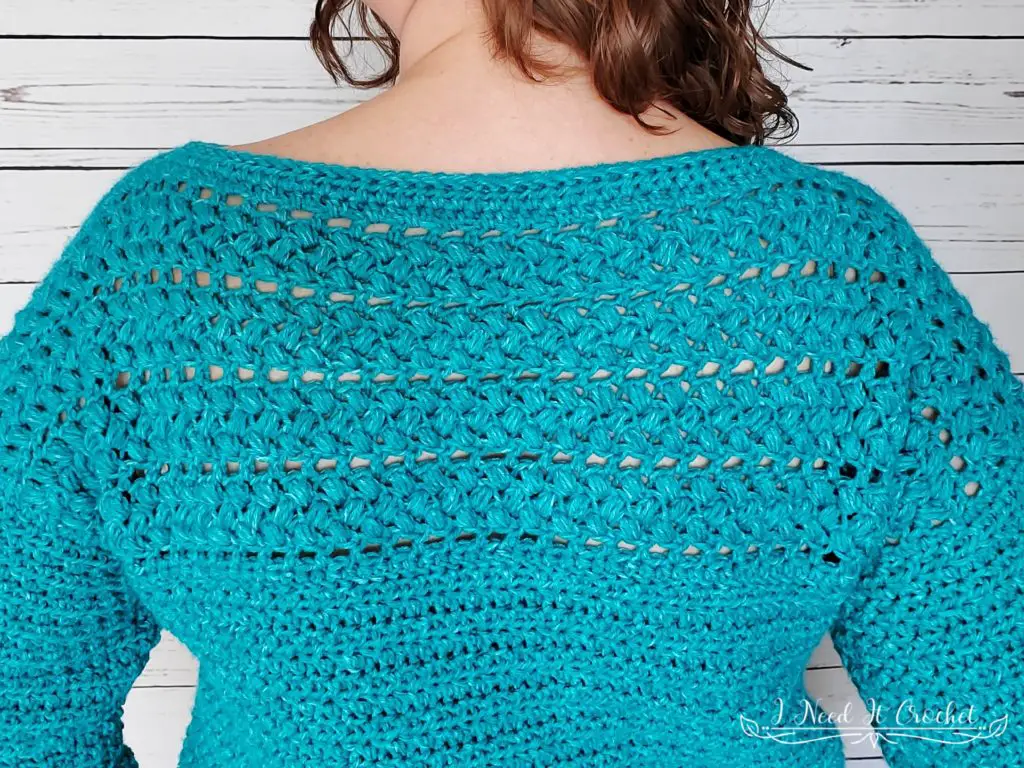
Aspirations Pullover

Phaseolus Bandana Cowl and Gloves |Bean Stitch Crochet Tutorial
If you enjoyed this Bean Stitch Crochet Tutorial, you might want to check out my other Tips, Tricks, and Tutorials.
If you’d like to know when I post new patterns and tutorials, head on over to my Facebook and Instagram and give me a like and a follow!
Happy Hooking! 😉