
Herringbone Single Crochet Stitch Tutorial
The Herringbone Single Crochet Stitch Tutorial is copyrighted by I Need It Crochet. You may not copy, share, change, or sell the tutorial itself. Also, you may not claim the Herringbone Single Crochet Stitch Tutorial as your own. All pictures contained in this tutorial fall under the copyright and may not be used.
I recently wrote a pattern featuring the herringbone single crochet stitch, so I thought I would write a tutorial for those who have never worked this stitch.
Herringbone Single Crochet Stitch Tutorial (Hsc)
The herringbone single crochet stitch is quite simple. You will begin your row with a normal single crochet.
- Insert your hook through the left leg of the st you just worked (marked with a yarn needle in Figure 1).
- Next, insert your hook through the top loops of the next stitch, yarn over and draw up a loop (see Figure 2).
- Yarn over, draw through all 3 loops. You have now completed a herringbone single crochet stitch (see Figure 3).
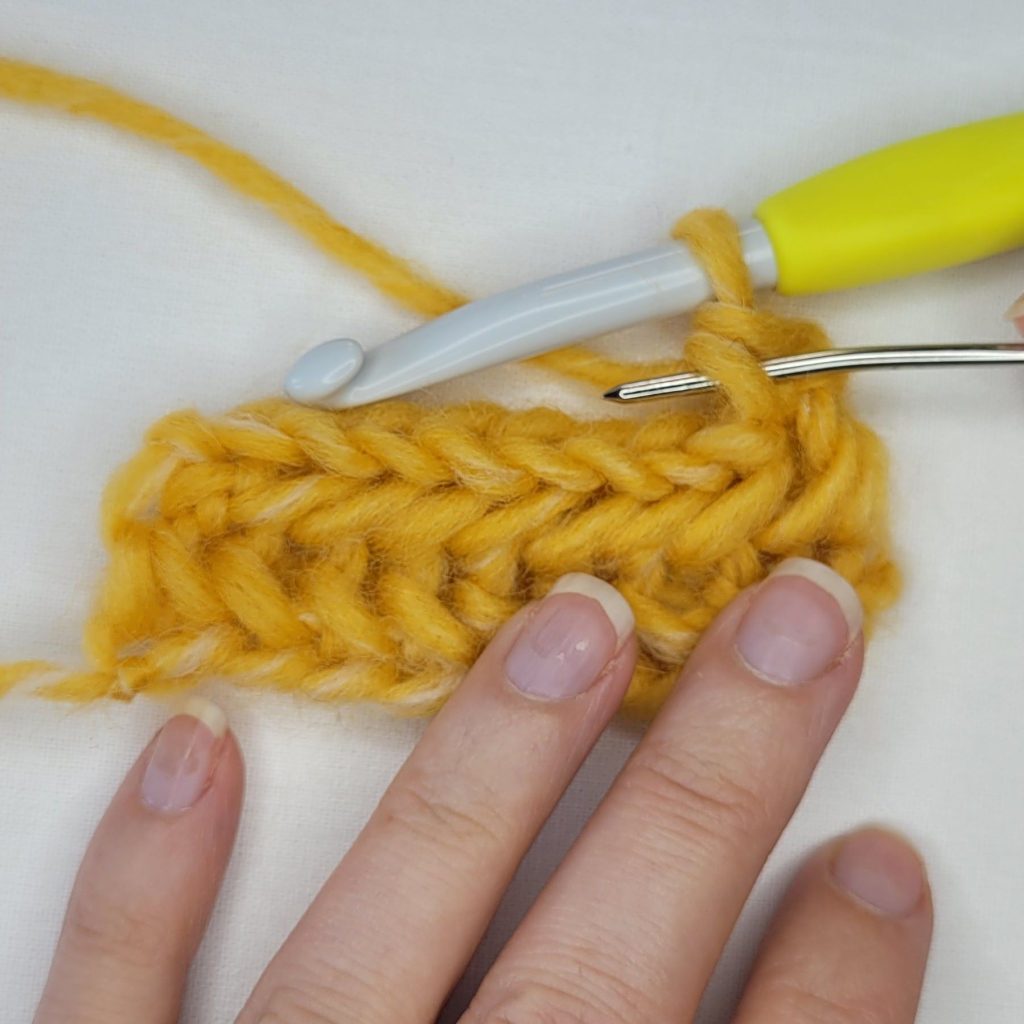
Figure 1
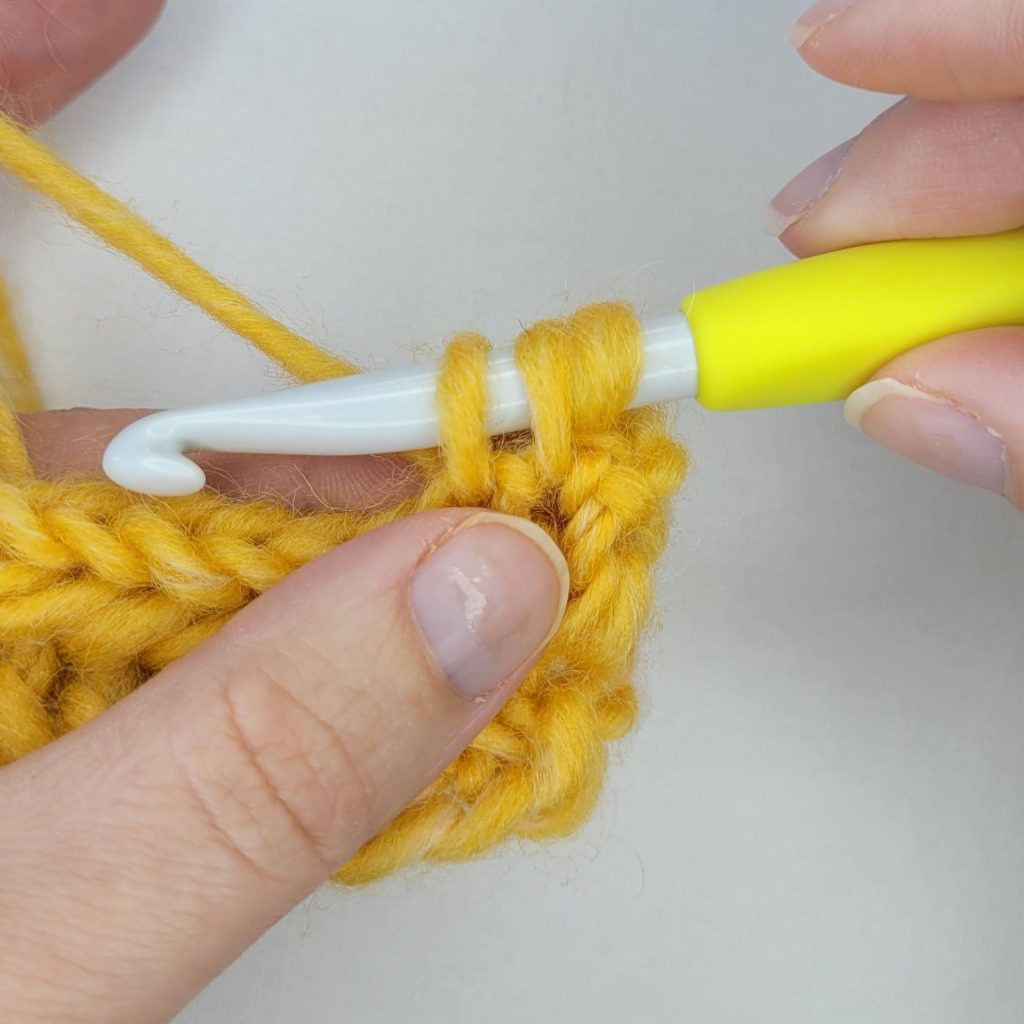
Figure 2
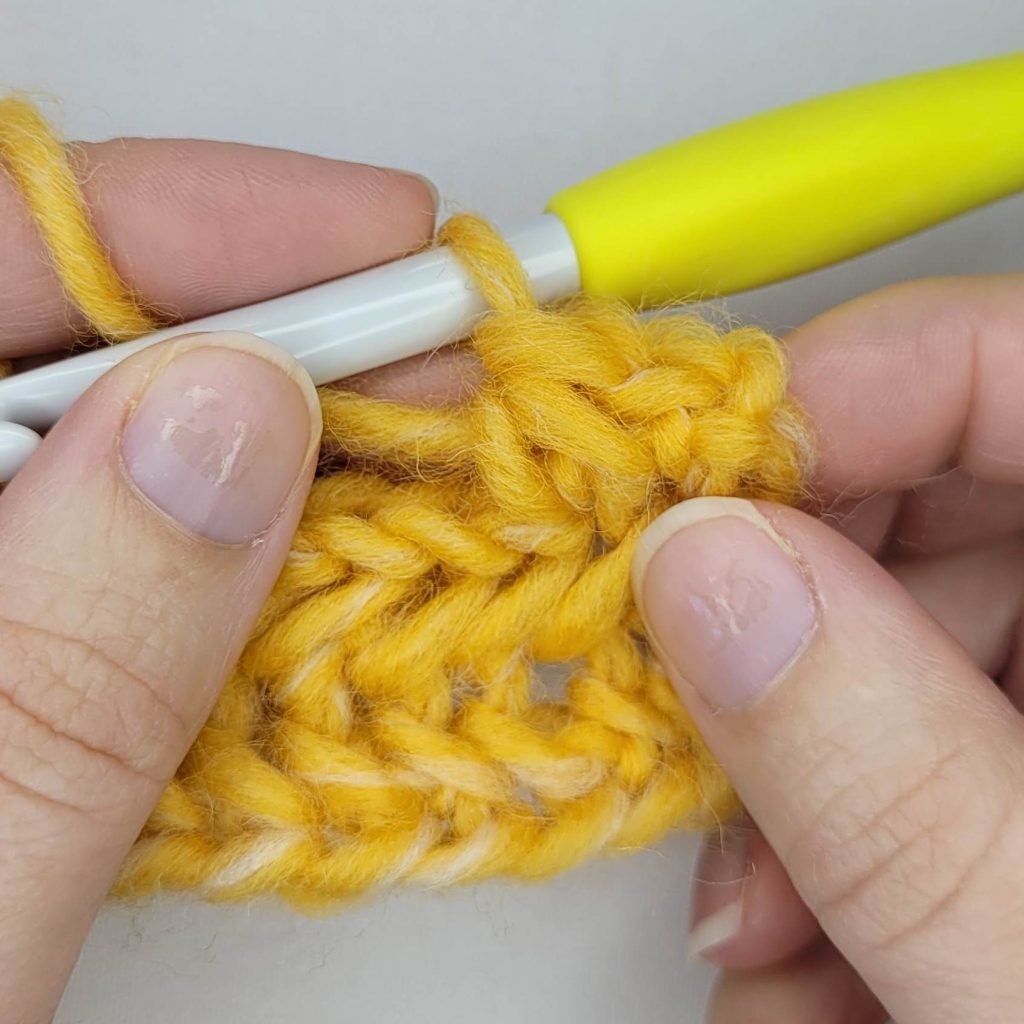
Figure 3
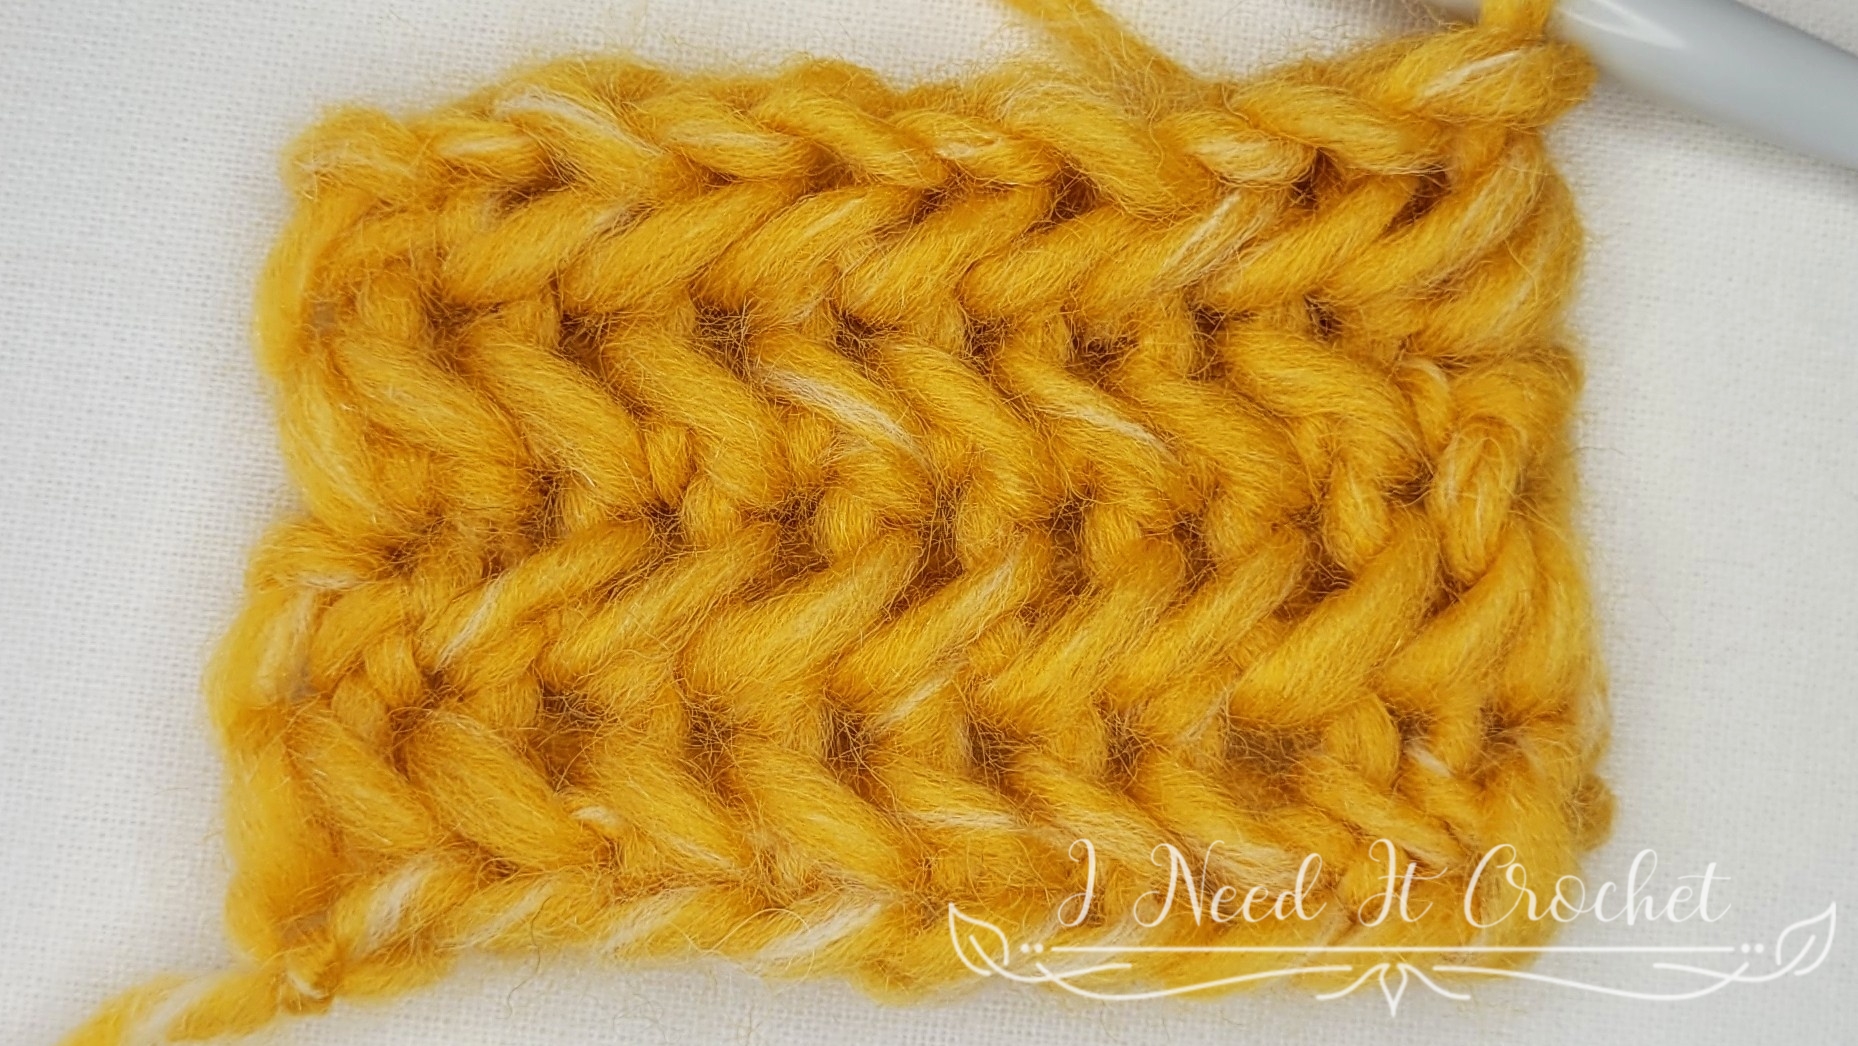
If you continue across and work all of your rows with the herringbone single crochet stitch, the slanted herringbone pattern will only appear on every other row, and both your sides will look the same (see Figure 4).
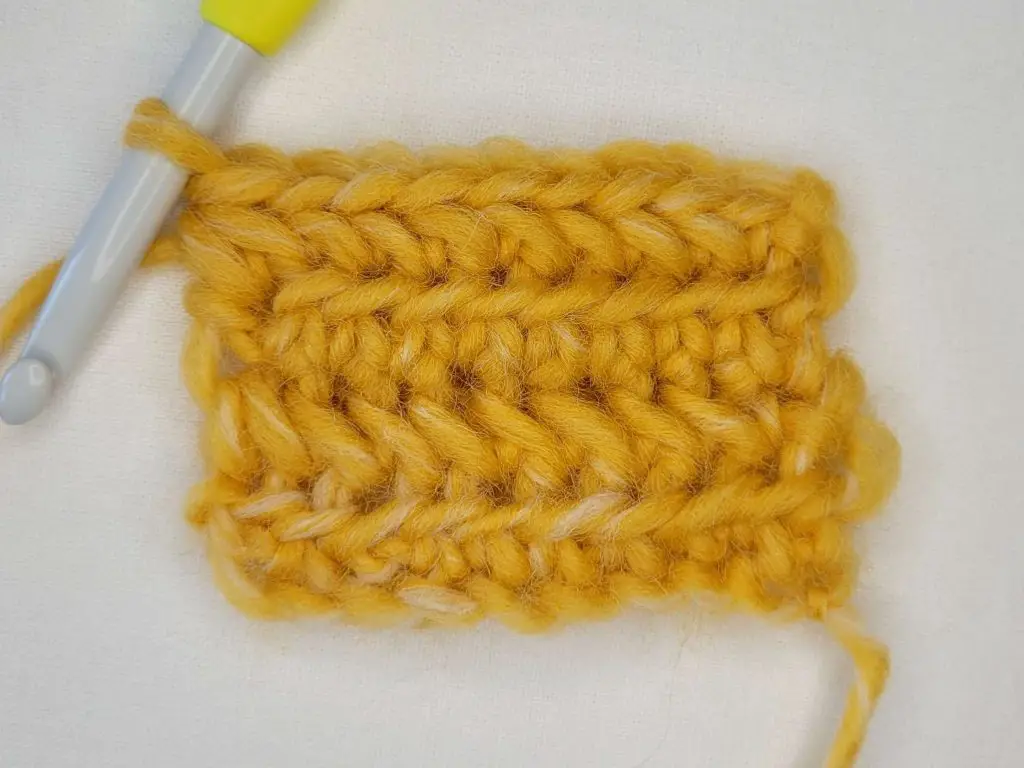
Figure 4
If you would like the herringbone stitch to look more consistent, then you will have to alternate between herringbone single crochet and reverse herringbone single crochet.
Reverse Herringbone Single Crochet Stitch Tutorial (Rhsc)
The reverse herringbone single crochet stitch is used on the wrong side of your project, so that the herringbone stitch pattern shows up on the right side.
- Begin with an inverted single crochet stitch. Insert your hook into the first stitch from the back to the front (see Figure 1). Then, work the single crochet stitch as normal (see Figure 2).
- Insert your hook through the left leg of the previous stitch on the back of your work (marked with a yarn needle in Figure 3).
- Insert your hook from the back to the front through the top loops of the next stitch (see Figure 4).
- Yarn over, pull up a loop, yarn over, then pull through all three loops. You have now completed a reverse herringbone single crochet (see Figure 5).
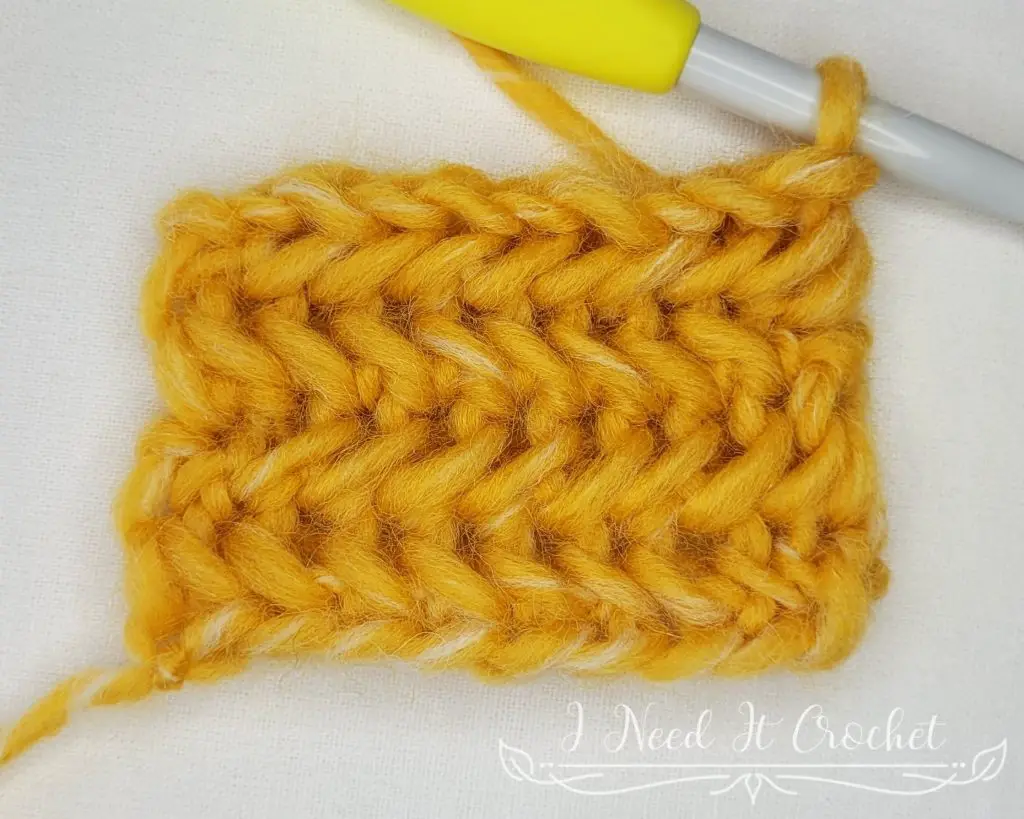
- When you alternate between herringbone single crochet and reverse herringbone single crochet, the herringbone stitch pattern will appear consistently on one side of your work (see Figure 6).
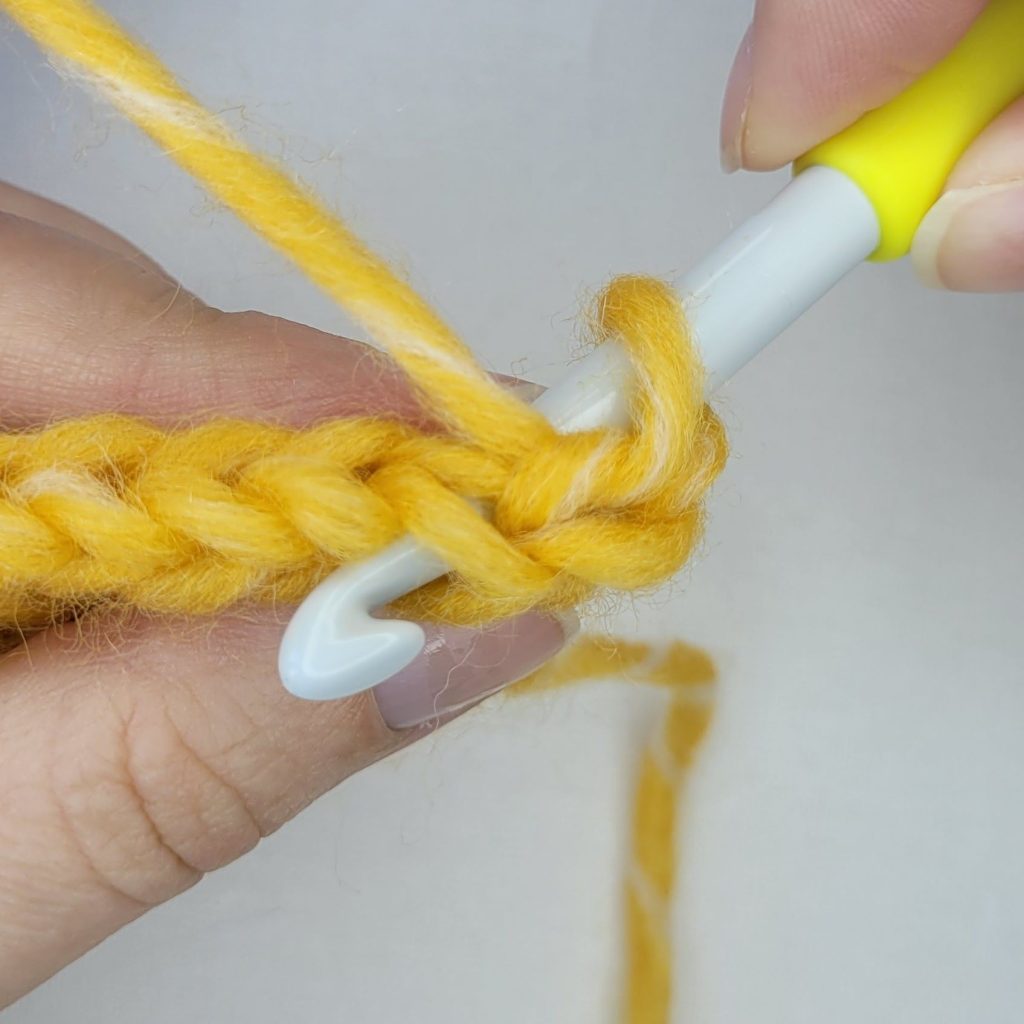
Figure 1
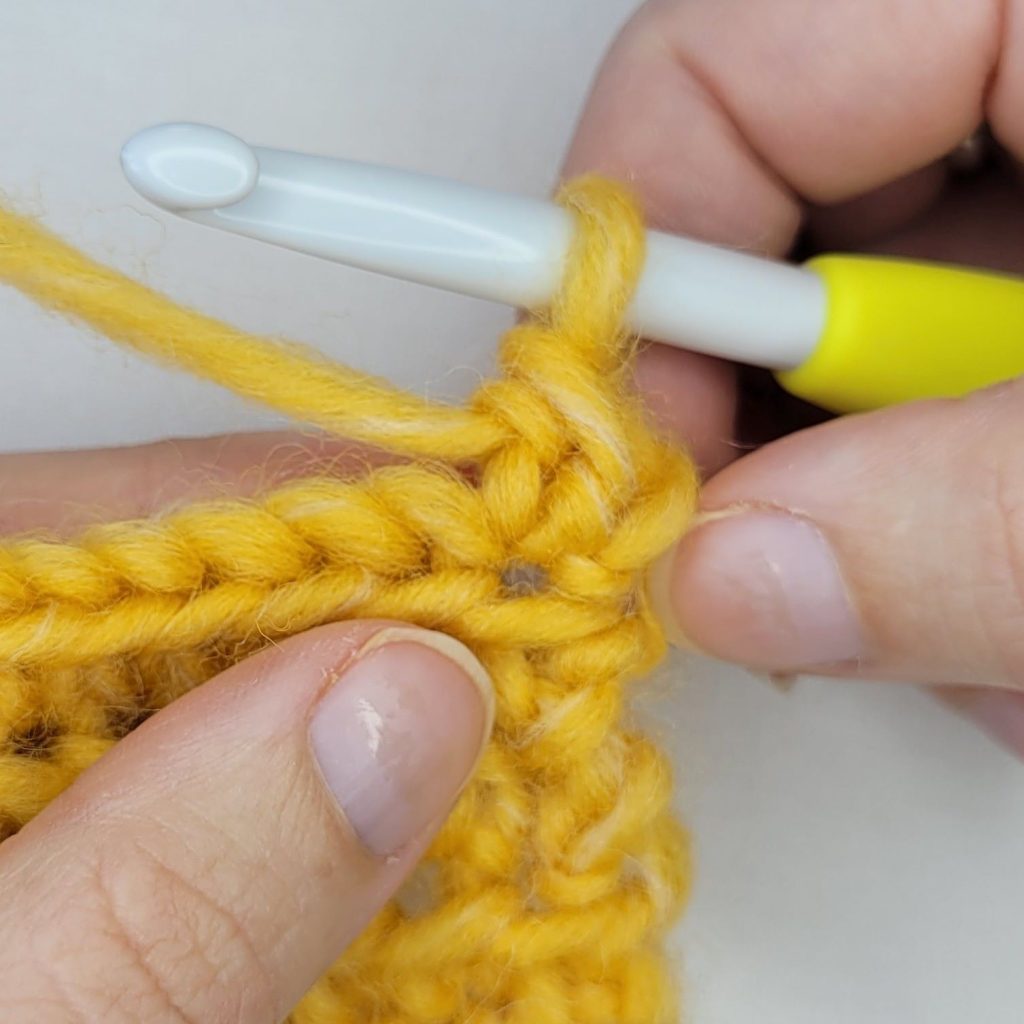
Figure 2
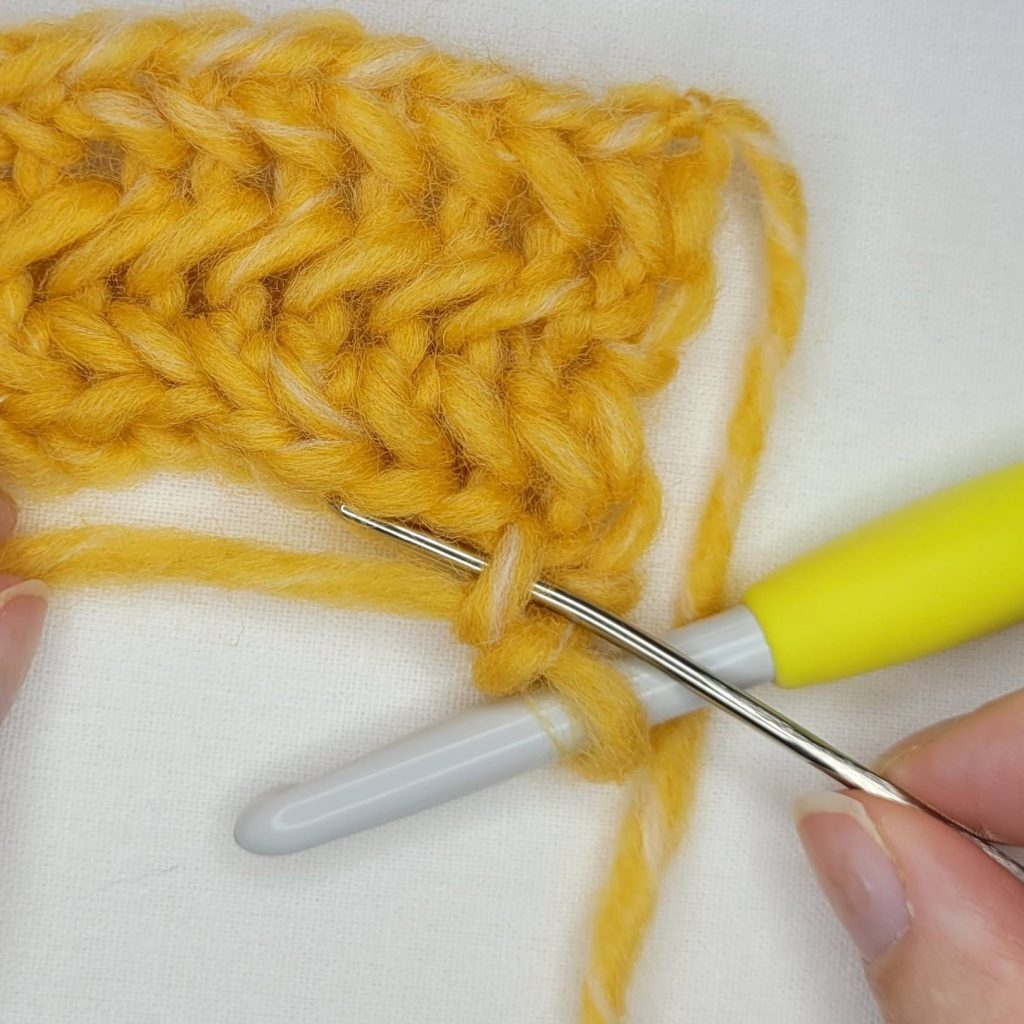
Figure 3
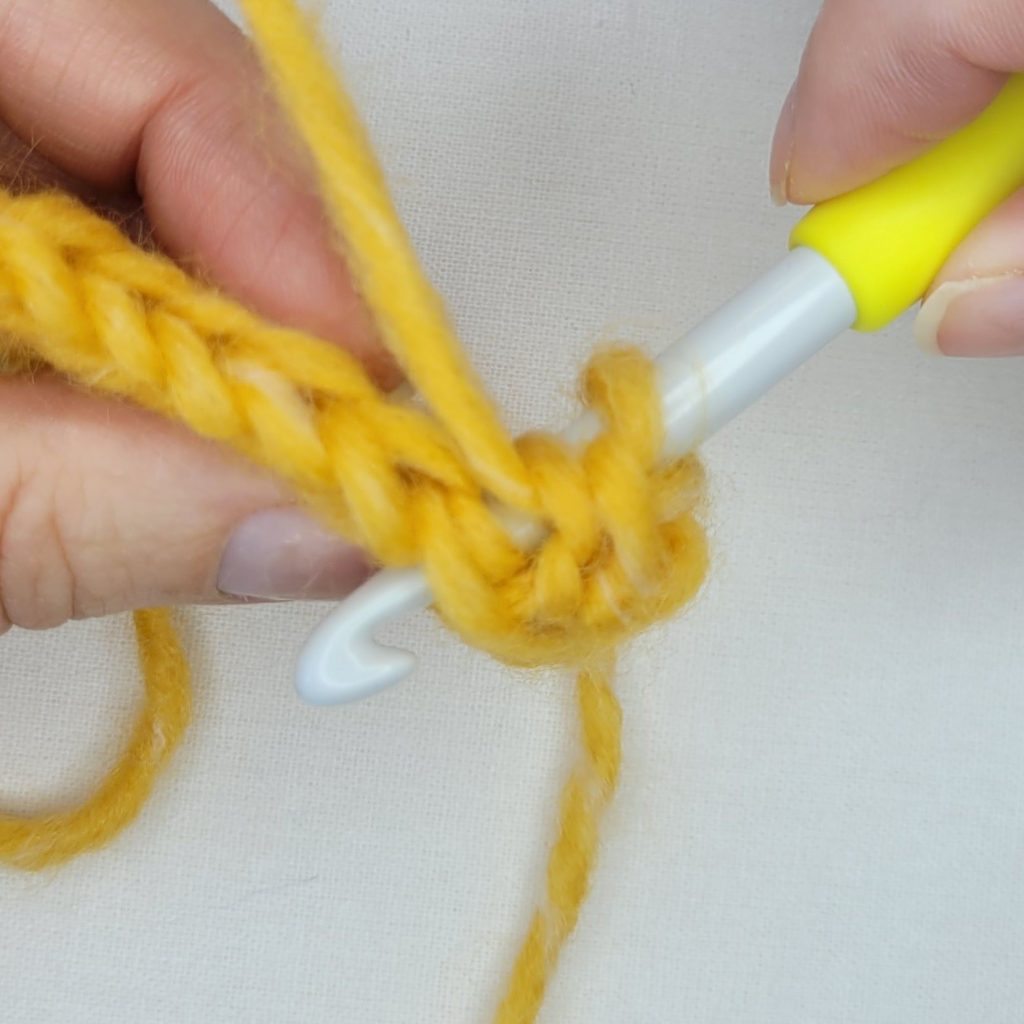
Figure 4
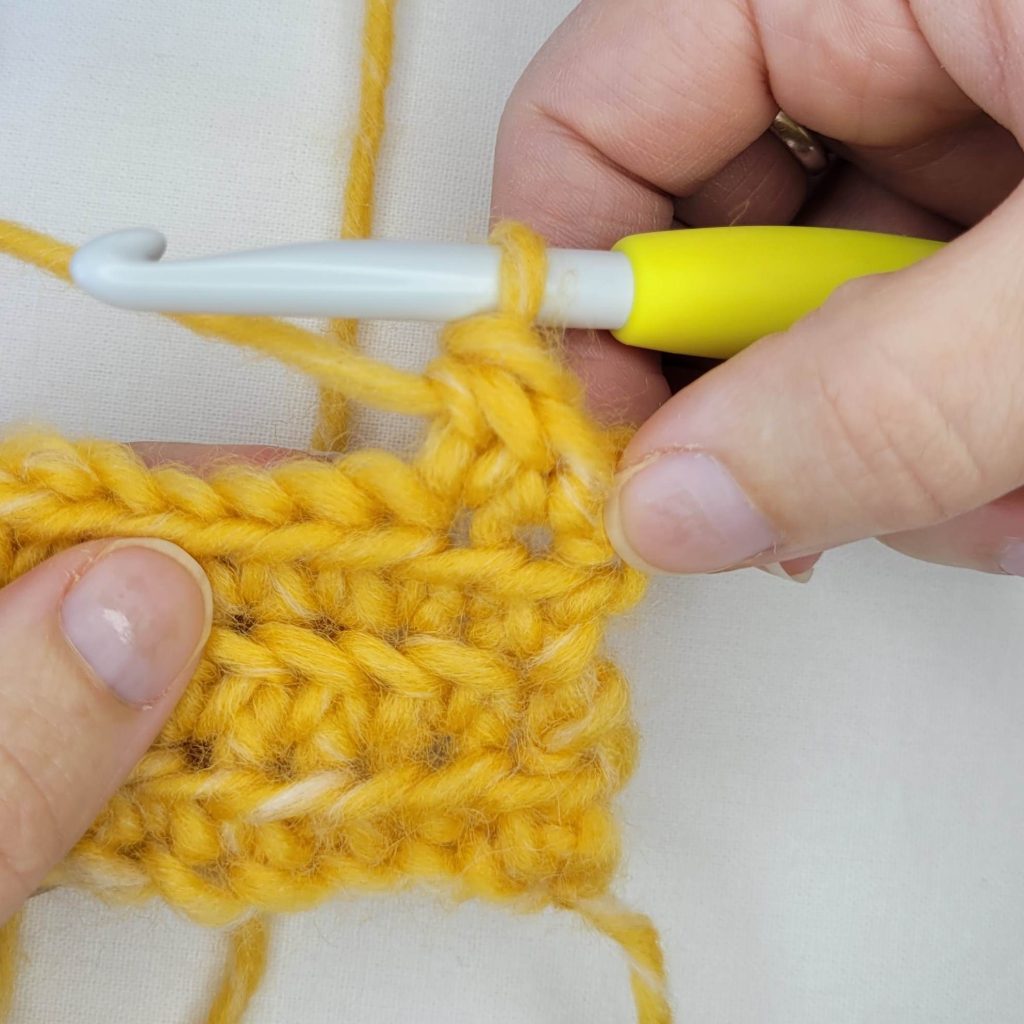
Figure 5
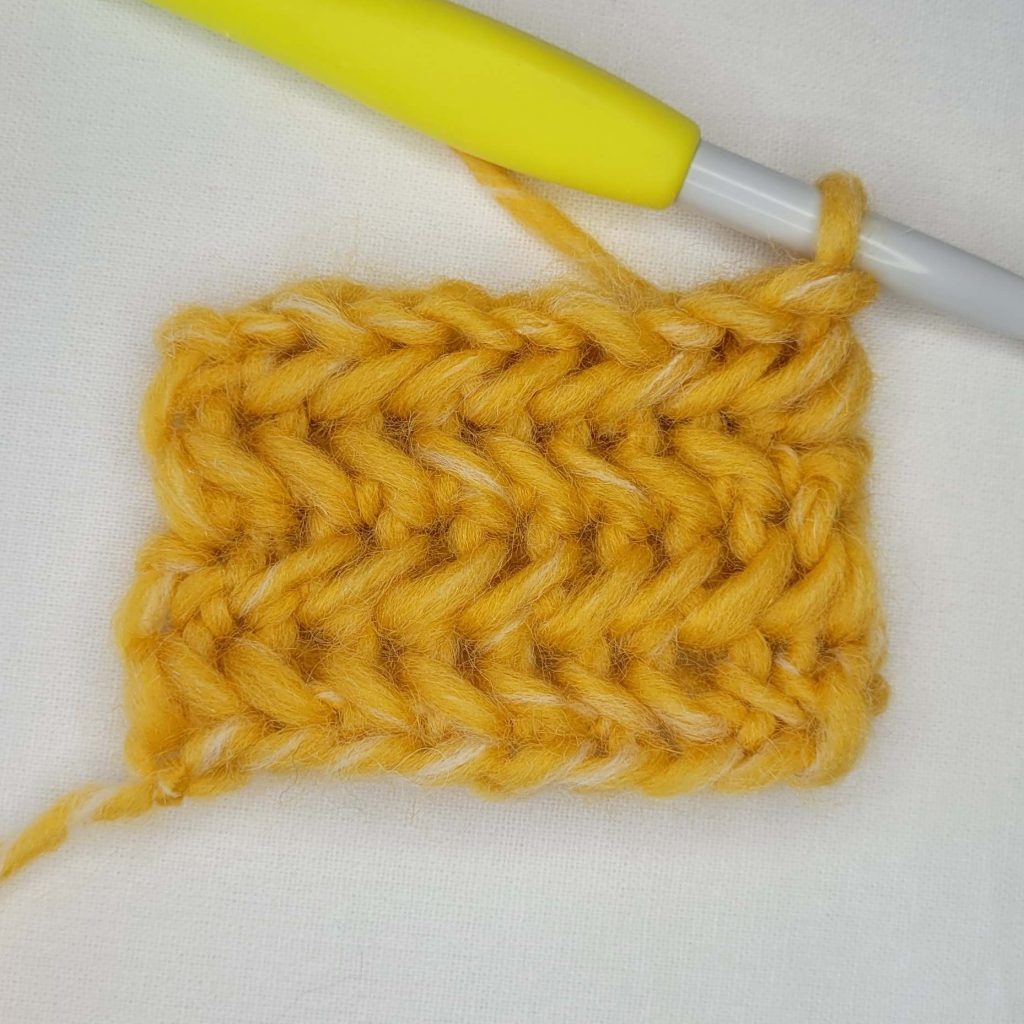
Figure 6
There you have it! Since you’re now an expert at the herringbone single crochet stitch, you can go and make the Silver Darlings Scarf (linked below)!

Free Crochet Scarf Pattern – Silver Darlings
Be sure to keep an eye on the blog. I just might be publishing more patterns featuring this stitch in the future!
If you enjoyed Herringbone Single Crochet Stitch Tutorial, you might want to check out my other Tips, Tricks, and Tutorials.
If you’d like to know when I post new patterns and tutorials, head on over to my Facebook and Instagram and give me a like and a follow!
Happy Hooking! 😉
could not see any of the examples. fig 1 and all others are blank
Hi Sue,
I just checked in the back end and the figures are uploaded correctly. Also, when I view the blog on my phone and computer they show up. You can try opening the page in a different browser and see if that works. Some browsers or browser extensions can have trouble reading certain websites.
Hope that helps!