
One of my favourite techniques is crocheting into the third loop, or 3rd loop only (3rd LO). I use this technique in a variety of my crochet patterns such as the Double Trouble Pullover, Fran’s V Neck Blouse and the Spring Stripes Raglan.
I just love the beautiful braid detail it adds to the piece. Crocheting into the third loop is also a good way to give a clean edge if you are changing colours. You just do a row of half-double crochet, change colours, then work the next row by crocheting into the third loop. You’ll see a nice clean line where you changed colours. Neat, huh?
So now I will teach you this wonderful technique. It’s not hard at all!
First you start off with a row of hdc.
At the top of your stitches, you have your front loop (Figure 1) and your back loop (Figure 2).
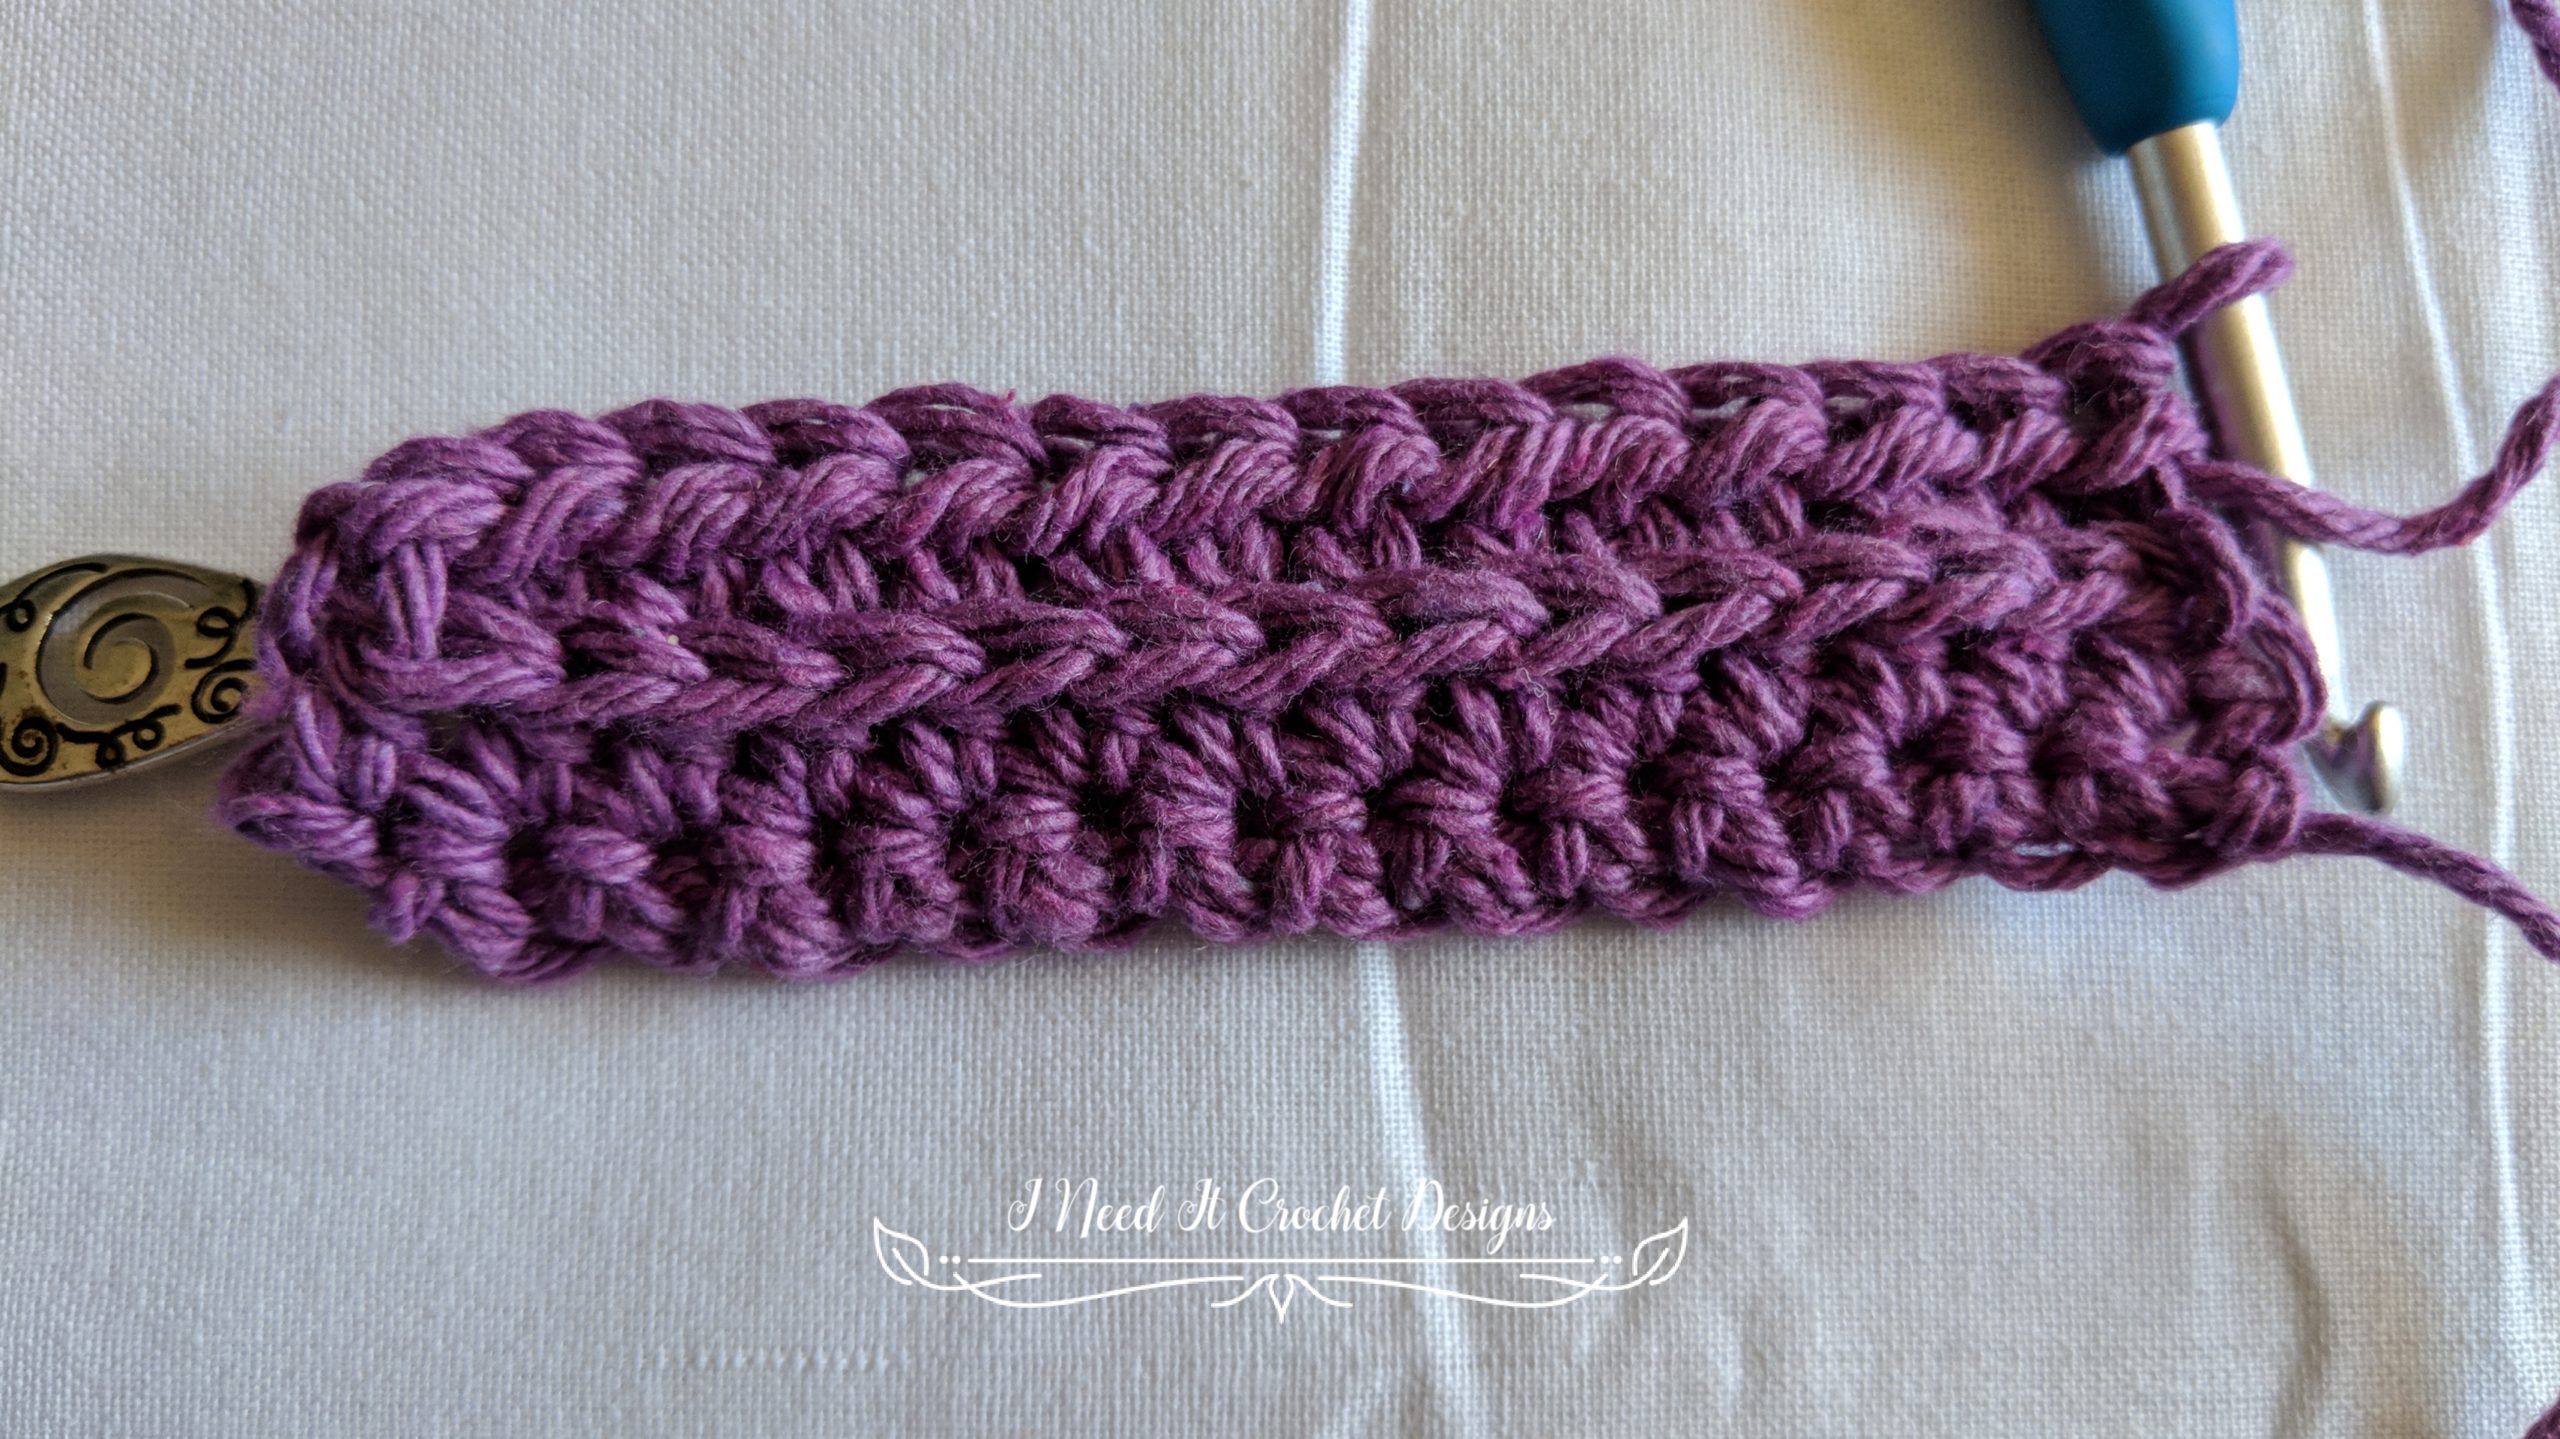
Just below those is your 3rd loop. There is a 3rd loop on both the front and back of your stitches. Figure 3 shows the 3rd loop that I like to use. It is located on the back of the hdc stitch right after you complete it, (figure 4) but once you turn your work it will appear on the front as in figure 3.
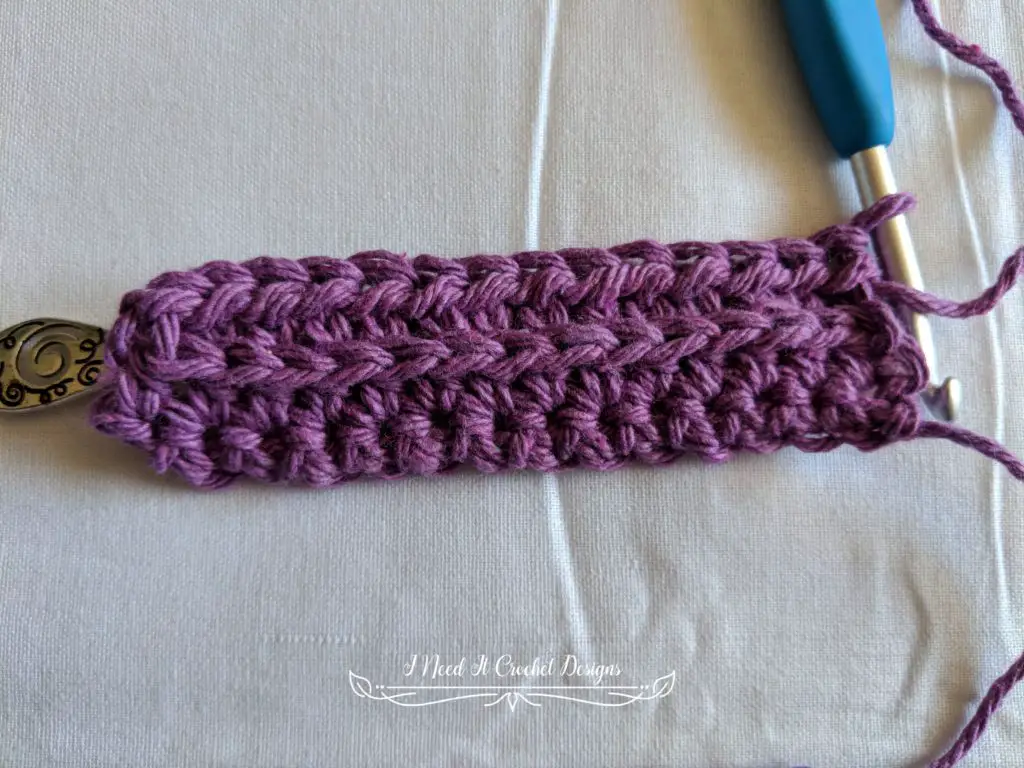
When you work a series of stitches into this 3rd loop, it results in a lovely braided rib detail (Figure 5). You want that braided detail to show up on the front of your work.
And now you know how to crochet into the third loop! Go you!
I do hope you found this tutorial helpful. Why not try it out by hooking up one of the patterns I listed above?
If you’d like to know when I post new patterns and tutorials, head on over to my Facebook and Instagram and give me a like and a follow!
Until next time… Happy hooking! 😉