
Gauge Swatching – The How And The Why is copyrighted by I Need It Crochet. You may not copy, share, change, or sell the article itself. Also, you may not claim this article as your own. All pictures contained in this article fall under the copyright and may not be used.
Gauge swatching! Dun dun duuuuunnnnnn! For some hookers it is a must do. Just part of the process of making a project. For others, making a gauge swatch is a tiresome, tedious process that is to be avoided at all costs! I used to fall under the latter part of that equation. That is, until I started making clothing. 😉
But gauge swatching doesn’t have to be torture! Read on and I’ll tell you about it!
Uh… What’s a Gauge Swatch?
In case you aren’t familiar with gauge swatches, here’s a little explanation.
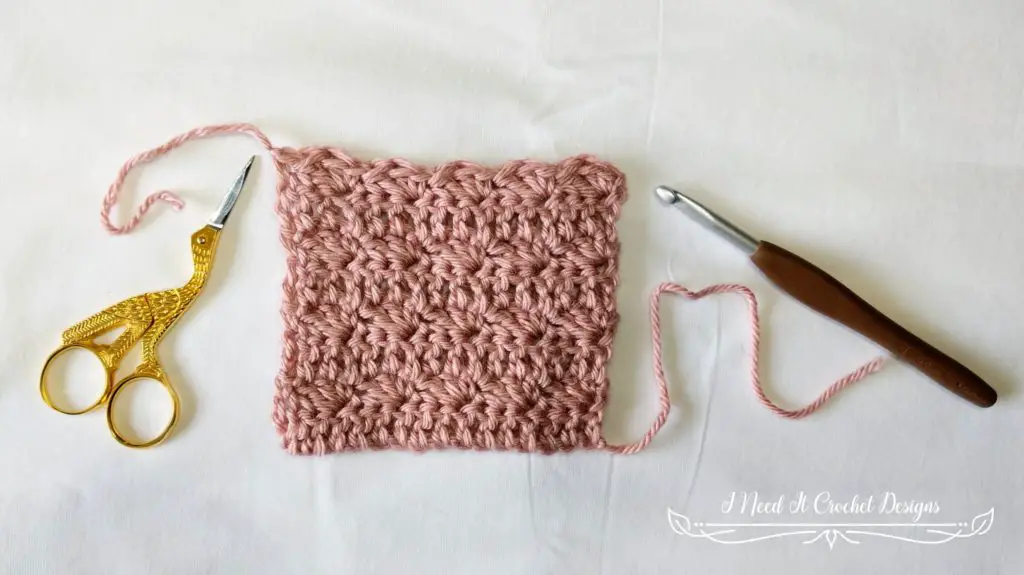
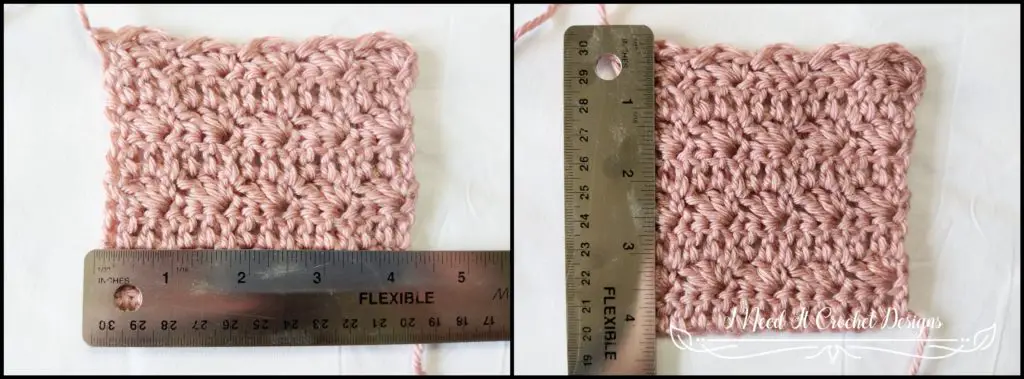
At the beginning of many crochet patterns, you will find information on gauge. Some designers (like moi) will give you full instructions on how to make your gauge swatch. The instructions will look like a standard crochet pattern and if you follow them you will end up with a square. You then measure the square to see if you achieved gauge. More often than not, the goal is to make a square measuring 4″ x 4″, but if that is not the case, it will say so in the instructions.
Some will give a simple equation. The equation will look something like this: 20 dc x 9 rows = 4″. This means that you should make a square that is 20 dc across and 9 rows high. When you are finished the square should measure 4″ x 4″. Sometimes a designer will leave out the last part of the equation and only give you 20 dc x 9 rows. No worries. In those cases, it is assumed that your gauge swatch should be 4″ x 4″, as that is the standard size for a gauge swatch.
To Wash… Or Not To Wash
In some cases, you may have to wash your swatch. This step really depends on the yarn you are using. If you are using a yarn that is prone to shrink or stretch when washed – such as wool or cotton – you may want to wash your swatch to see how it behaves. Because things get dirty. And you know you’re going to have to wash your work someday. It would be good to know that your favourite sweater will still fit you afterward!
When washing your swatch, be sure to pay attention to the washing instructions on the yarn label. Many yarns are handwash only. For yarns that can be machine washed, it is best to use a mild detergent and the gentle setting on your washing machine. Also, some yarns will crinkle up in the wash, but if you block them they will lay flat again. Another good idea is to wash your project in a zip-up mesh bag. I find this helps to protect against snags and stretching and decreases pilling.
Now, I know what you are thinking at this point. Well that’s all great, Sarah. But what if my square doesn’t come out to the right size?? I’m so glad you asked! If your square comes out too small, you would make another gauge swatch with a larger hook. If it comes out too big, you make another with a smaller hook. Once you have made a gauge swatch to the correct size, you will know which hook to use for your project. Easy peasy!
K… But Why??
Now, after all that, you may ask yourself… What is the point to all this? Why am I making all these useless little squares that use up valuable yarn?? Well, in many cases, gauge swatching will save you boatloads of time and energy (not to mention a few tears).
We all have slightly different tension. Tension is a term for how tightly a person will crochet or knit. Some of us have very tight tension, some of us have very loose and relaxed tension. Our tension depends on a number of factors. The way we hold our work. How we hold our hook. How we hold the yarn. Even what brand of hook we are using. Often, if we change one of these factors, our tension will change as well. Also, it is common for our tension to change over time, as we get the hang of crocheting, or as we age and our hands go through changes.
So, it is safe to assume that the designer of the pattern you are working on will have different tension than you do. Which means that if you use the same hook as they did, your project may come out too big or too small. Which would be a bummer, right? This is why swatching is so important, especially when working on a pattern where the final size matters.
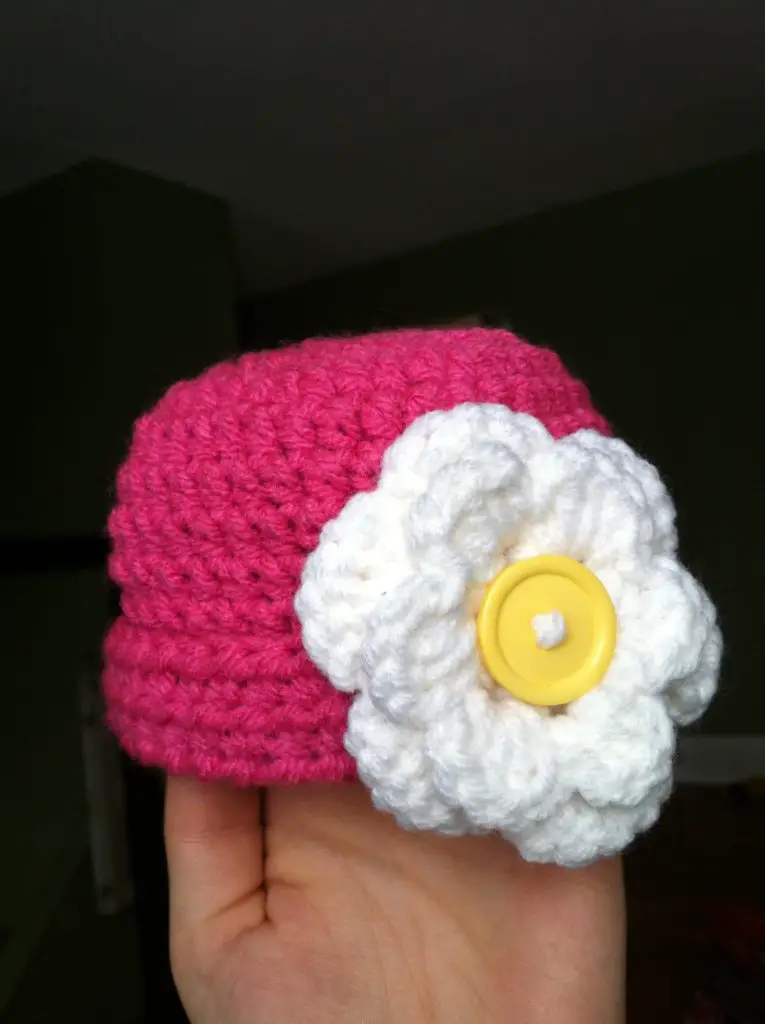
As a new crocheter, I made that mistake many times. In fact, my very first project turned into a gauge swatch disaster. I had intended to make a pink beanie with a big white flower on it for my daughter, whom I was currently pregnant with. The hat turned out to be way too small! It would perhaps fit a doll. Oh well. It still turned out pretty darn cute.
On another note, swatching is also useful if you want to use a different size yarn than what the pattern calls for. For example, if a pattern specifies a #3 DK yarn, often you can use a #2 Fine yarn in its place as long as you make a gauge swatch. Cool, eh?
When Swatching Fails
So, we’ve learned that swatching is a valuable skill for crocheters to learn, and that it should be done consistently, with each new pattern we attempt. But, I should warn you… Sometimes even swatching will fail. (Oh no!)
As a designer, I have all of my patterns tested by a group of dedicated (wonderful, amazing, stupendous) crocheters. Gauge and tension come up regularly, because it will often happen that someone will make the gauge swatch to the right size, but their project is coming out too big or too small. Sometimes, it’s because I’ve made an error while calculating stitch counts (hey, I’m not perfect). But when that is not the case, there are a few reasons that the swatch seems to be off.
What’s Your Yarn Made of?
If the yarn called for in the pattern is vastly different than the yarn you used, that can cause issues with gauge and tension. Some yarns have little to no stretch. For example, Caron Simply Soft and Bebe Luv Baby are made of 100% acrylic and very loosely plied, giving them zero stretch. But Premier Yarns Cotton Fair is 52% cotton / 48% acrylic and spiral plied, which means that it has a very generous stretch and bounce. This can have an affect on your finished project as the cotton will often relax and stretch a bit when you make a large project as opposed to a small gauge swatch.
How are you holding your work?
Oftentimes, we will hold our work differently depending on the size or type of project we are working on. It is quite common for people to have slightly tighter tension when working on a small project (like a gauge swatch) than when we work of a large project (like the front panel of a blouse). It is important that we use the same habits when making our gauge swatch as when we are making our final project, so that we achieve the same tension. For some, it takes a lot of practice, but you will get there!
Are we a little tense today?
Friends don’t let friends crochet while angry. When we are upset or stressed, we become tense. This will affect your tension without you even realizing it! I know you had a hard day. Sit. Relax. Have a cup of tea (or a gallon of wine 😉 ). And enjoy your crochet time. The rest can wait.
Did you change your hook?
Always, always, always use the same hook for your project as you did for the gauge swatch. Even if the hook says it’s the same size, different brands of hooks can affect your tension. Also, factors such as the material that the hook is made of (plastic, metal, bamboo, etc), or whether it has a molded handle can affect your tension. So, if you decide to change the hook brand or type after you’ve made your swatch, be sure to swatch again.
Do you have a favourite brand of hook? My favourite crochet hooks are definitely Clover Amour! As soon as I started using them, I noticed a huge decrease in the strain in my hands, giving me a lot more time to crochet! And if you use this link to buy a set, I’ll get a small commission. 😉
One Final Lesson
These are just a few of the reasons for gauge issues that have come up in my experience. There may be ones I haven’t thought of. But all of these mistakes have taught me a valuable lesson. Always measure your project! When I work on any pattern, I crochet 5 or 6 rows, then I measure my project to be sure it is coming out to the intended size. If not, I frog it and do it again with a different hook. This has saved me a lot of heartache over the years!
Whew! I’m glad we got through that together! Thanks for reading this far. And if you are having trouble with your gauge, just know that you are not alone. Right now, there are hookers all over this planet throwing their hooks across the room in frustration, or putting their WIP in a “time out” until it starts behaving again. And that’s ok. Your project will be there when you can pick it back up.
If you’d like to know when I post new patterns and tutorials, head on over to my Facebook and Instagram and give me a like and a follow!
If you enjoyed this free tutorial on gauge swatching, you may want to check out my other tutorials and designs!
Until next time, keep swatching and…
Happy Hooking! 😉
This article is a great resource! Thank you so much for writing it. I often run into issues with gauge being the correct width then not the correct height or the other way around.
Do you have any tips for when that happens?
Thanks so much!?
Great question, Sherry! I have also run into that issue in the past.
If your swatch isn’t coming out to the correct height, it is a little more difficult to correct, as it means you will have to adjust the way you make your stitches. When you are drawing up your loop, pay attention to how big you are making that loop. The rule of thumb is to have the same tension on all of your loops. Some people will make their bottom loops a bit on the loose or tight side, making their stitches an odd height. This could be an issue with the pattern designer or your own technique. I know I have had days where my stitches came out a bit short, but usually my testers will let me know when that happens. 🙂
If your swatch is coming out too too short, try loosening your tension a little on the bottom loop. If your swatch is coming out too tall, try tightening that bottom loop.
I hope that helps! 😀