

I think fringe is the bees knees! You can use short fringe for a cute little detail, or you could use long fringe for a dramatic hippie look. It adds a bit of funky style to just about anything. And as you move, it moves. Swinging along with you. Like everywhere you go, there’s music playing.
Yes, fringe definitely sets the mood of your piece. Which is why I add it to anything that I want to stand out.
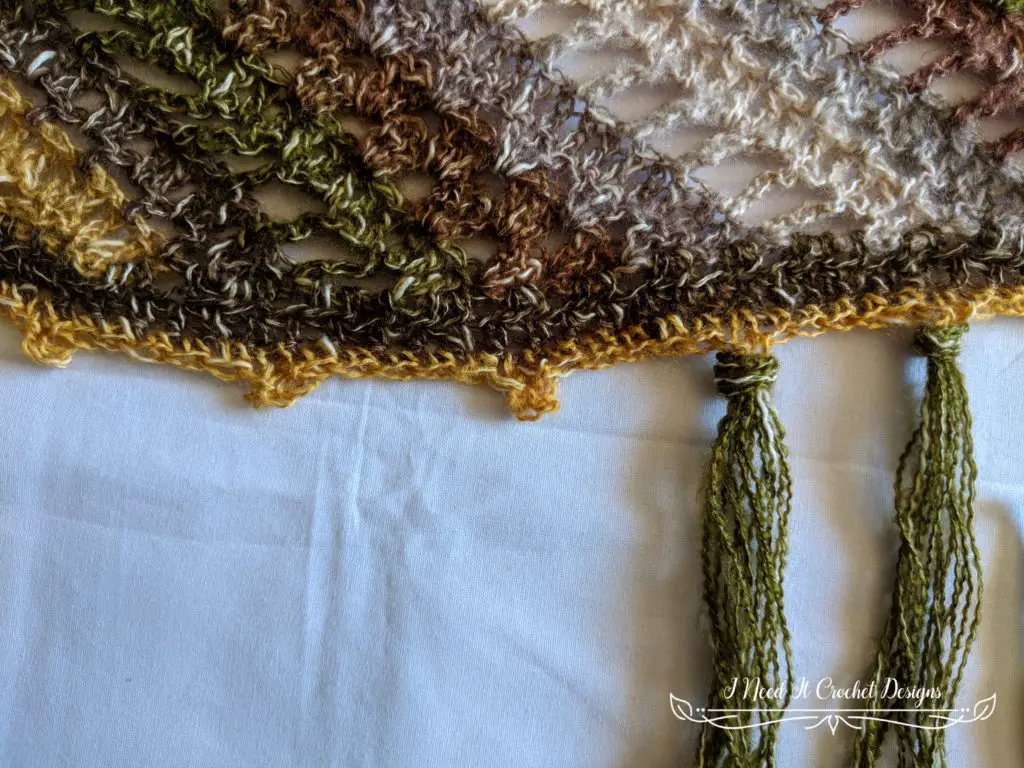
In this tutorial I will show you how I cut and add fringe to my Blissful Boho Shrug. So we will be adding the fringe into picot stitches, but you can work your fringe into the top of just about any stitch.
Lets begin!
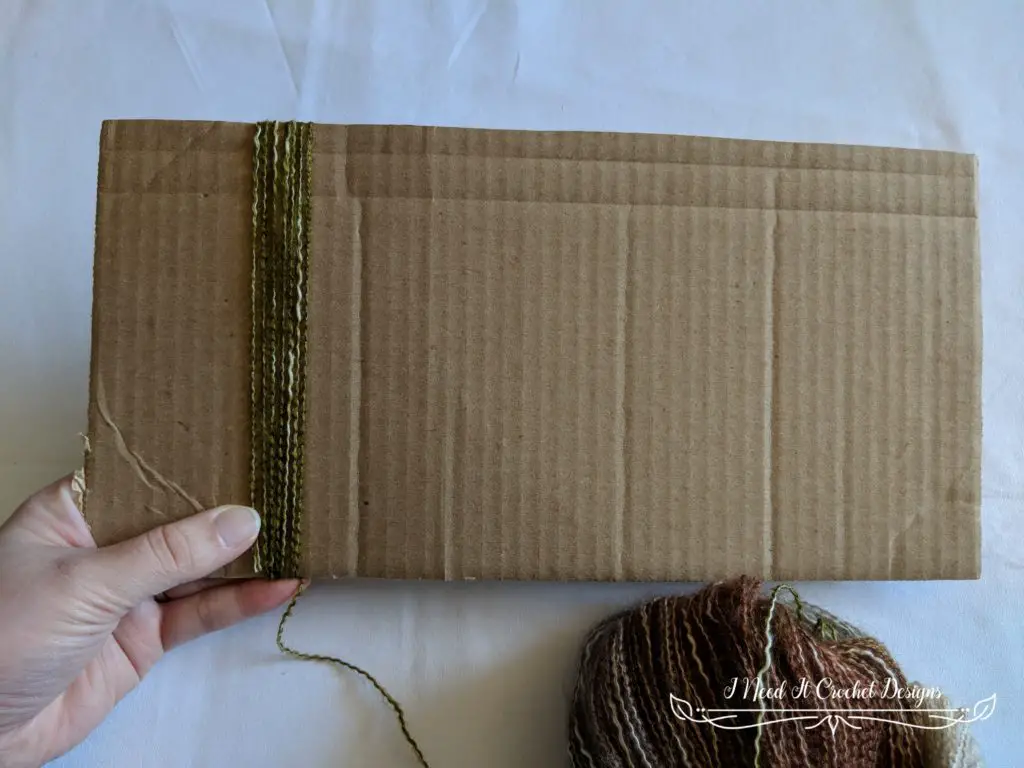
First, you will need a piece of cardboard, cut to the same height as the length you would like your fringe to be. I’m making 6” fringe, so I used a piece of cardboard that is 6” high. You can make it whatever length you want.
Begin wrapping your yarn around the cardboard as shown. Be sure not to wrap too tightly.
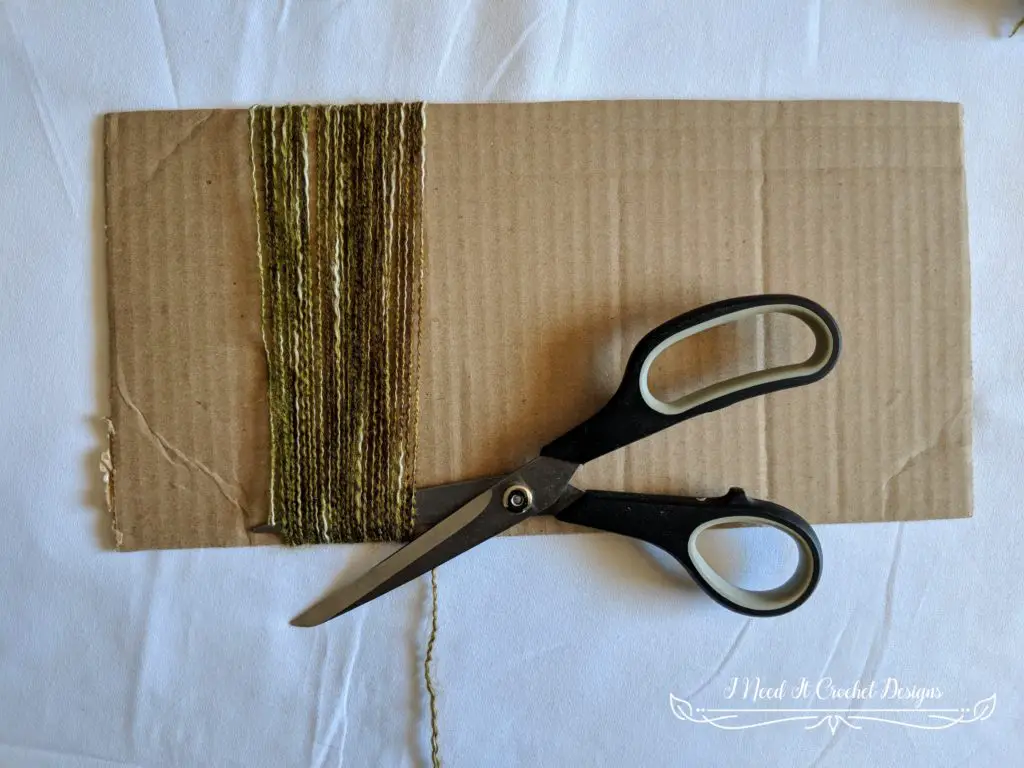
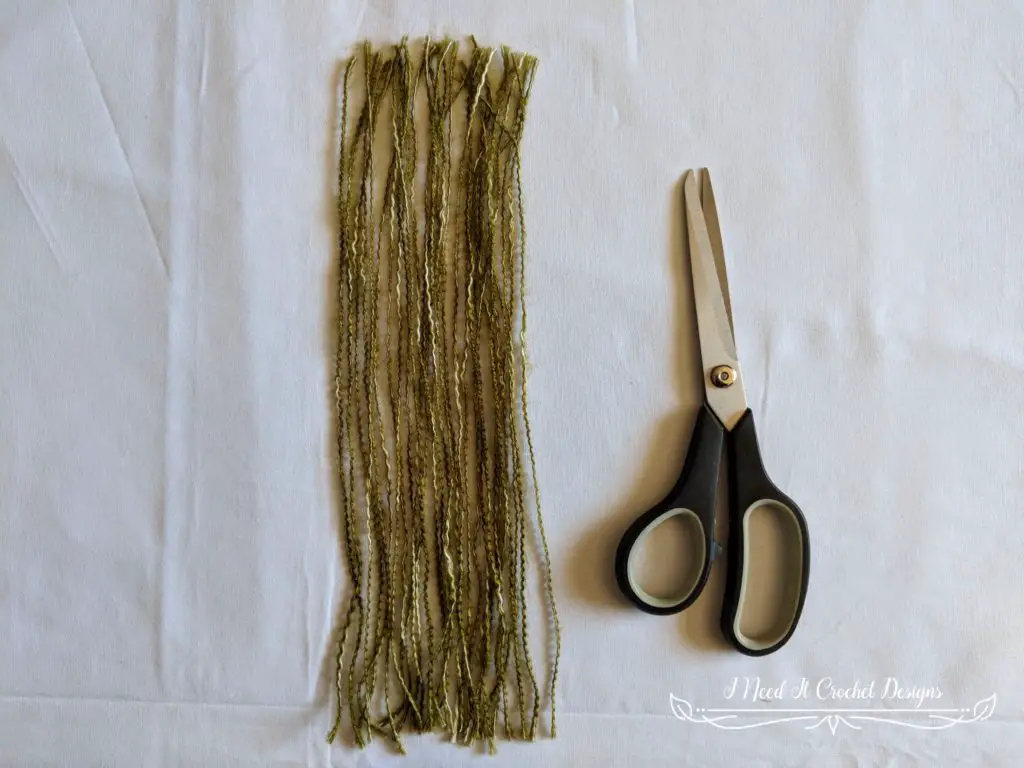
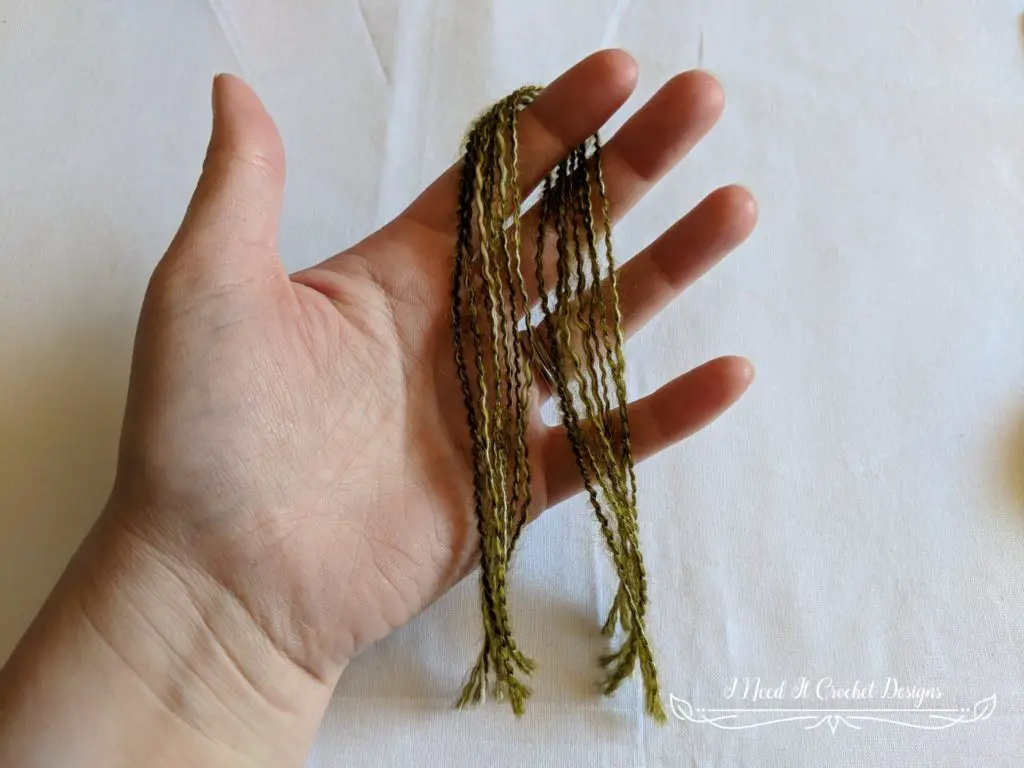
Once you have enough wraps (you can go all the way across. I only stopped because this is a demo) you will cut the yarn at the bottom. Which will give you 12” strands of yarn. Pick out however many you want to go into your fringe piece. I used 7 strands in each picot stitch of my Blissful Boho Shrug. Fold them back in half like so.
Your shrug should be laying flat with the right side up and the picots facing you.
(If you’re using this tutorial for a piece other than the Blissful Boho Shrug, you can use these same steps, just working into whatever stitch works best for your piece. )
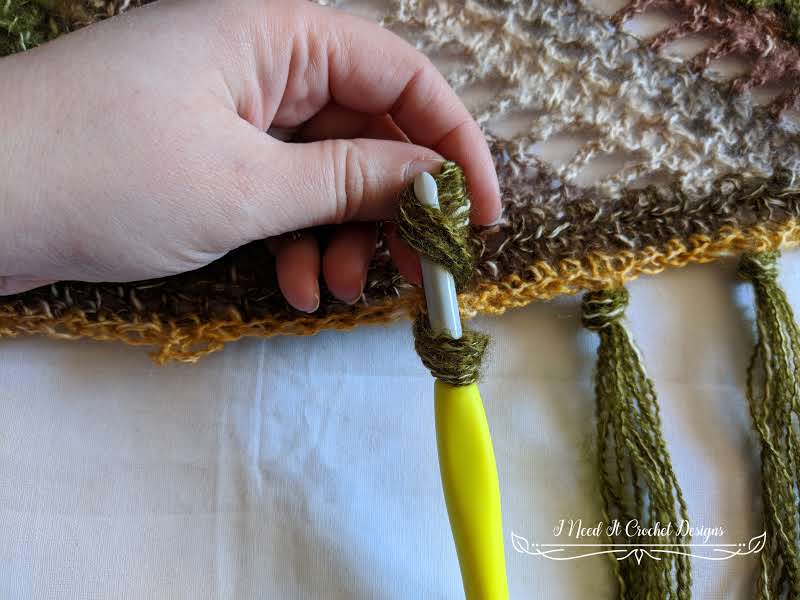
Select a large hook (I’m using a 7.00mm) and place it into the ch3 loop of the picot as shown.
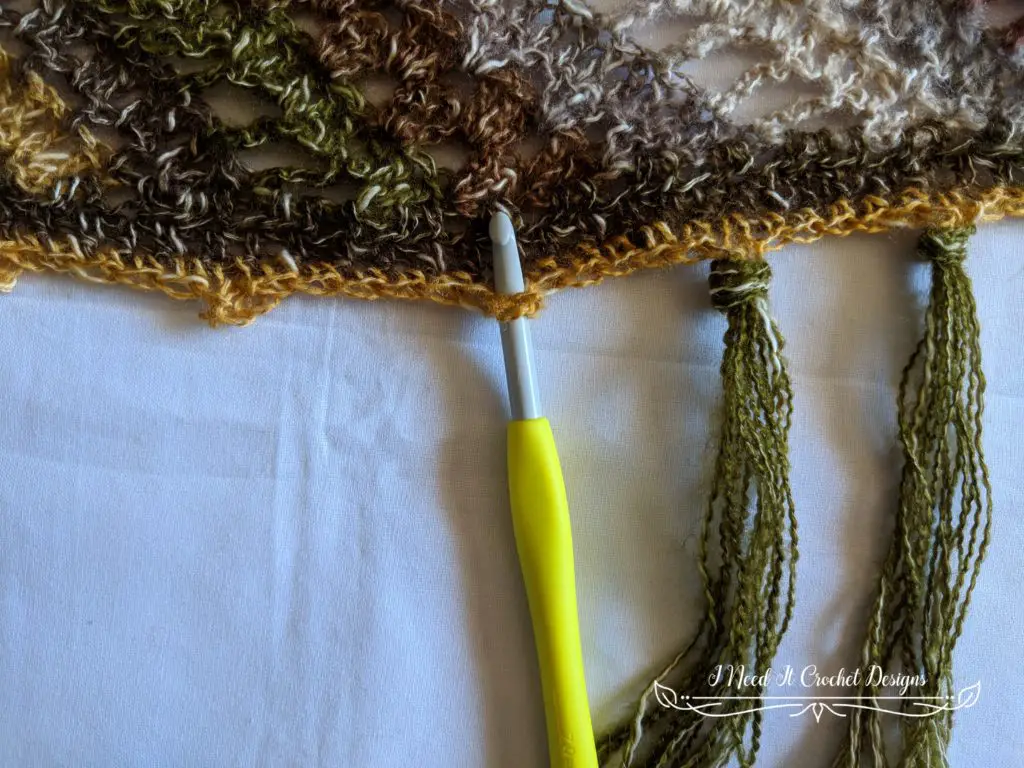
Loop your yarn strands over the hook, then pull all of the strands through the picot. Do not pull the hook out!
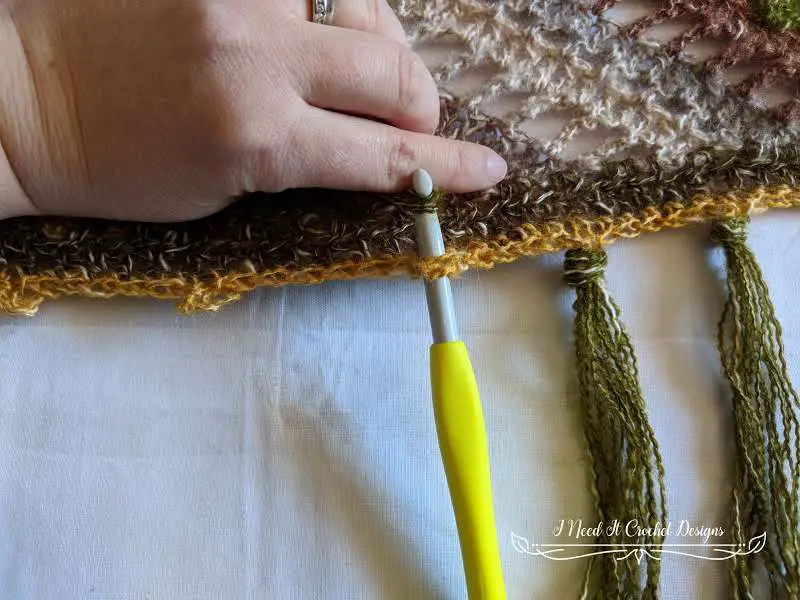
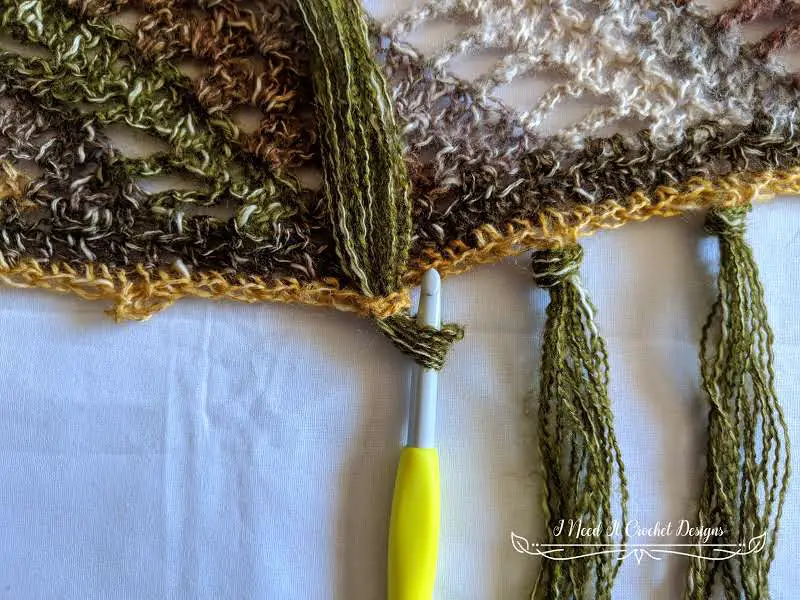
Loop the ends of your fringe over the hook and pull them through as shown.

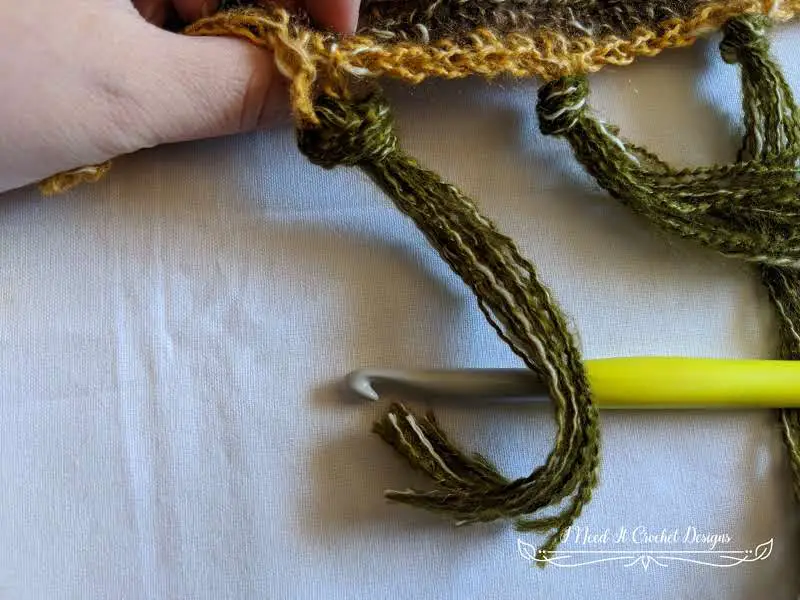
You may want to give a little tug (not too hard!) to help settle any strands that might be loose.
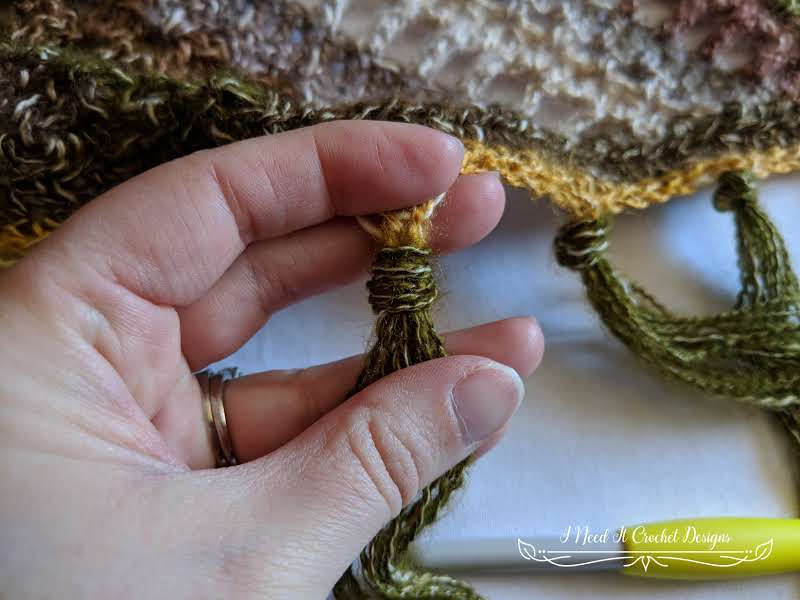
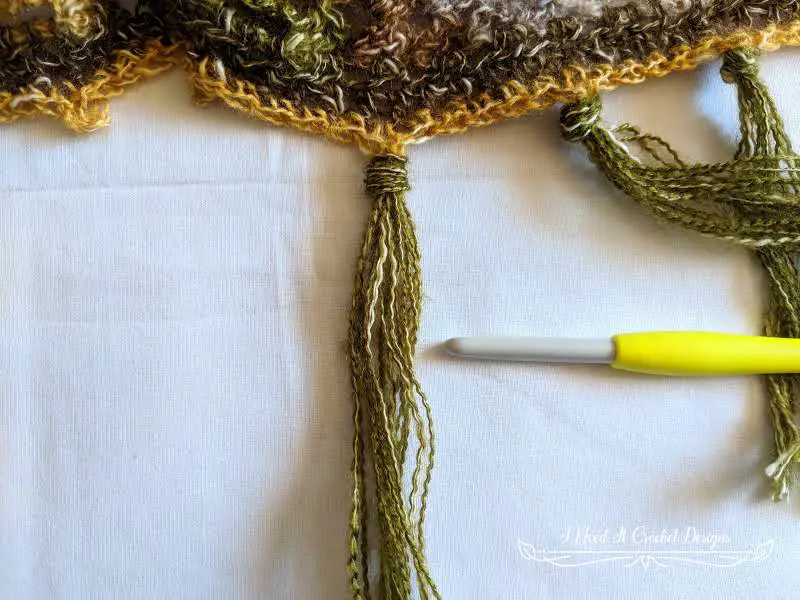
And now you have made fringe! Repeat for as many picots (or stitches) as your please. And you’re done!
That wasn’t too hard now, was it? Now go, unleash your hippie goddess and add fringe to all your favourite crochet pieces!
I hope you found this little Fringe Tutorial helpful. If you would like to know when I post new crochet patterns and tutorials, head on over to my Instagram and Facebook pages and give me a like and a follow.
Until next time…
Happy Hooking! 😉