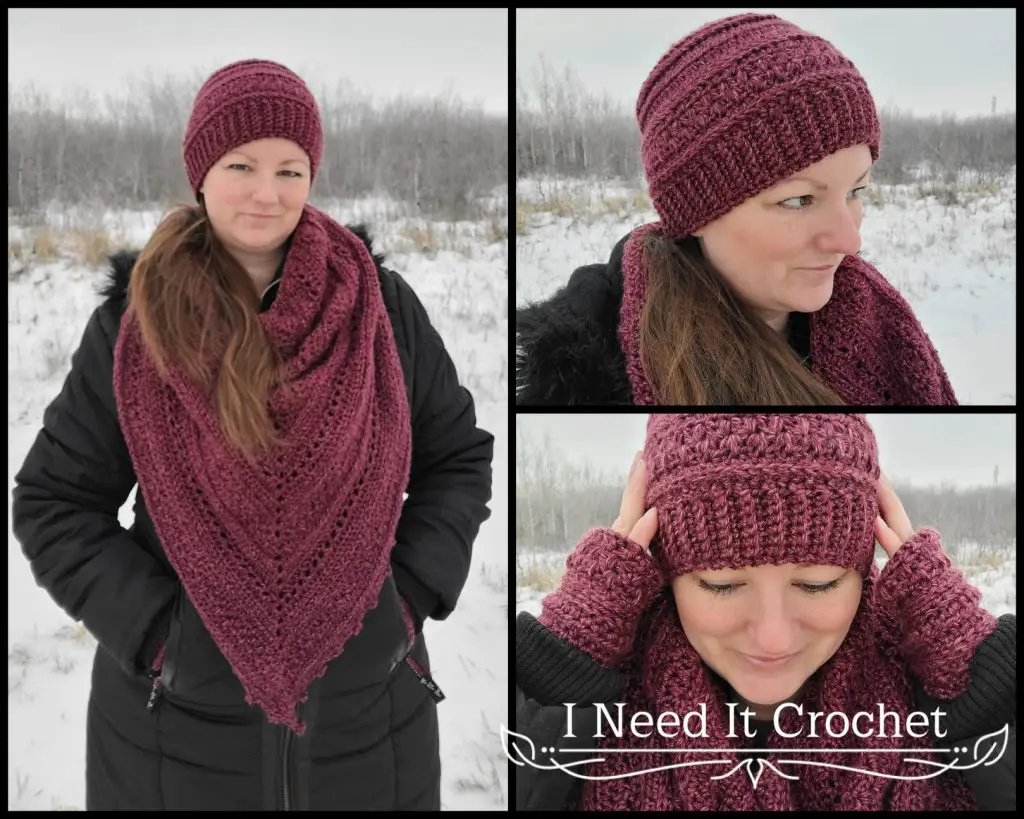
Culmination – Free Crochet Hat Pattern
The Culmination – Free Crochet Hat Pattern is copyrighted by I Need It Crochet. You may not copy, share, change, or sell the pattern itself. Also, you may not claim this pattern as your own. All pictures contained in this pattern fall under the copyright and may not be used.
Finished items made from the Culmination – Free Crochet Hat Pattern belong to you, and you may do what you wish with them. If you choose to sell them on Etsy, I would very much appreciate it if you credited me as the pattern designer.


Or… Just scroll down to see it for free!
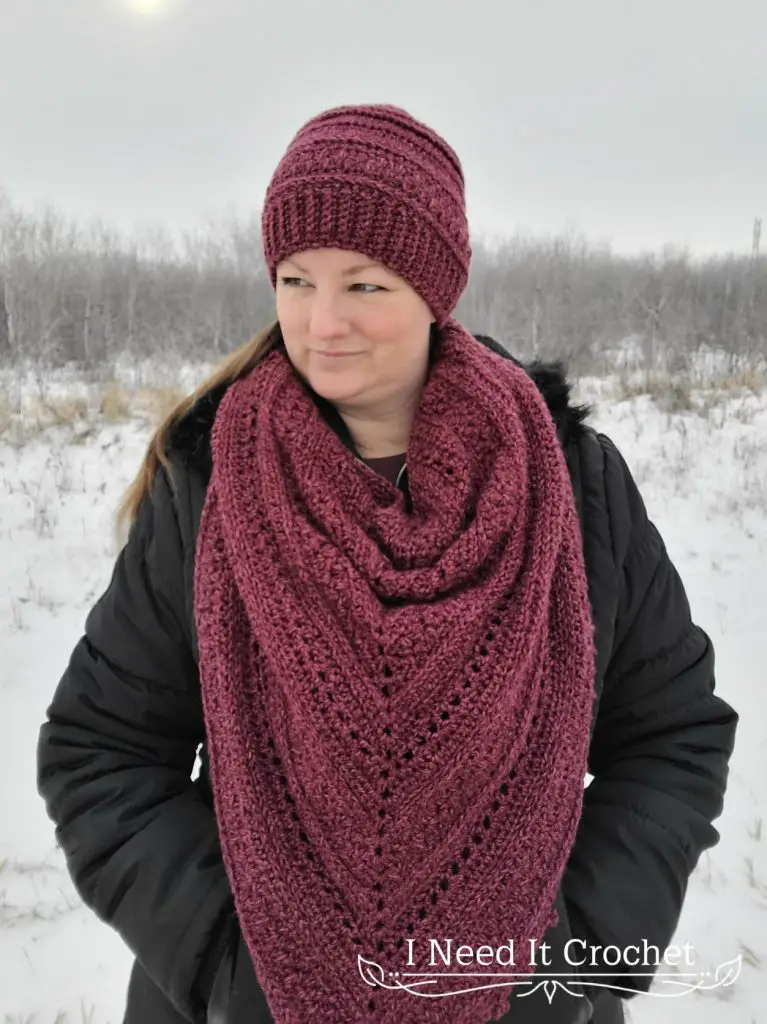
Naturally, I had to write a hat pattern to compliment the Culmination Bandana Cowl and Gloves.
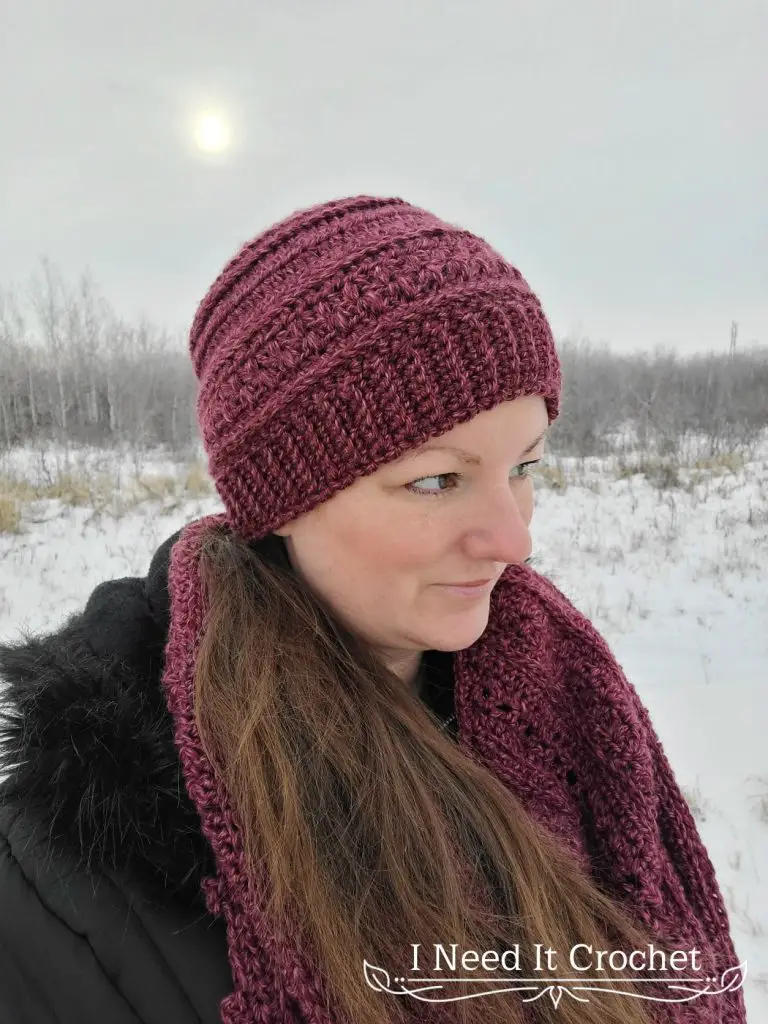
I love the wonderful texture that the Mixed Cluster stitch brings. Paired with the hdc, it makes for a comfortably warm and stylish hat that you’ll reach for again and again.
Culmination – Free Crochet Hat Pattern
How to Crochet The Culmination – Free Crochet Hat Pattern
Finished Sizes:
Instructions given to fit size Small; changes for Medium & Large are in ()
S (M, L)
To Fit Head Circumference: 21” (22”, 23”)
Finished Circumference: 20” (21”, 22”)
Gauge Swatch:
With 5mm hook, ch 16.
- Hdc in 2nd ch and each ch across. Turn. – 15 st
- Ch1. Hdc in 1st st and each st across. Turn. – 15 st
Repeat row 2 until you have 12 rows total. Your swatch should be 4 ¼” W x 4 ¼” H
Materials:
I used Lion Brand Heartland, which is 100% Acrylic, #4 Worsted weight yarn.
Any yarn of similar weight would work.
Approximately 140 (145, 150) yds.
5mm Hook
Stitch Markers
Yarn Needle
Scissors
Measuring Tape
Abbreviations:
Sk = Skip
Sp = Space
St = Stitch
Ss = Slip Stitch
Ch = Chain
Sc = Single Crochet
Hdc = Half Double Crochet
Dc = Double Crochet
Mc = Mixed Cluster
Mc inc = Mixed Cluster Increase
BLO = Back Loop Only
3rd LO = 3rd Loop Only
Notes:
Ch1 at the beginning of a row is never considered a stitch.
A Mixed Cluster stitch counts as 2 sts.
Find a tutorial for the Mixed Cluster Stitch here.
Find a tutorial for working into the 3rd Loop Only here.
Find a Tutorial For the Picot Stitch here.
Instructions
This hat is worked in rounds from the top down, and you will turn after each round.
Crown
With 5mm Hook (or the hook used to obtain gauge)
Form a magic ring.
- Ch1. Work 8 hdc into the ring. Pull tightly to close. Ss to join to 1st st. Turn. – 8 st
- Ch1. 2hdc in 1st st. 2hdc in next st and each st around. Ss to join to 1st st. Turn. – 16 st
- Ch1. Hdc in 1st st, 2 hdc in next st. *Hdc in next st, 2hdc in next st.** Repeat from * to ** around. Ss to join to 1st st. Turn. – 24 st
- Ch1. Hdc in 1s1 2 sts, 2hdc in next st. *Hdc in next 2 sts, 2hdc in next st.** Repeat from * to ** around. Ss to join to 1st st. Turn. – 32 st
- Working this round in the BLO: Ch1. Hdc in 1st 3 sts, 2hdc in next st. *Hdc in next 3 sts, 2hdc in next st.** Repeat from * to ** around. Ss to join to 1st st. Turn. – 40 st
- Working this round in the 3rd LO: Ch1. Hdc in 1st 4 sts, 2hdc in next st. *Hdc in next 4 sts, 2hdc in next st.** Repeat from * to ** around. Ss to join to 1st st. Turn. – 48 st
- Ch1. *Beginning in same st, work 3 mc, then work 1 mc inc.** Repeat from * to ** twice more. Beginning in same st, work 1 mc, then work 1 mc inc. Repeat from * to ** three times more. Beginning in same st, work 1 mc, then work 1 mc inc. Ss to join to 1st st. Turn. – 56 st
- Ch1. *Beginning in same st, work 3 mc, then work 1 mc inc.** Repeat from * to ** three times more. Beginning in same st, work 1 mc, then work 1 mc inc. Repeat from * to ** three times more. Beginning in same st, work 2 mc. Ss to join to 1st st. Turn. – 64 st
- Ch1. Hdc in 1st 7 sts, 2hdc in next st. *Hdc in next 7 sts, 2hdc in next st.** Repeat from * to ** around. Ss to join to 1st st. Turn. – 72 st
- This round is worked in the 3rd LO. Work only the instructions marked with your size.
S: Ch1. Hdc in 1st 17 sts, 2hdc in next st. *Hdc in next 17 sts, 2hdc in next st.** Repeat from * to ** around. Ss to join to 1st st. Turn. – 76 (n/a, n/a) st
M & L: Ch1. Hdc in 1st 8 sts. 2hdc in next st. *Hdc in next 8 sts, 2hdc in next st.** Repeat from * to ** around Ss to join to 1st st. Turn. – n/a (80, 80) st
- This round is worked in the BLO. Work only the instructions marked with your size.
S & M: Ch1. Hdc in 1st st and each st around. Ss to join to 1st st. Turn. – 76 (80, n/a) st
L: Ch1. Hdc in 1st 19 sts, 2hdc in next st. *Hdc in next 19 sts, 2hdc in next st.** Repeat from * to ** around. Ss to join to 1st st. Turn. – n/a (n/a, 84) st
Culmination – Free Crochet Hat Pattern
Hat Body
- Ch1. Hdc in 1st st and each st around. Ss to join to 1st st. Turn. – 76 (80, 84) st
- Ch1. Hdc in 1st st and each st around. Ss to join to 1st st. Turn. – 76 (80, 84) st
- Ch1. Hdc in 1st st and each st around. Ss to join to 1st st. Turn. – 76 (80, 84) st
- Working this round in the BLO: Ch1. Hdc in 1st st and each st around. Ss to join to 1st st. Turn. – 76 (80, 84) st
- Working this round in the 3rd LO: Ch1. Hdc in 1st st and each st around. Ss to join to 1st st. Turn. – 76 (80, 84) st
- Ch1. Beginning in same st, mc around. Ss to join to 1st st. Turn. – 76 (80, 84) st
- Ch1. Beginning in next st, mc around (last mc will end in same st as beginning of 1st mc). Ss to join to 1st st. Turn. – 76 (80, 84) st
- (Right Side) Ch1. Hdc in 1st st and each st around. Ss to join to 1st st. Turn. – 76 (80, 84) st
- (Wrong Side) Working this round in the 3rd LO: Ch1. Sc in 1st st and each st around. Ss to join to 1st st. Turn. – 76 (80, 84) st
Hat Band
To make the band, we will be working short rows off of the last round worked on the body of the hat. Turn your work so that the right side is facing you.
- Ch8 (see Figure 1). Sc in 2nd ch from hook and each ch across (see Figure 2). Ss into same st you chained from on hat body. Ss into next unworked st (see Figure 3). Turn. – 7 st
- Sc in BLO of 1st st 6 sts. Sc in both loops of last st (see Figure 4). Turn. – 7 st
- Ch1. Sc in 1st st. Sc in BLO of next 6 sts (see Figure 5). Ss into next 2 unworked sts on hat body (see Figure 6). Turn. – 7 st
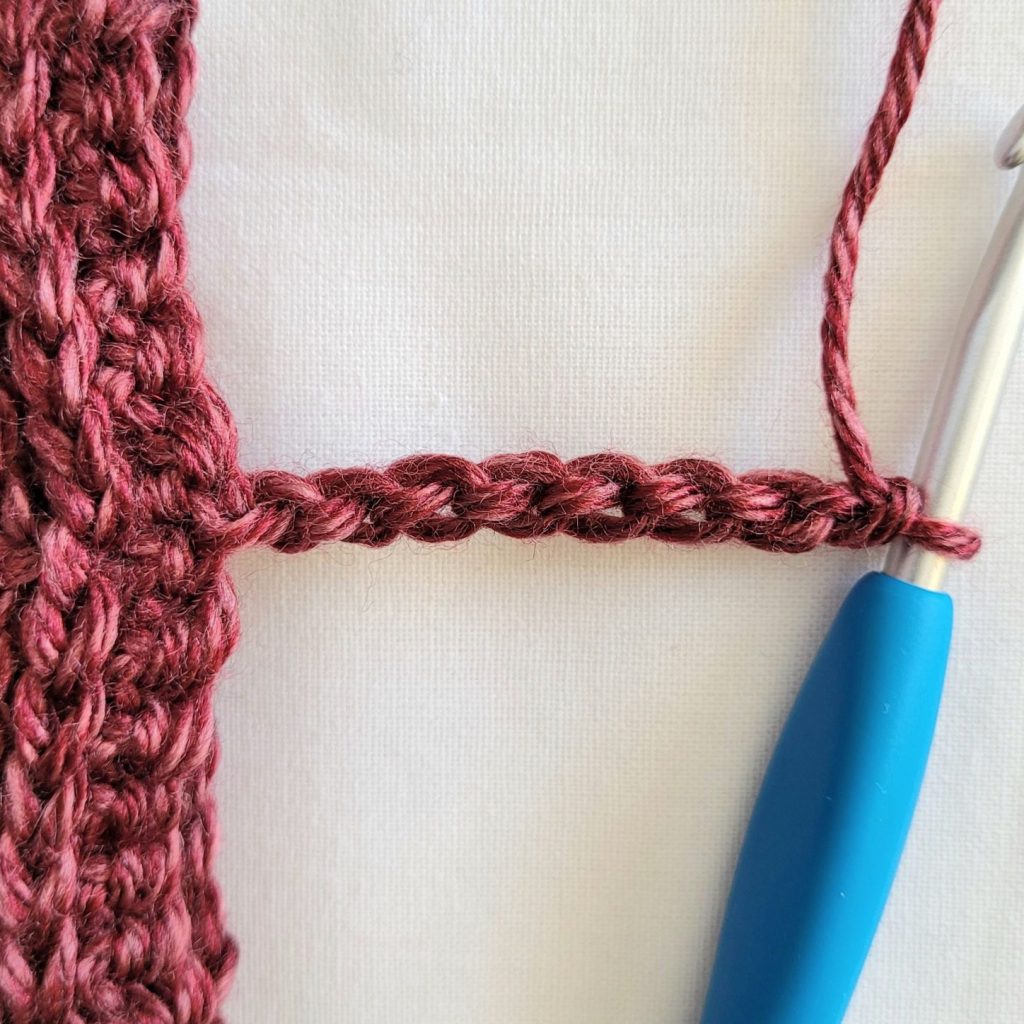
Figure 1
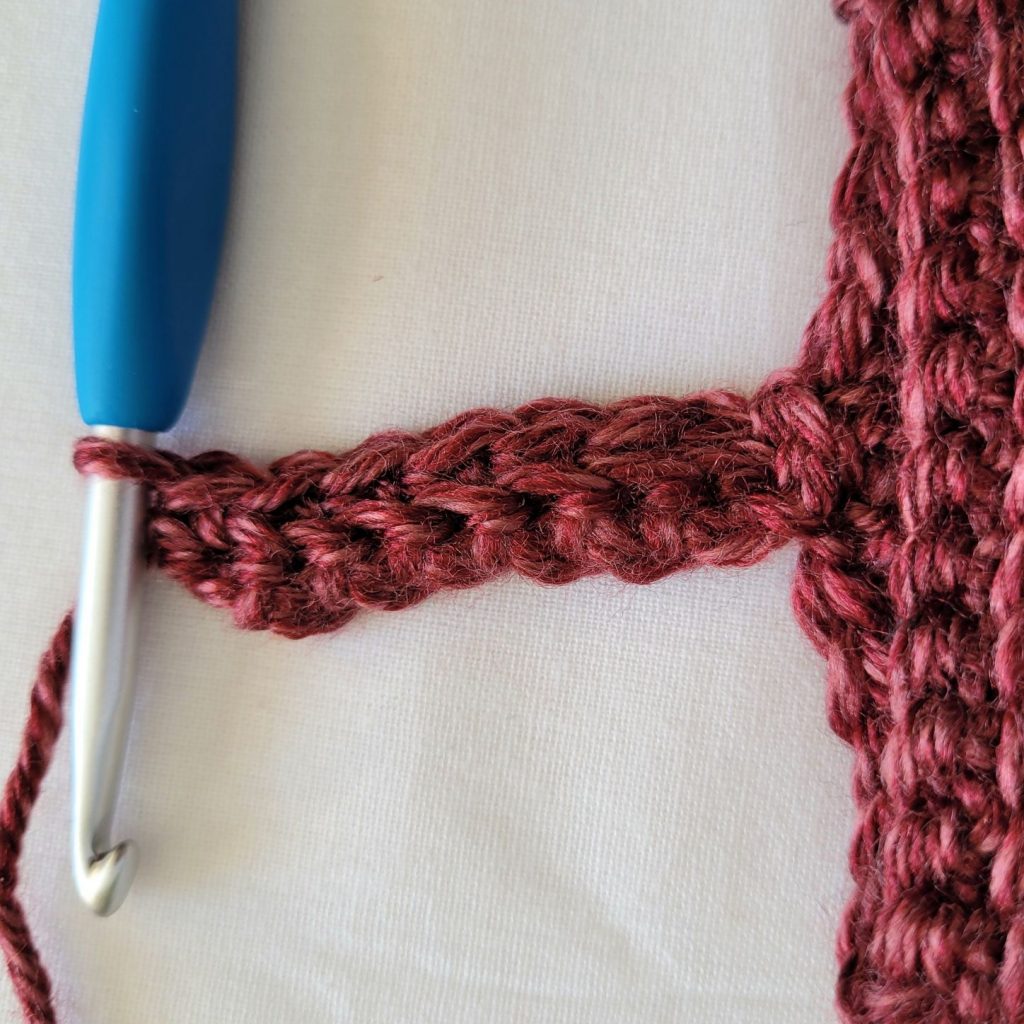
Figure 4
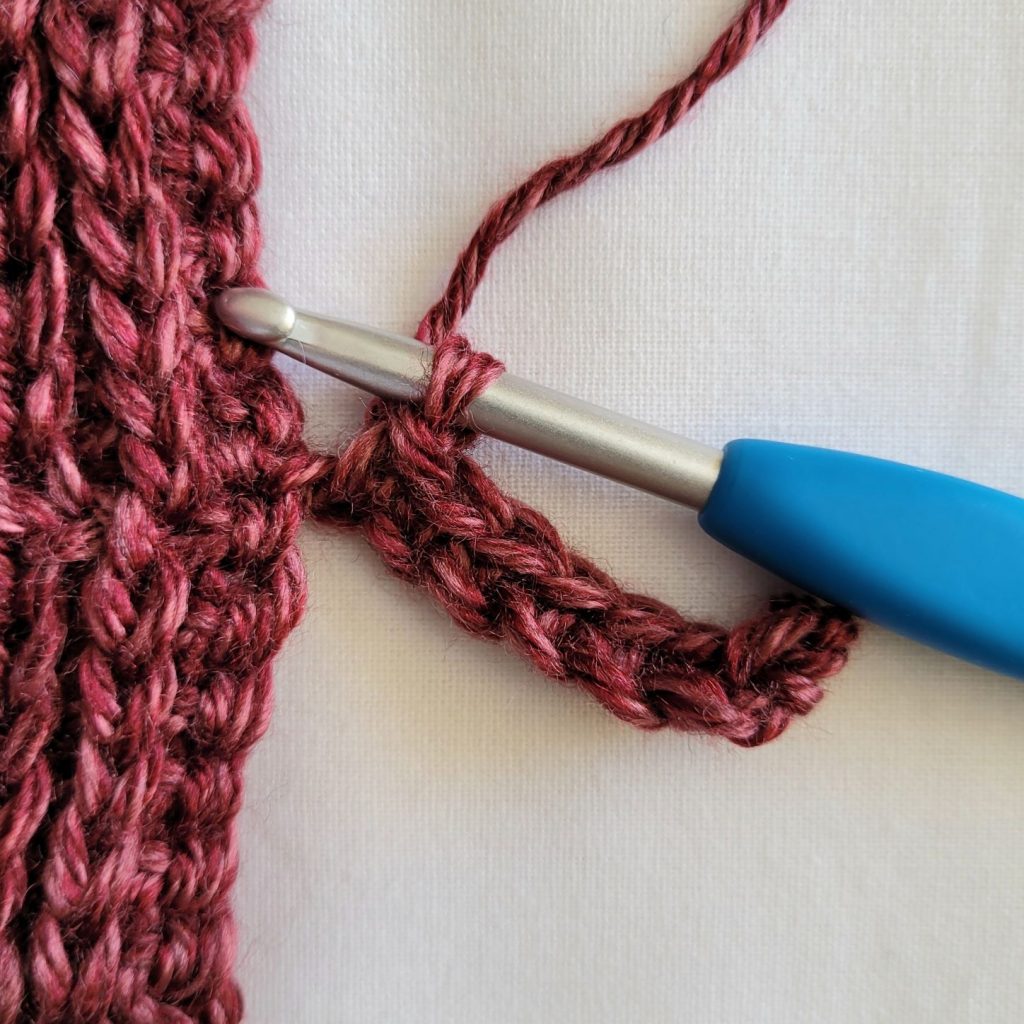
Figure 2
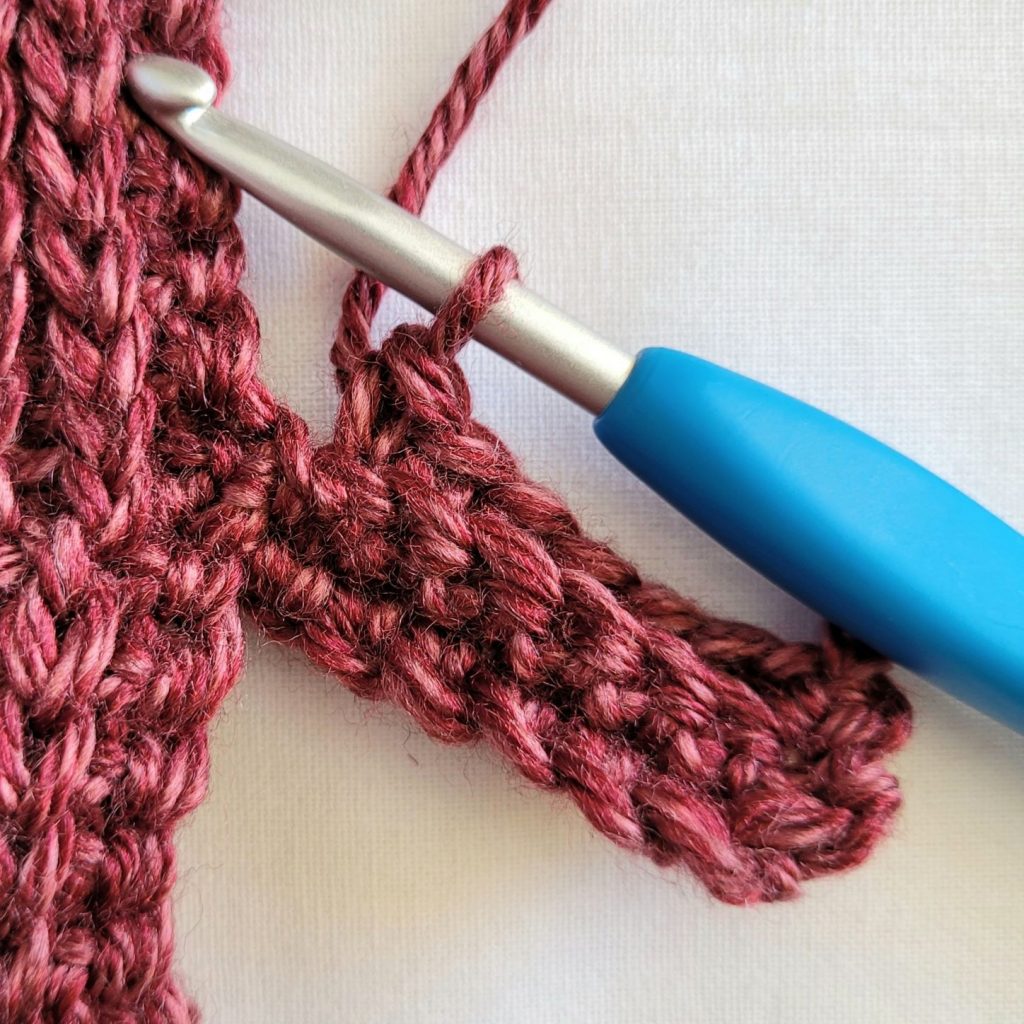
Figure 5
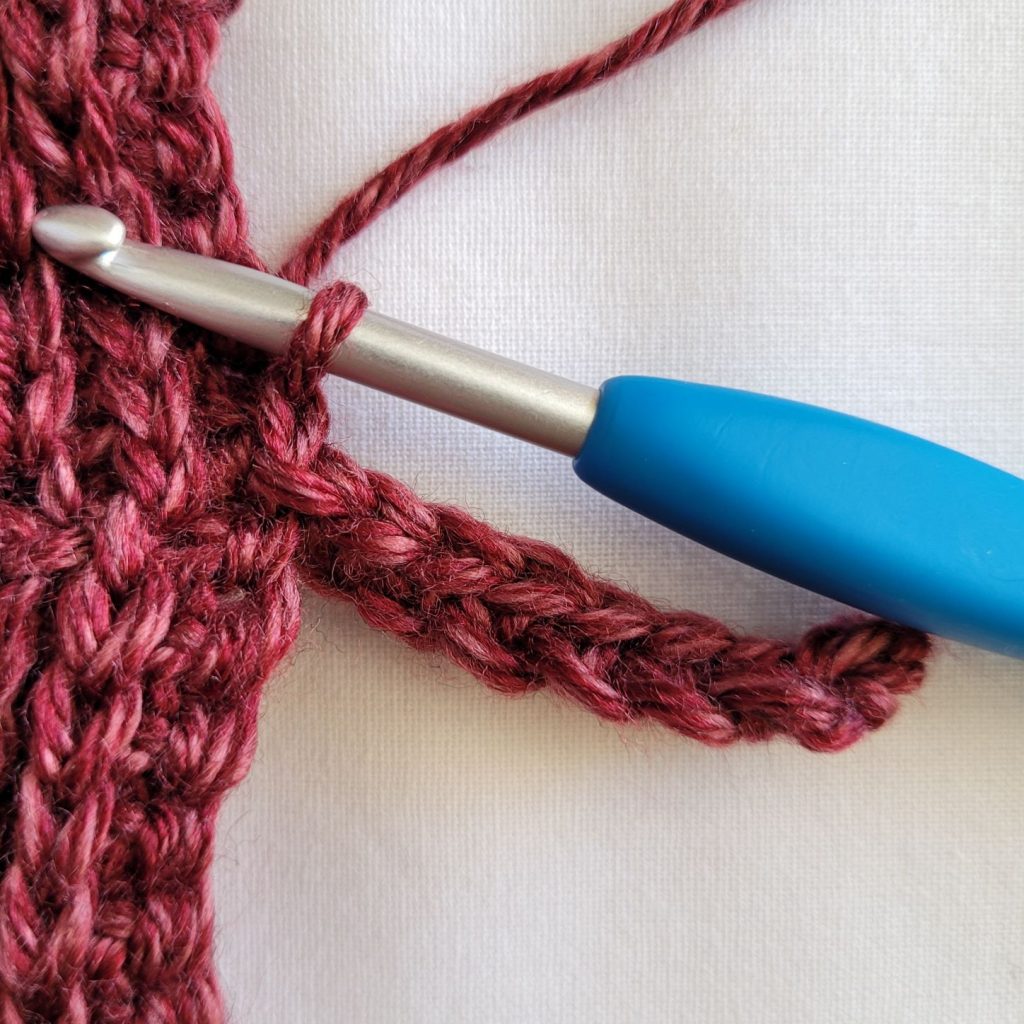
Figure 3
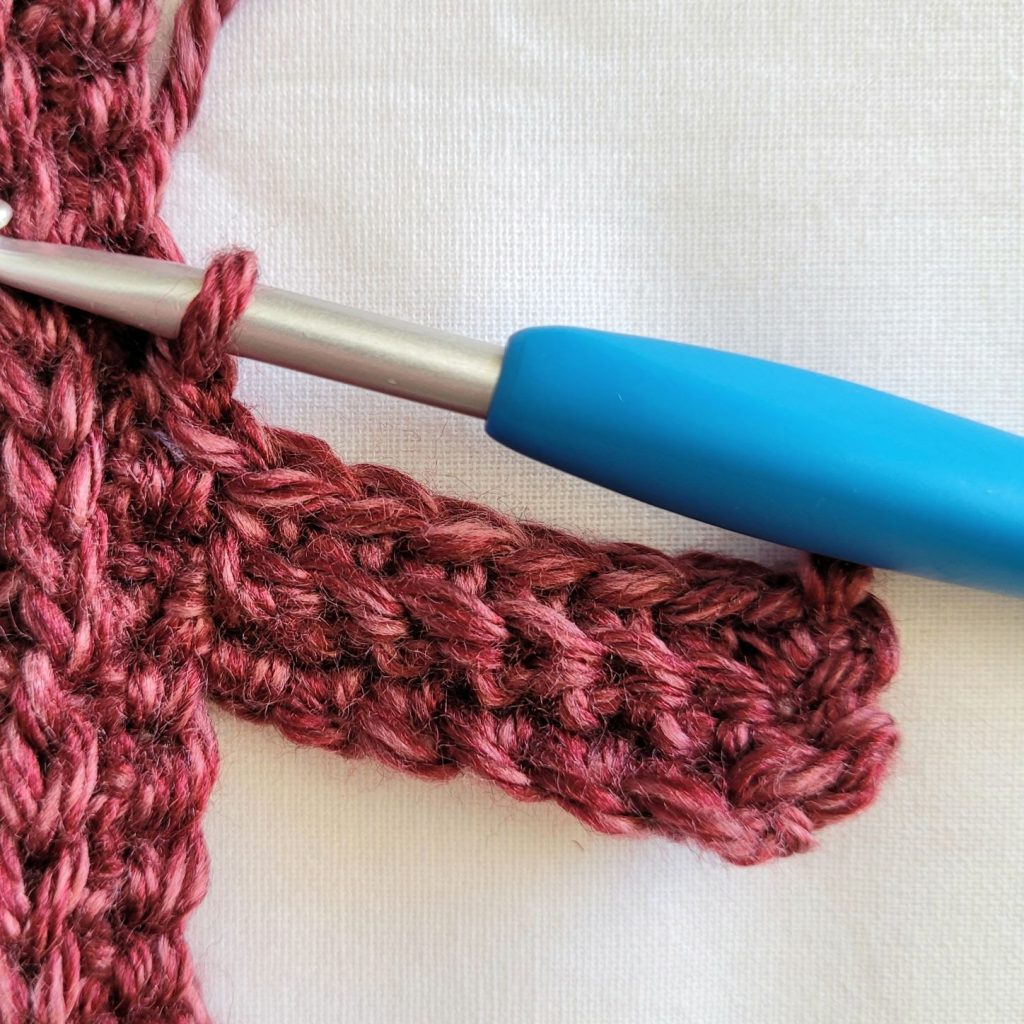
Figure 6
Repeat rows 2 & 3 all the way around the hat body. You will end with a row 2 repeat. Turn your work so the wrong side is facing you. Ss the ends of the hat band closed , working in the bottom bar of the 1st row and the BLO of the last row.
Weave in your ends, and you’re done!
I hope you love your new crochet hat, and I look forward to seeing all of your beautiful pictures on Ravelry!
If you’re interested in making the matching bandana cowl, you can view that crochet pattern for free here.
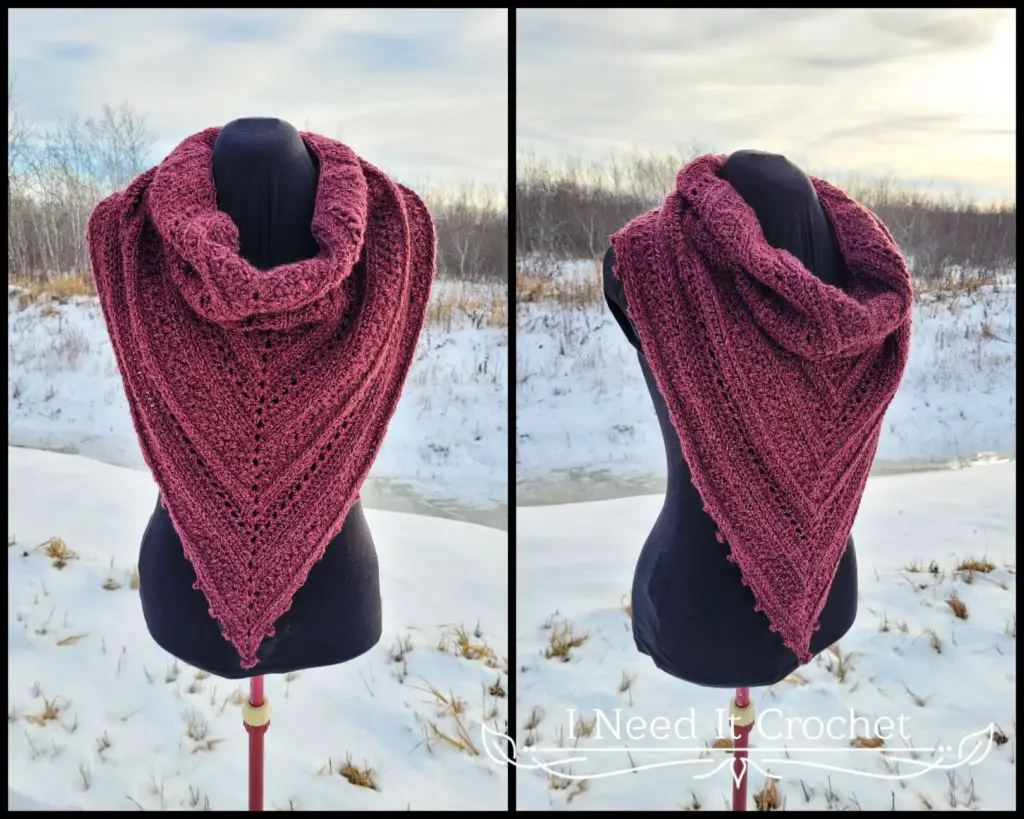
If you’d like to know when I post new patterns and tutorials, head on over to my Facebook and Instagram and give me a like and a follow!
If you enjoyed The Culmination – Free Crochet Hat Pattern , you may want to check out my other designs!
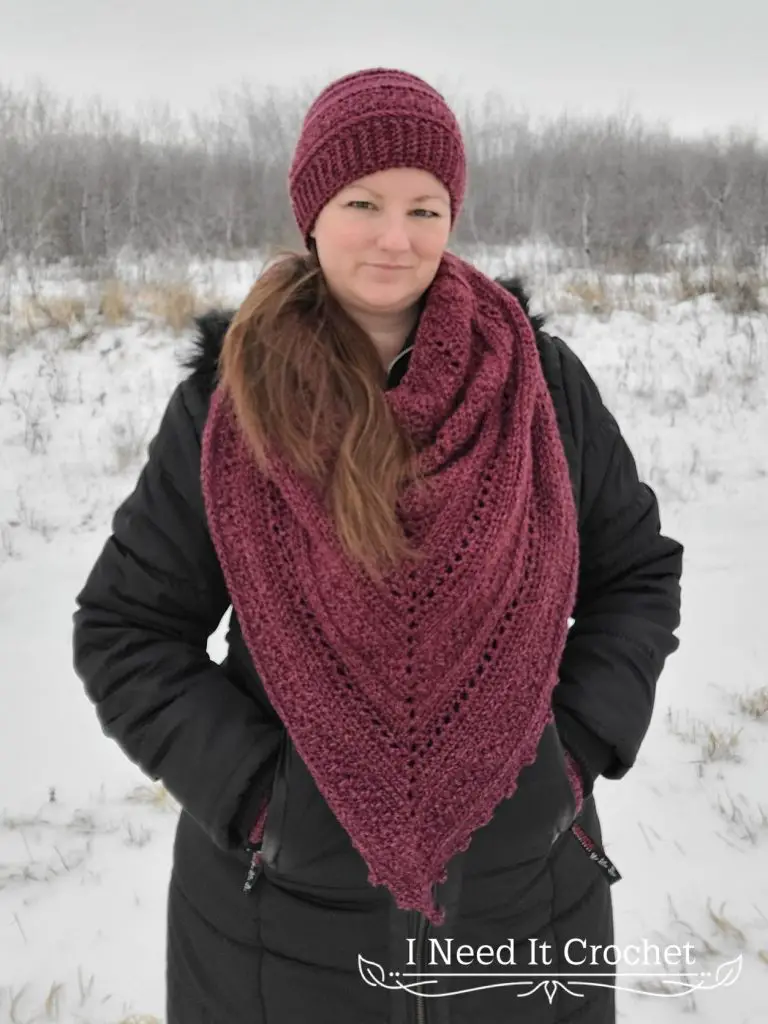
Culmination – Free Crochet Hat Pattern
And until next time… Happy Hooking! 😉

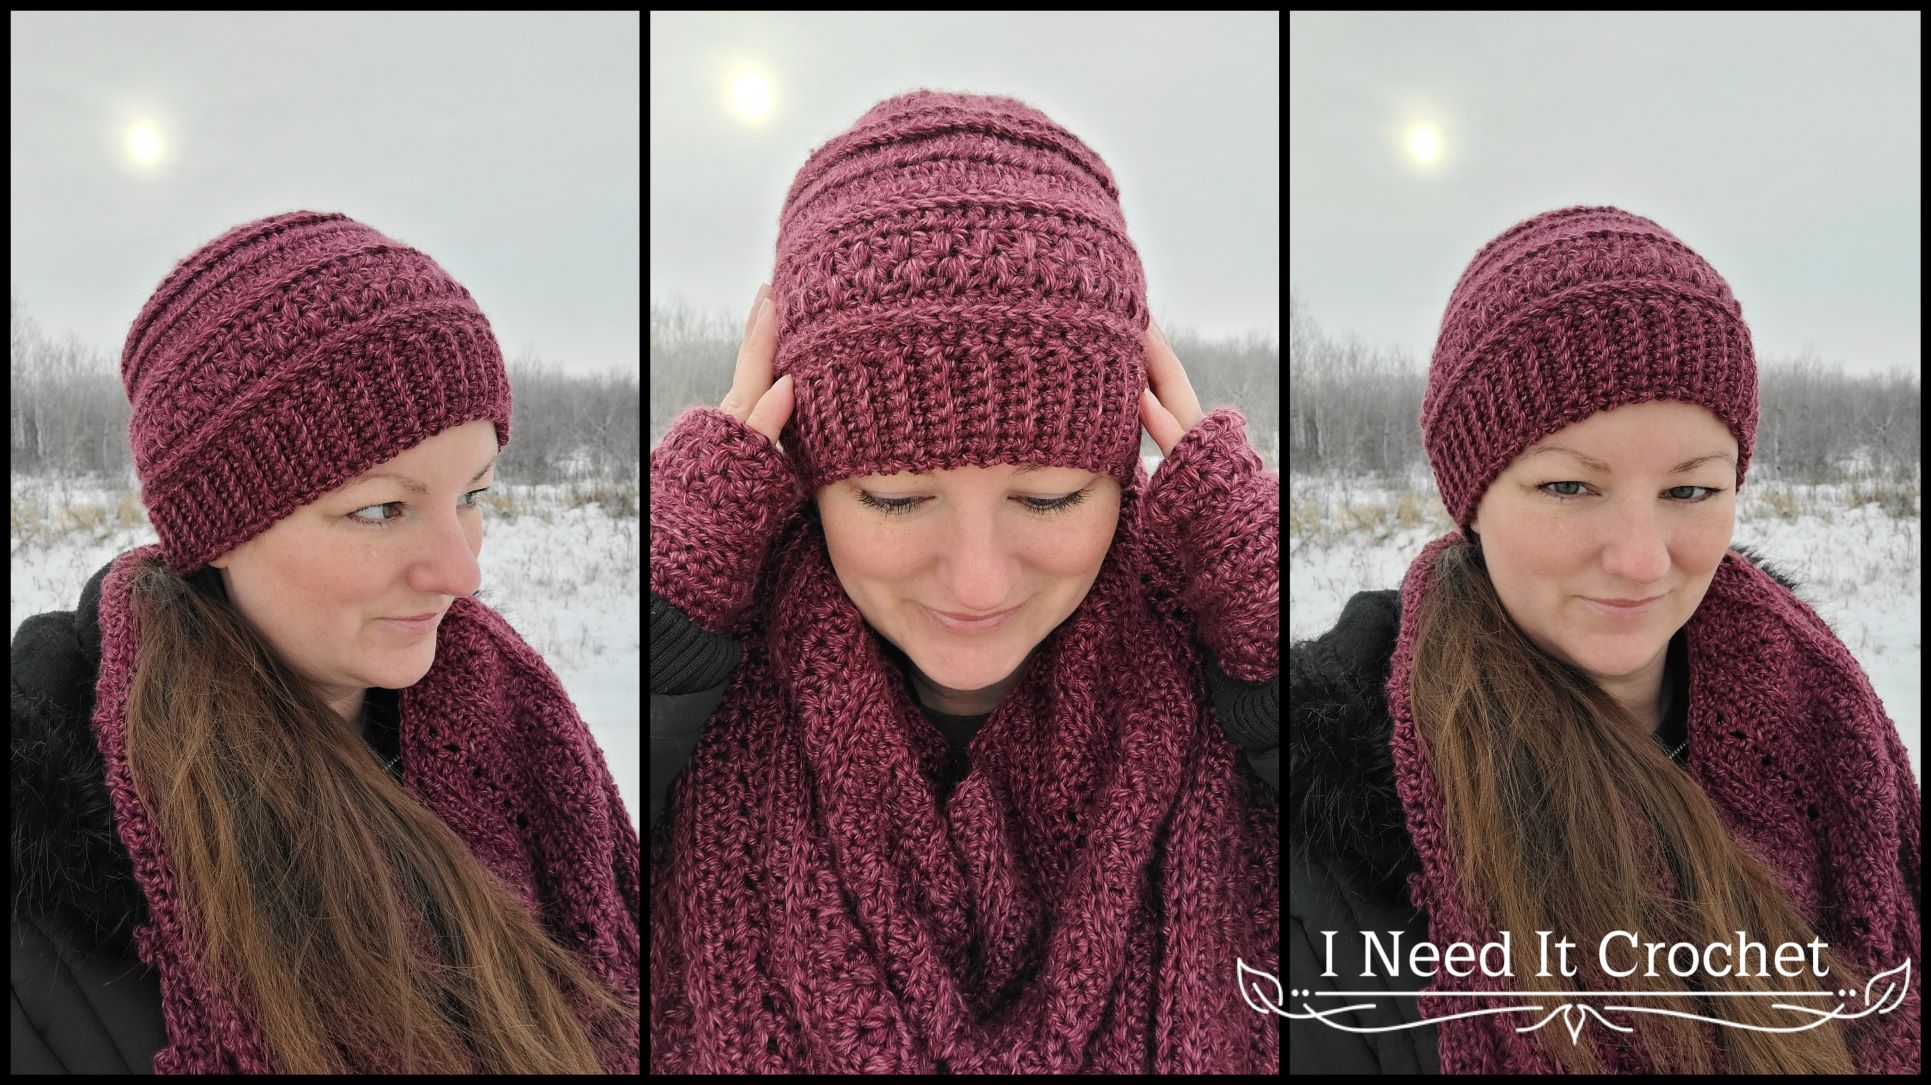
I love the hat.
Thank you! 🙂
I’ve tried making this twice. I made it with a 3.75mm hook and it’s coming out huge (the gauge came out fine when I did it with the hook).
Any chance you can offer an extra small stitch count and directions for us? Thank you!
Hi Jen,
I’m not sure why it is coming out so big for you. The smallest size currently available should come out at 20″ around. Perhaps are you using thicker yarn, like #5 or #6?
I will consider writing some children’s sizes, but it isn’t on the schedule for this year.
Beautiful hat. You are so amazing to offer your beautiful patterns to us for free! You make a lovely model, too. Thank you.
Aw, thank you so much, Bonnie! You are so kind! <3