
The Spring Blooms Gloves – Free Crochet Pattern is copyrighted by I Need It Crochet. You may not copy, share, change, or sell the pattern itself. Also, you may not claim this pattern as your own. All pictures contained in this pattern fall under the copyright and may not be used.
Finished items made from the Spring Blooms Gloves – Free Crochet Pattern belong to you, and you may do what you wish with them. If you choose to sell them on Etsy, I would very much appreciate it if you credited me as the pattern designer.


Or… Just scroll down to see it for free!
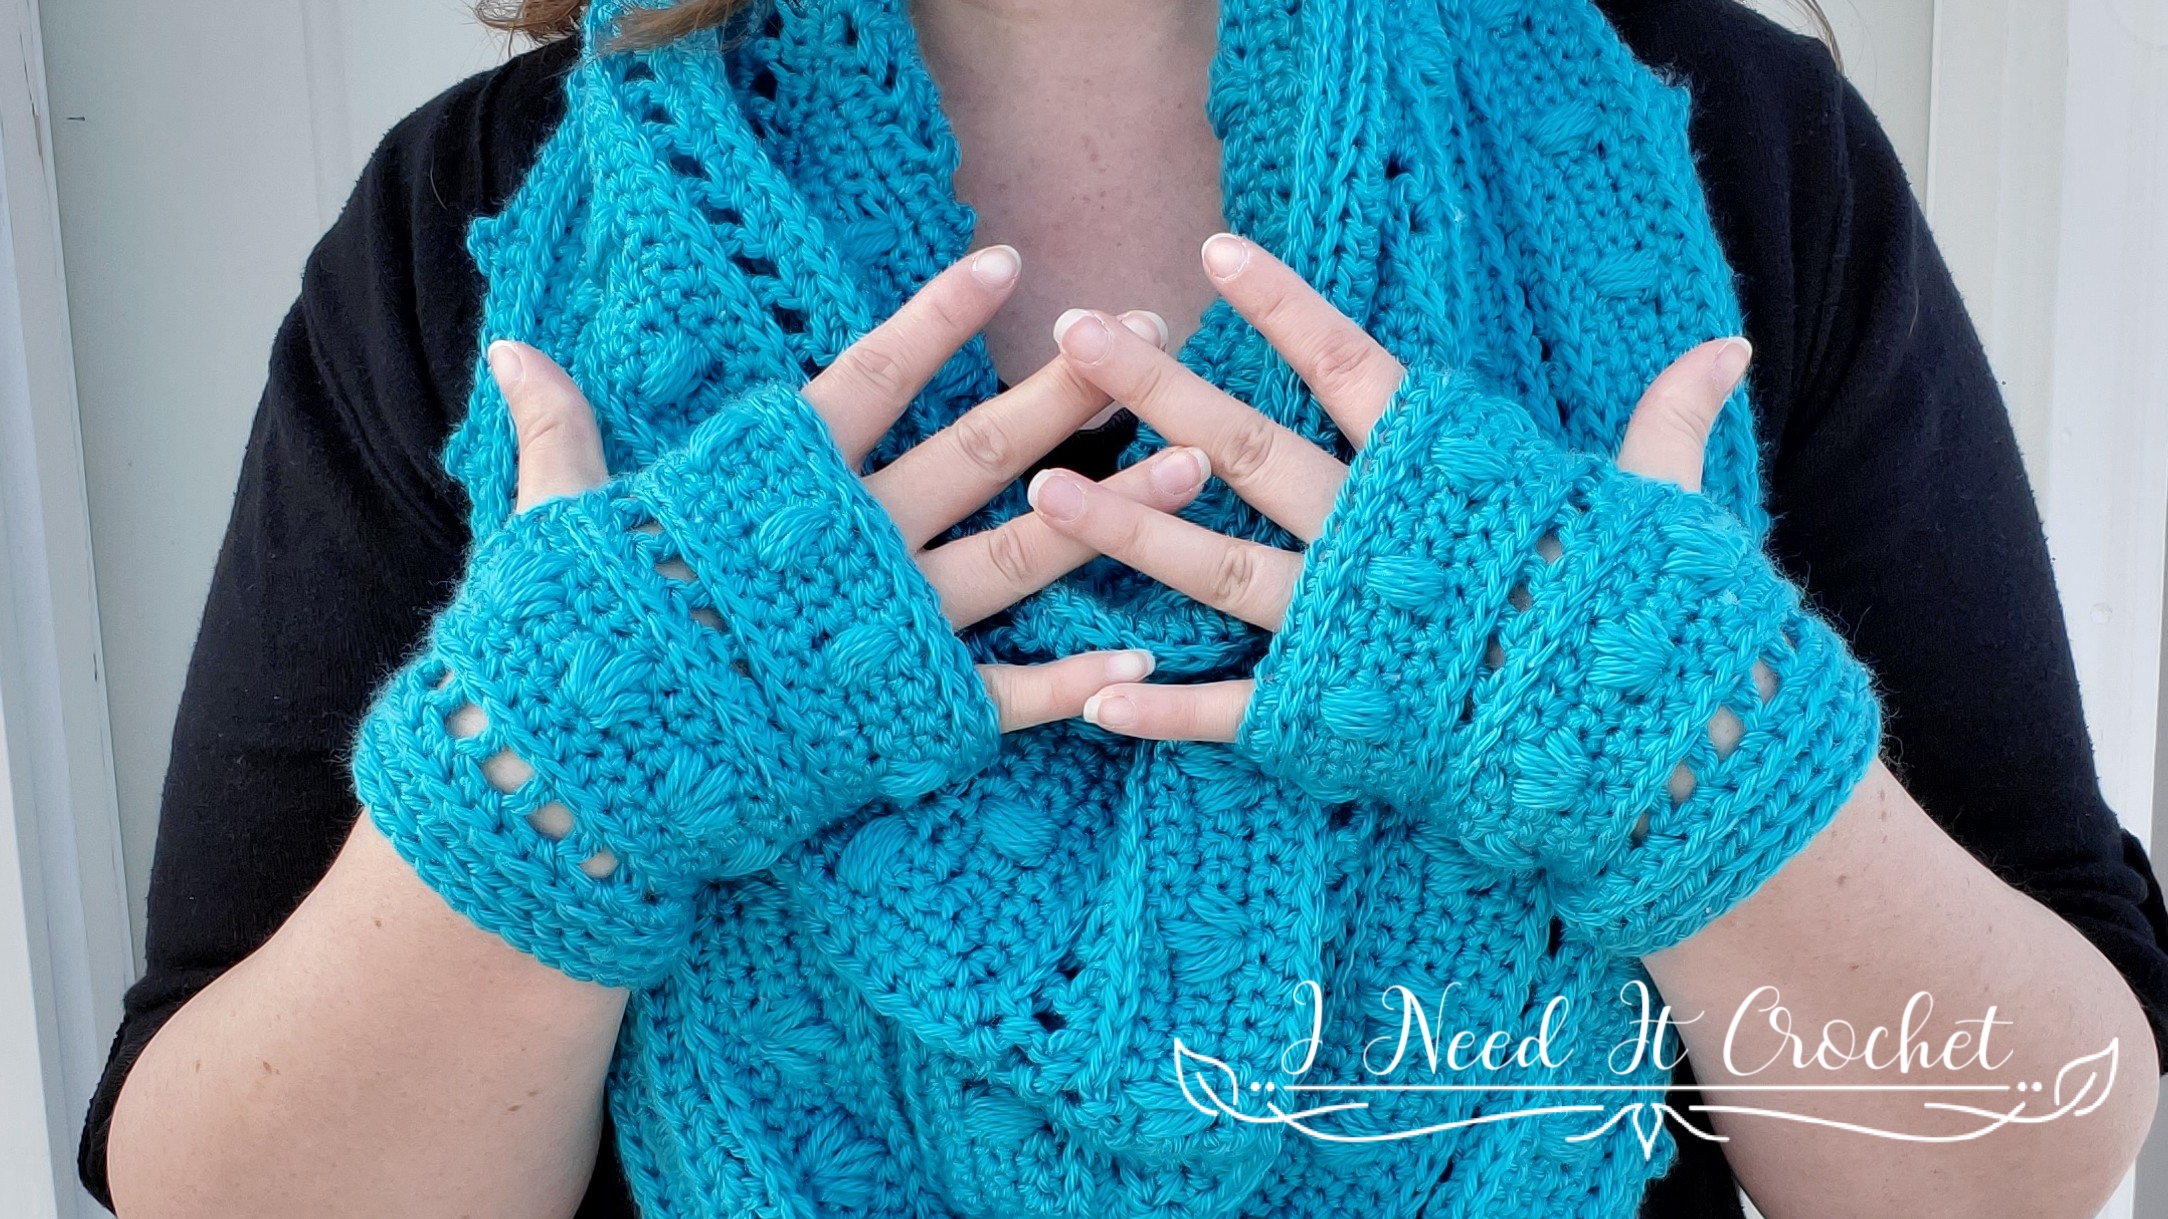
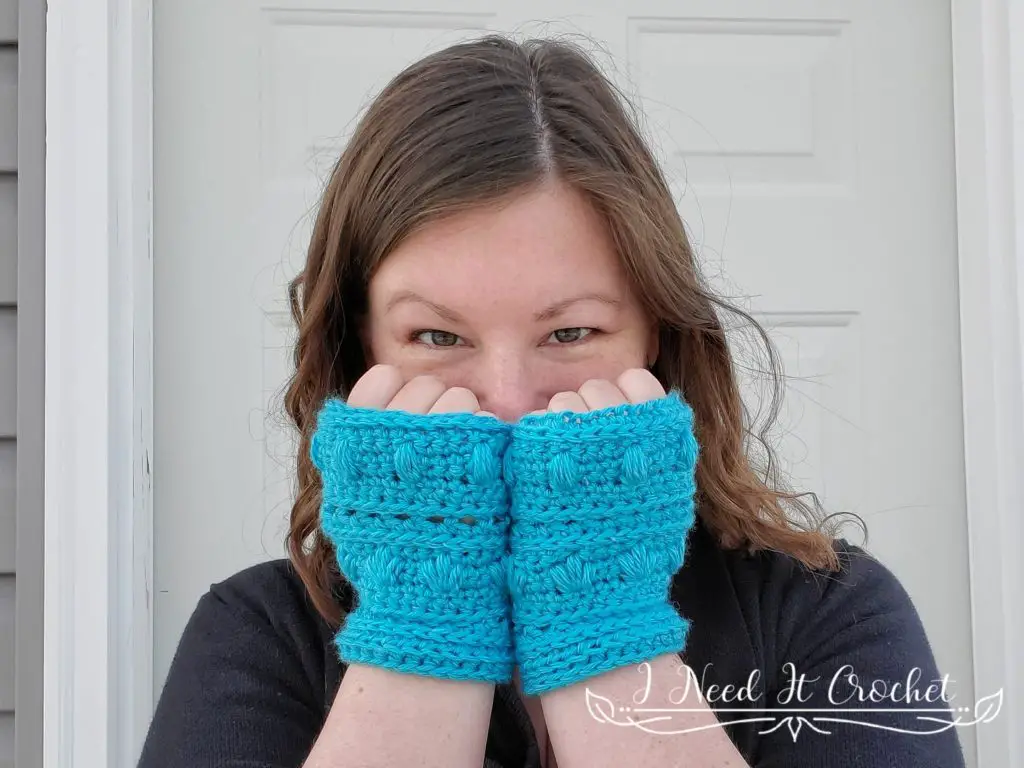
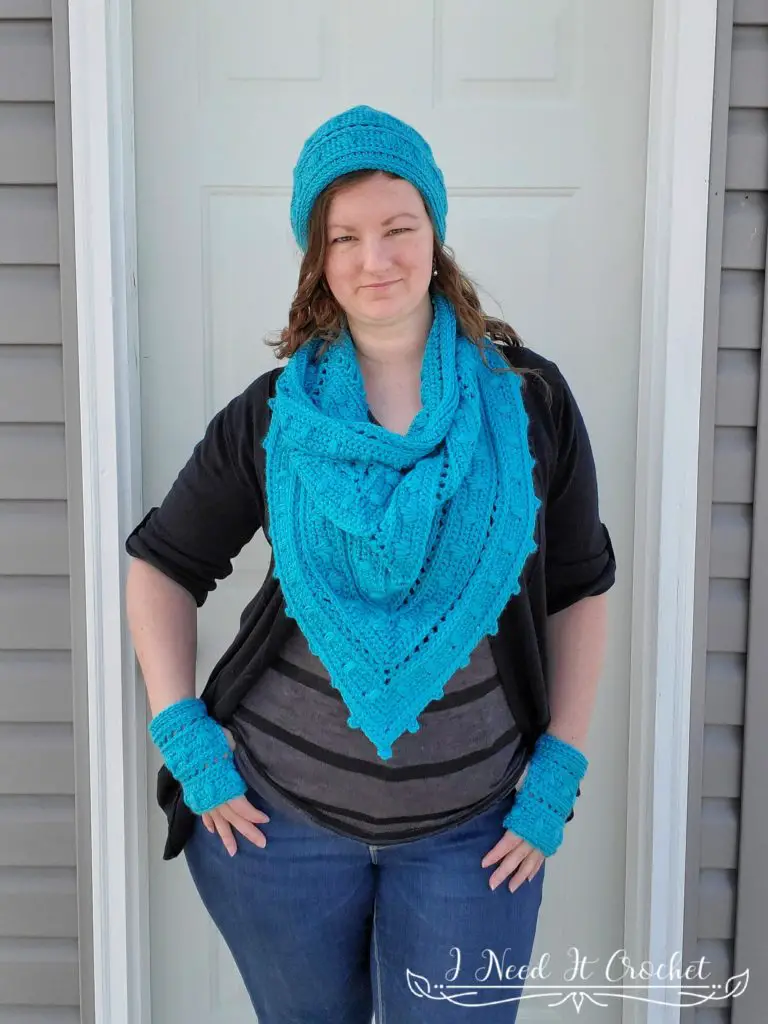
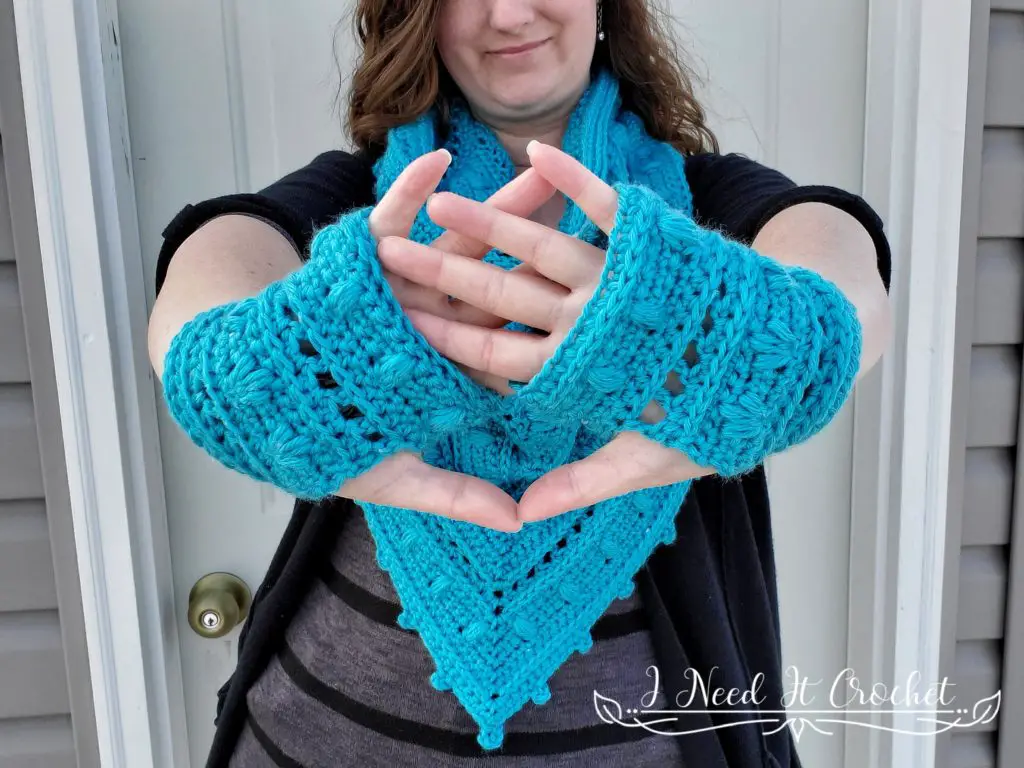
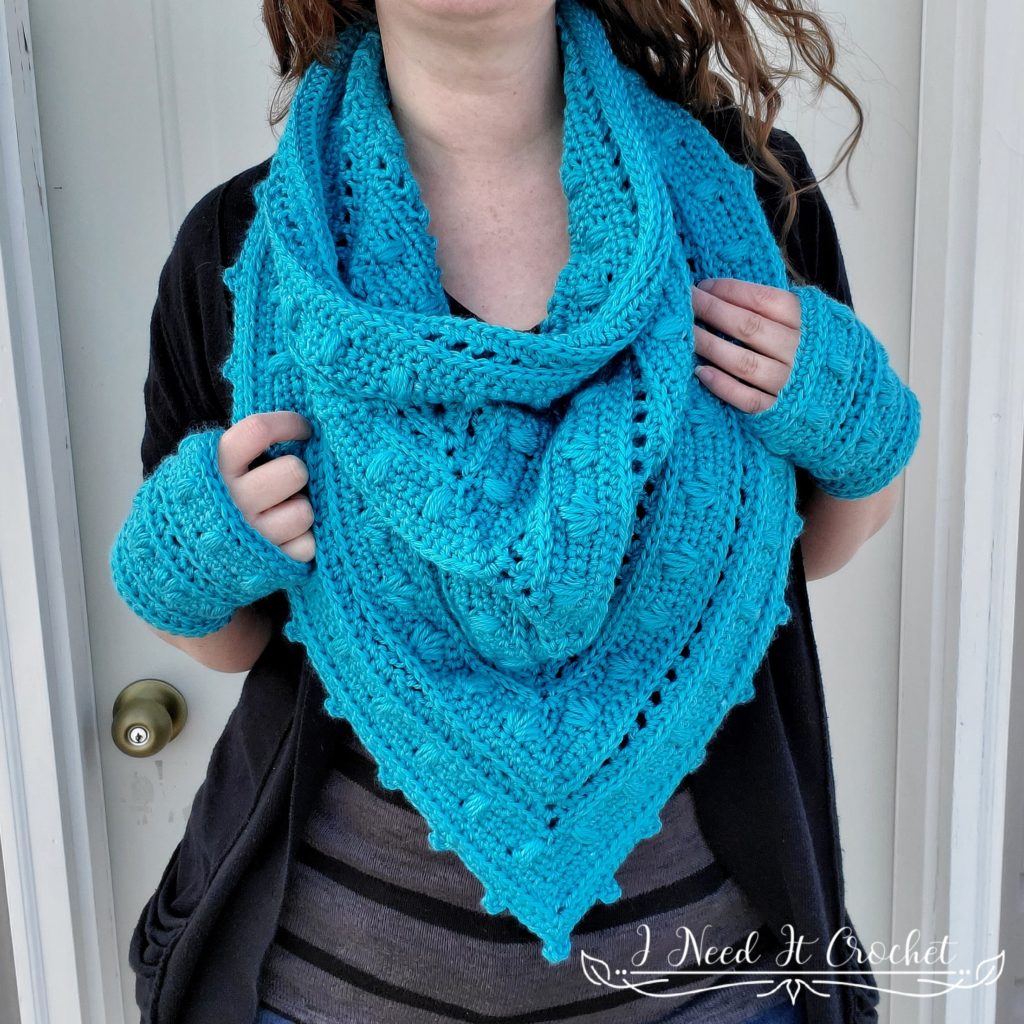
These gloves are the perfect thing to tie up my Spring Blooms set. Pair them with the Spring Blooms Bandana Cowl and Spring Blooms Slouch.
Finished Sizes:
Instructions given to fit size Small; changes for Medium & Large are in ()
S (M, L)
To fit hand circumference: 7” (8”, 9”)
Finished Circumference: 7 ½” (8 ½”, 9 ½”)
Finished Length: 5 ½”.
Materials:
I used Caron Simply Soft, which is 100% Acrylic, #4 Worsted weight yarn.
Any yarn of similar weight would work.
Approximately 70 (75, 85) yds.
5.5mm Hook
Stitch Markers
Yarn Needle
Scissors
Measuring Tape
Abbreviations:
Sk = Skip
Sp = Space
St = Stitch
Ss = Slip Stitch
Ch = Chain
Sc = Single Crochet
Hdc = Half Double Crochet
Dc= Double Crochet
Ps =Puff Stitch (See the Tutorial Here)
Fp = Flower Puff Stitch (See the Tutorial Here)
3rd LO = 3rd Loop Only (See the Tutorial Here)
BLO = Back Loop Only
Gauge Swatch:
With 5.5mm hook, ch 15.
1. Hdc in 2nd ch from hook and each ch across. Turn. – 14 st
2. Ch1, hdc in 1st st and each st across. Turn. – 14 st
Repeat row 2 until you have 10 rows total. Swatch should measure 4” W x 4” H.
Notes:
Ch1 at the beginning of a row is never considered a stitch.
Ch1 between sts is always considered a stitch.
I have provided tutorials on the blog for the puff stitch, flower puff stitch, the picot stitch, and working into the 3rd LO.
A puff stitch and a flower puff stitch each count as 2 sts.
If a row/round begins with “Working into the 3rd LO/BLO” that means the entire row/round is worked in the 3rd LO/BLO. If this instruction is found in the middle of a row/round, it means that you work into the 3rd LO/BLO until instructed otherwise.
I have added many pictures to help you along the way.
Instructions
This pattern is worked from the top down in the round, but you will be turning after each round is completed. To make this pattern easier to work, you will be starting each round in the 2nd stitch. This is the stitch immediately to the left of where you placed your slip stitch in the previous row. If you look at figure 1 below, you will see that I have ch1 and worked my 1st hdc into the next st. When you do this, you must remember that the stitch where you placed your slip stitch in the previous row is where you will place your last stitch (see figure 2).
Figure 1

Figure 2
With 5.5mm hook (or hook used to obtain gauge)
Ch28 (32, 36). Ss to 1st ch to form a ring.
1. Ch1. Hdc in each ch around. Ss to join to 1st hdc (use alternative join method). Turn. – 28 (32, 36) st
2. Working in the 3rd LO: Ch1. Sc in next st and each st around. Ss to join to 1st sc. Turn. – 28 (32, 36) st
3. Ch1. Sc in next st and each st around. Ss to join to 1st sc. Turn. – 28 (32, 36) st
4. Ch1. Sc in next st and each st around. Ss to join to 1st sc. Turn. – 28 (32, 36) st
5. Ch1. Sc in next 2 sts. *Work ps into st as marked in figure 3. Sk 2 st (which will be covered by ps). ** Repeat from * to ** around. Note: If you are having trouble seeing where your next sc goes after the ps, try adding a stitch marker to the st labeled with M in figure 3. Ss to join to 1st sc. Turn. – 28 (32, 36) st

Figure 3
6. Ch1. Sc in next st and each st around. Ss to join to 1st sc. Turn. – 28 (32, 36) st
7. Ch1. Hdc in next st and each st around. Ss to join to 1st hdc (use alternative join method). Turn. – 28 (32, 36) st
8. Working in 3rd LO: Ch1, hdc in next st. Ch1, sk1 st, hdc in next st. ** Repeat from * to ** around until there is only 1 st left unworked. Leave that remaining st unworked. Turn. – 27 (31, 35) st
9. Ch1. Hdc in next st and each st across. Turn. – 27 (31, 35) st
10. Working in the 3rd LO: Ch1. Sc in next st and each st across. Turn. – 27 (31, 35) st
11. Ch1. Sc in next st and each st across. Turn. – 27 (31, 35) st
12. Ch1. Sc in next st and each st across. Turn. – 27 (31, 35) st
13. Ch1. Sc in next 2 sts. *Work fp over 3 sts as marked in figure 4. Sk 2 st (which will be covered by ps), sc in next 2 sts. Note: If you are having trouble seeing where your next sc goes after the ps, try adding a stitch marker to the st labeled with M in figure 3. ** Repeat from * to ** across until there is only 1 st left unworked. Sc in last st. Turn. – 27 (31, 35) st
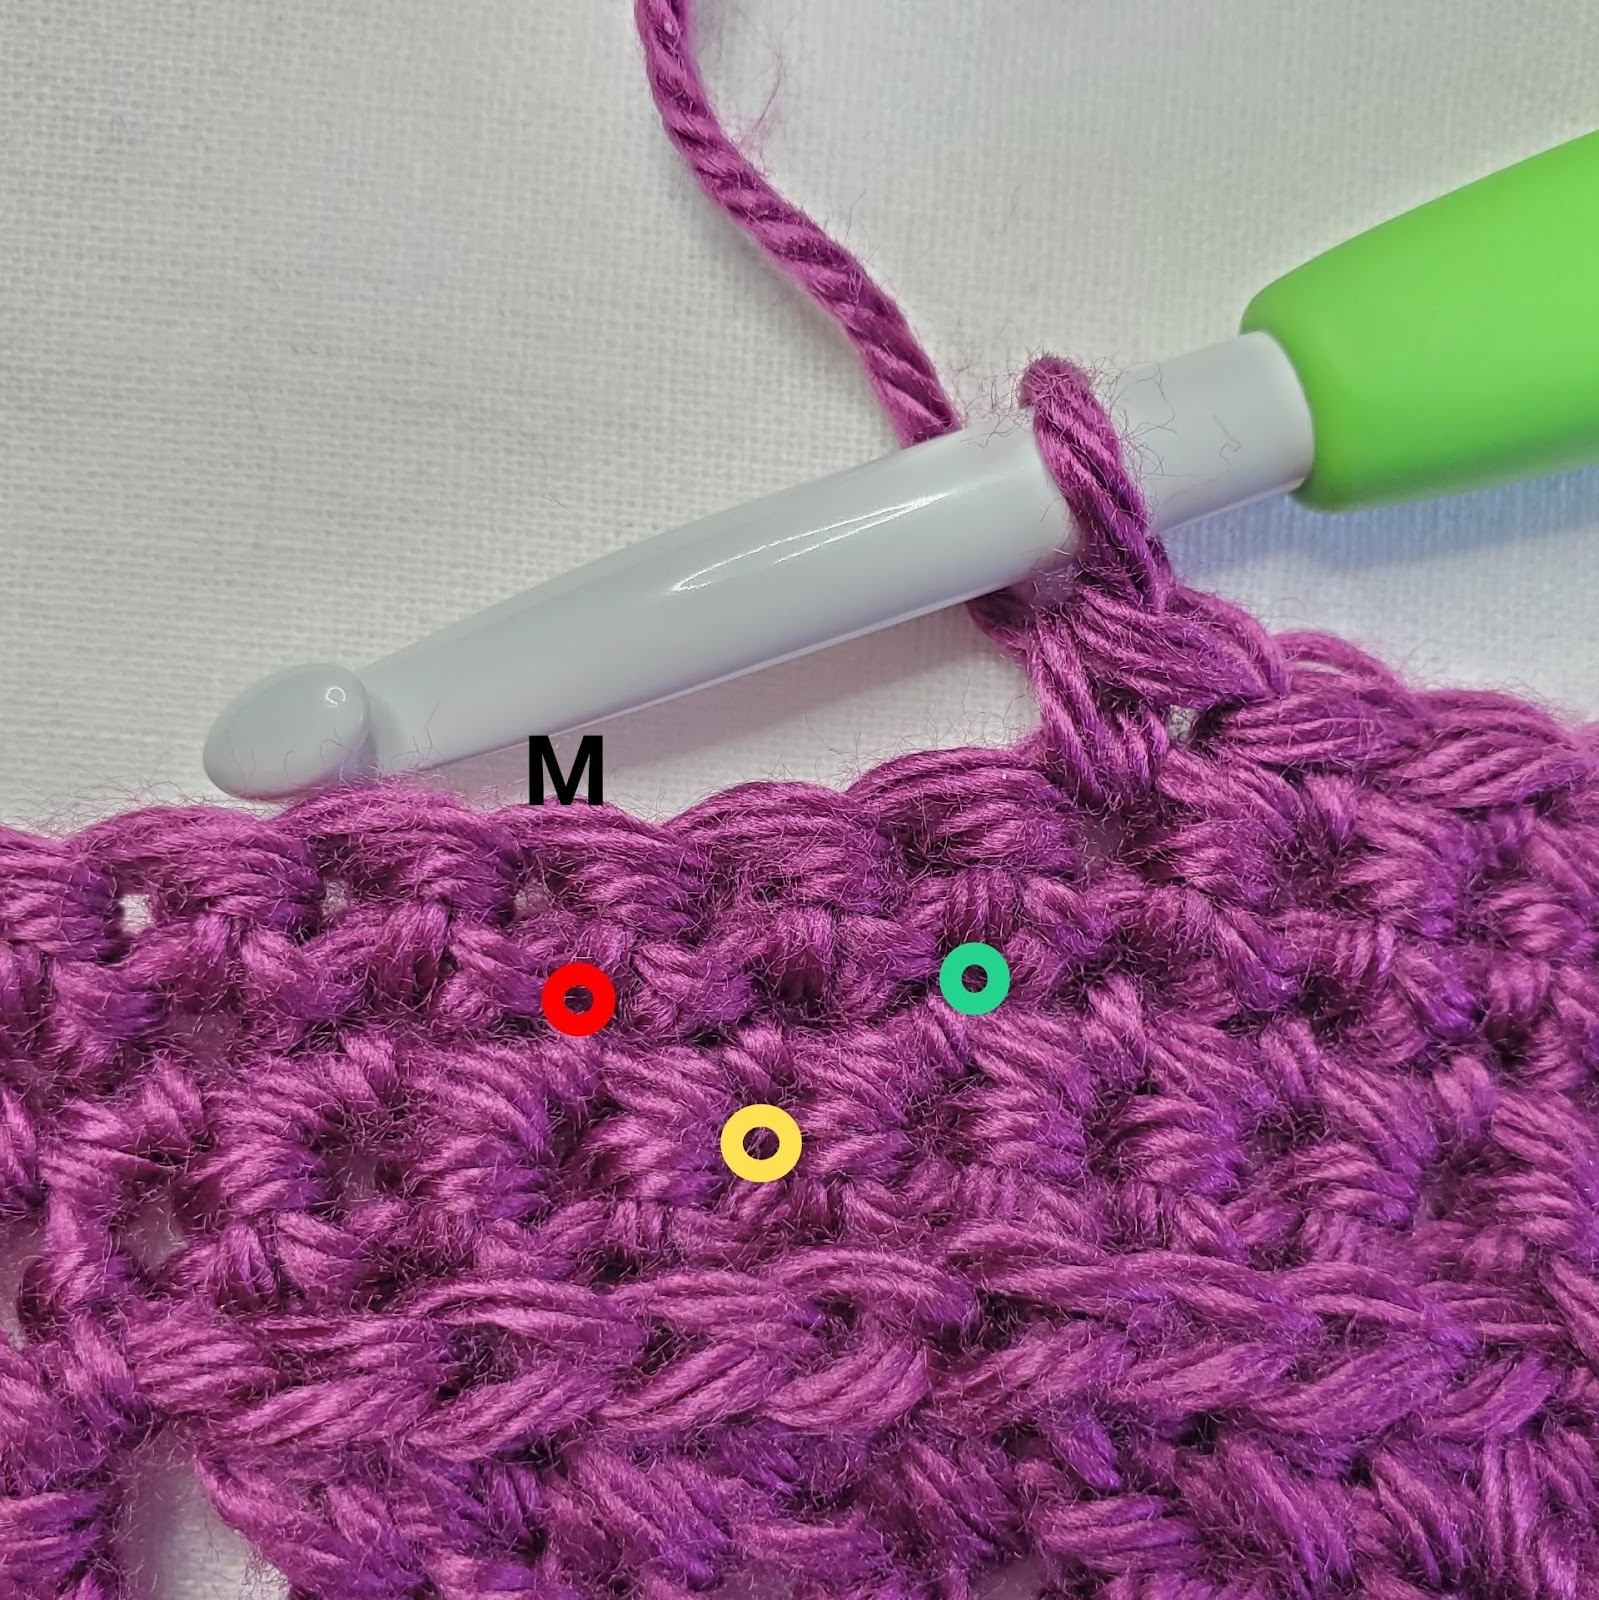
Figure 4
14. Ch1. Sc in next st and each st across. Ch1, ss to join to 1st sc. Your thumb hole is now closed. Turn. – 28 (32, 36) st
15. Ch1. Hdc in next st and each st around (including the ch1 that closed the thumb hole). Ss to join to 1st hdc (use alternative join method). Turn. -28 (32, 36) st
16. Working in 3rd LO: Ch1. *Hdc in next st, ch1, sk1 st. ** Repeat from * to ** around. Ss to join to 1st hdc. Turn. – 28 (32, 36) st
17. Ch1. Hdc in next st and each st around. Ss to join to 1st hdc (use alternative join method). Turn. – 28 (32, 36) st
18. Working in 3rd LO: Ch1. Hdc in next st and each st around. Ss to join to 1st hdc (use alternative join method). Turn. – 28 (32, 36) st
19. Working in BLO: Ch1. Hdc in next st and each st around. Ss to join to 1st hdc (use alternative join method). Turn. – 28 (32, 36) st
20. Working in 3rd LO: Ss in next st and each st around. Ss to join to 1st ss. Bind off. – 28 (32, 36) st
Weave in all your ends, and you’re done!
I hope you love your new gloves, and I look forward to seeing all of your beautiful pictures on Ravelry!
If you’d like to know when I post new patterns and tutorials, head on over to my Facebook and Instagram and give me a like and a follow!
If you enjoyed The Spring Blooms Gloves – Free Crochet Pattern, you may want to check out my other designs!
And until next time… Happy Hooking! 😉